The worlds easiest Octopus heat pump install

My main issue will be I said they could take the gas meter out, so I need to go get a induction hob and of course that means cutting the hole in quartz slightly larger aswell because it’s not standardized :joy:.

New hob will be by far the most expensive thing about the switch!

1 Like

2 Likes

Rescheduled for next week.

So it turns out the cosy 9 DOES have a removable panel but because it’s wrap around you absolutely need clear ground in front, it has moulded sliders.

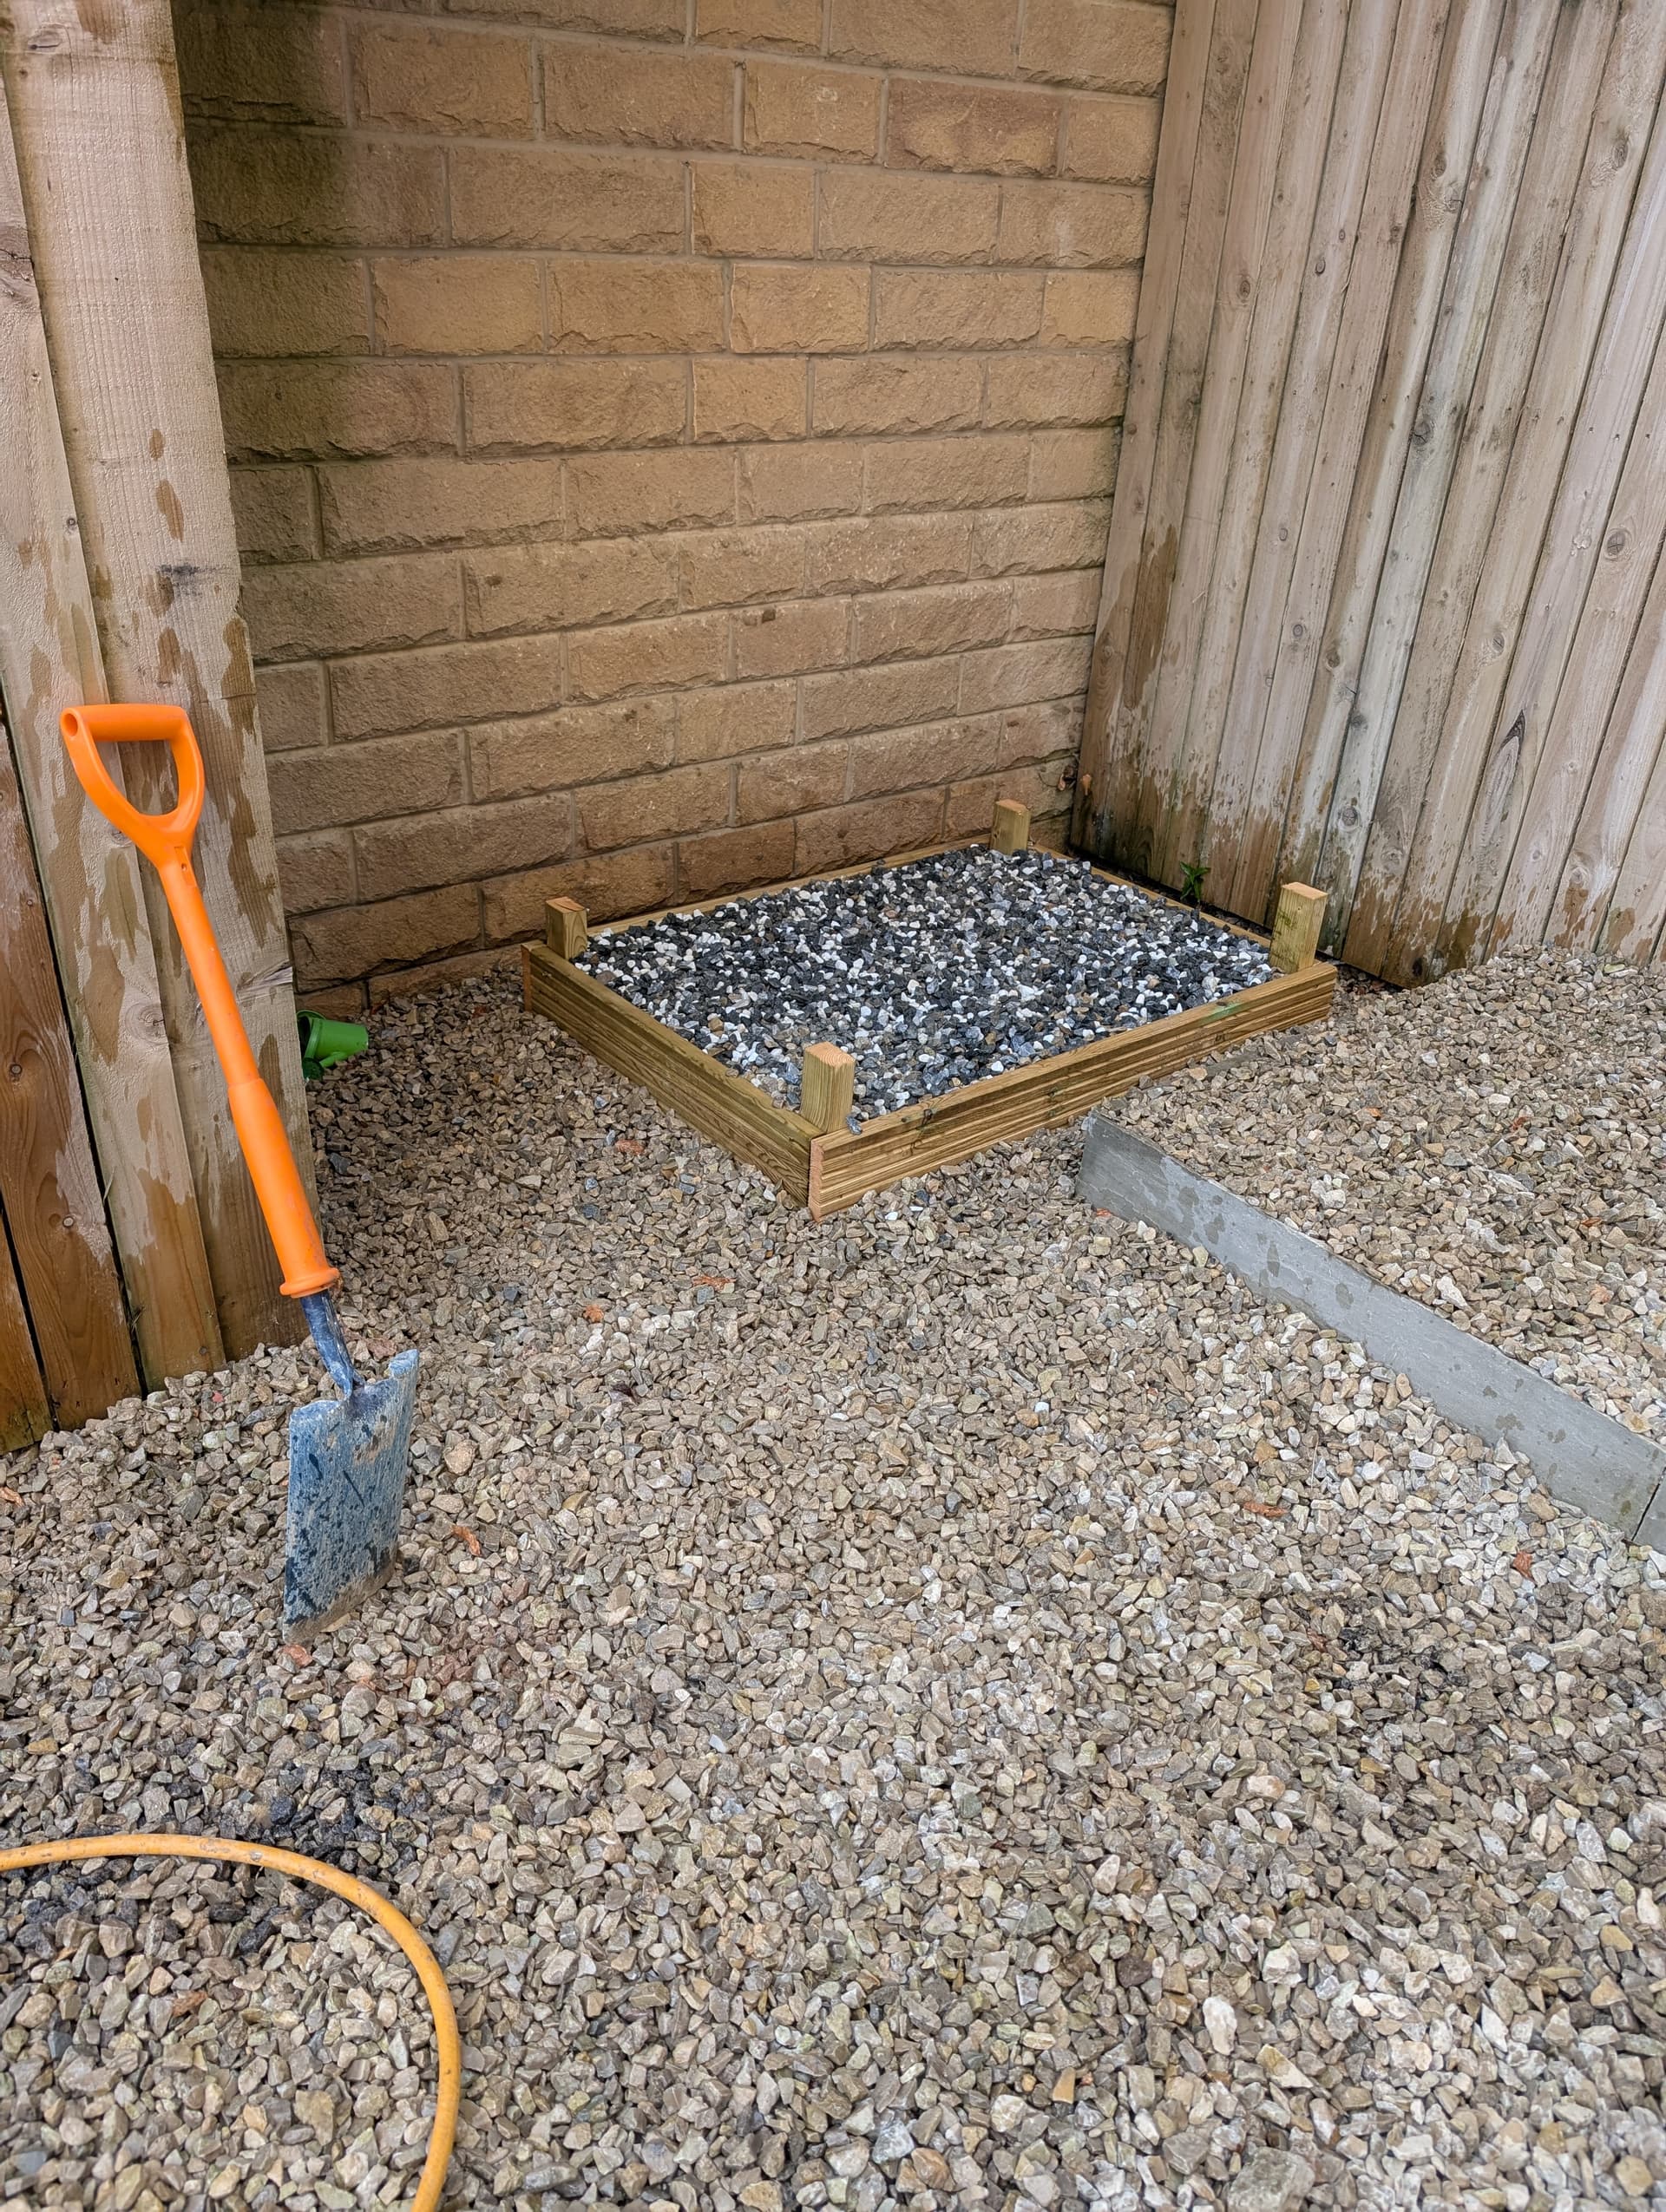
I’ve also found out that in no way shape or form can the cosy 9 condensation drain go into soil stack or grey water waste - I have not had a solid confirmation on this but apparently the volume of R290 means there is a auditable risk of that leaking into drainage system… So soakaway only! Daikins apparently have a no return valve to prevent this.

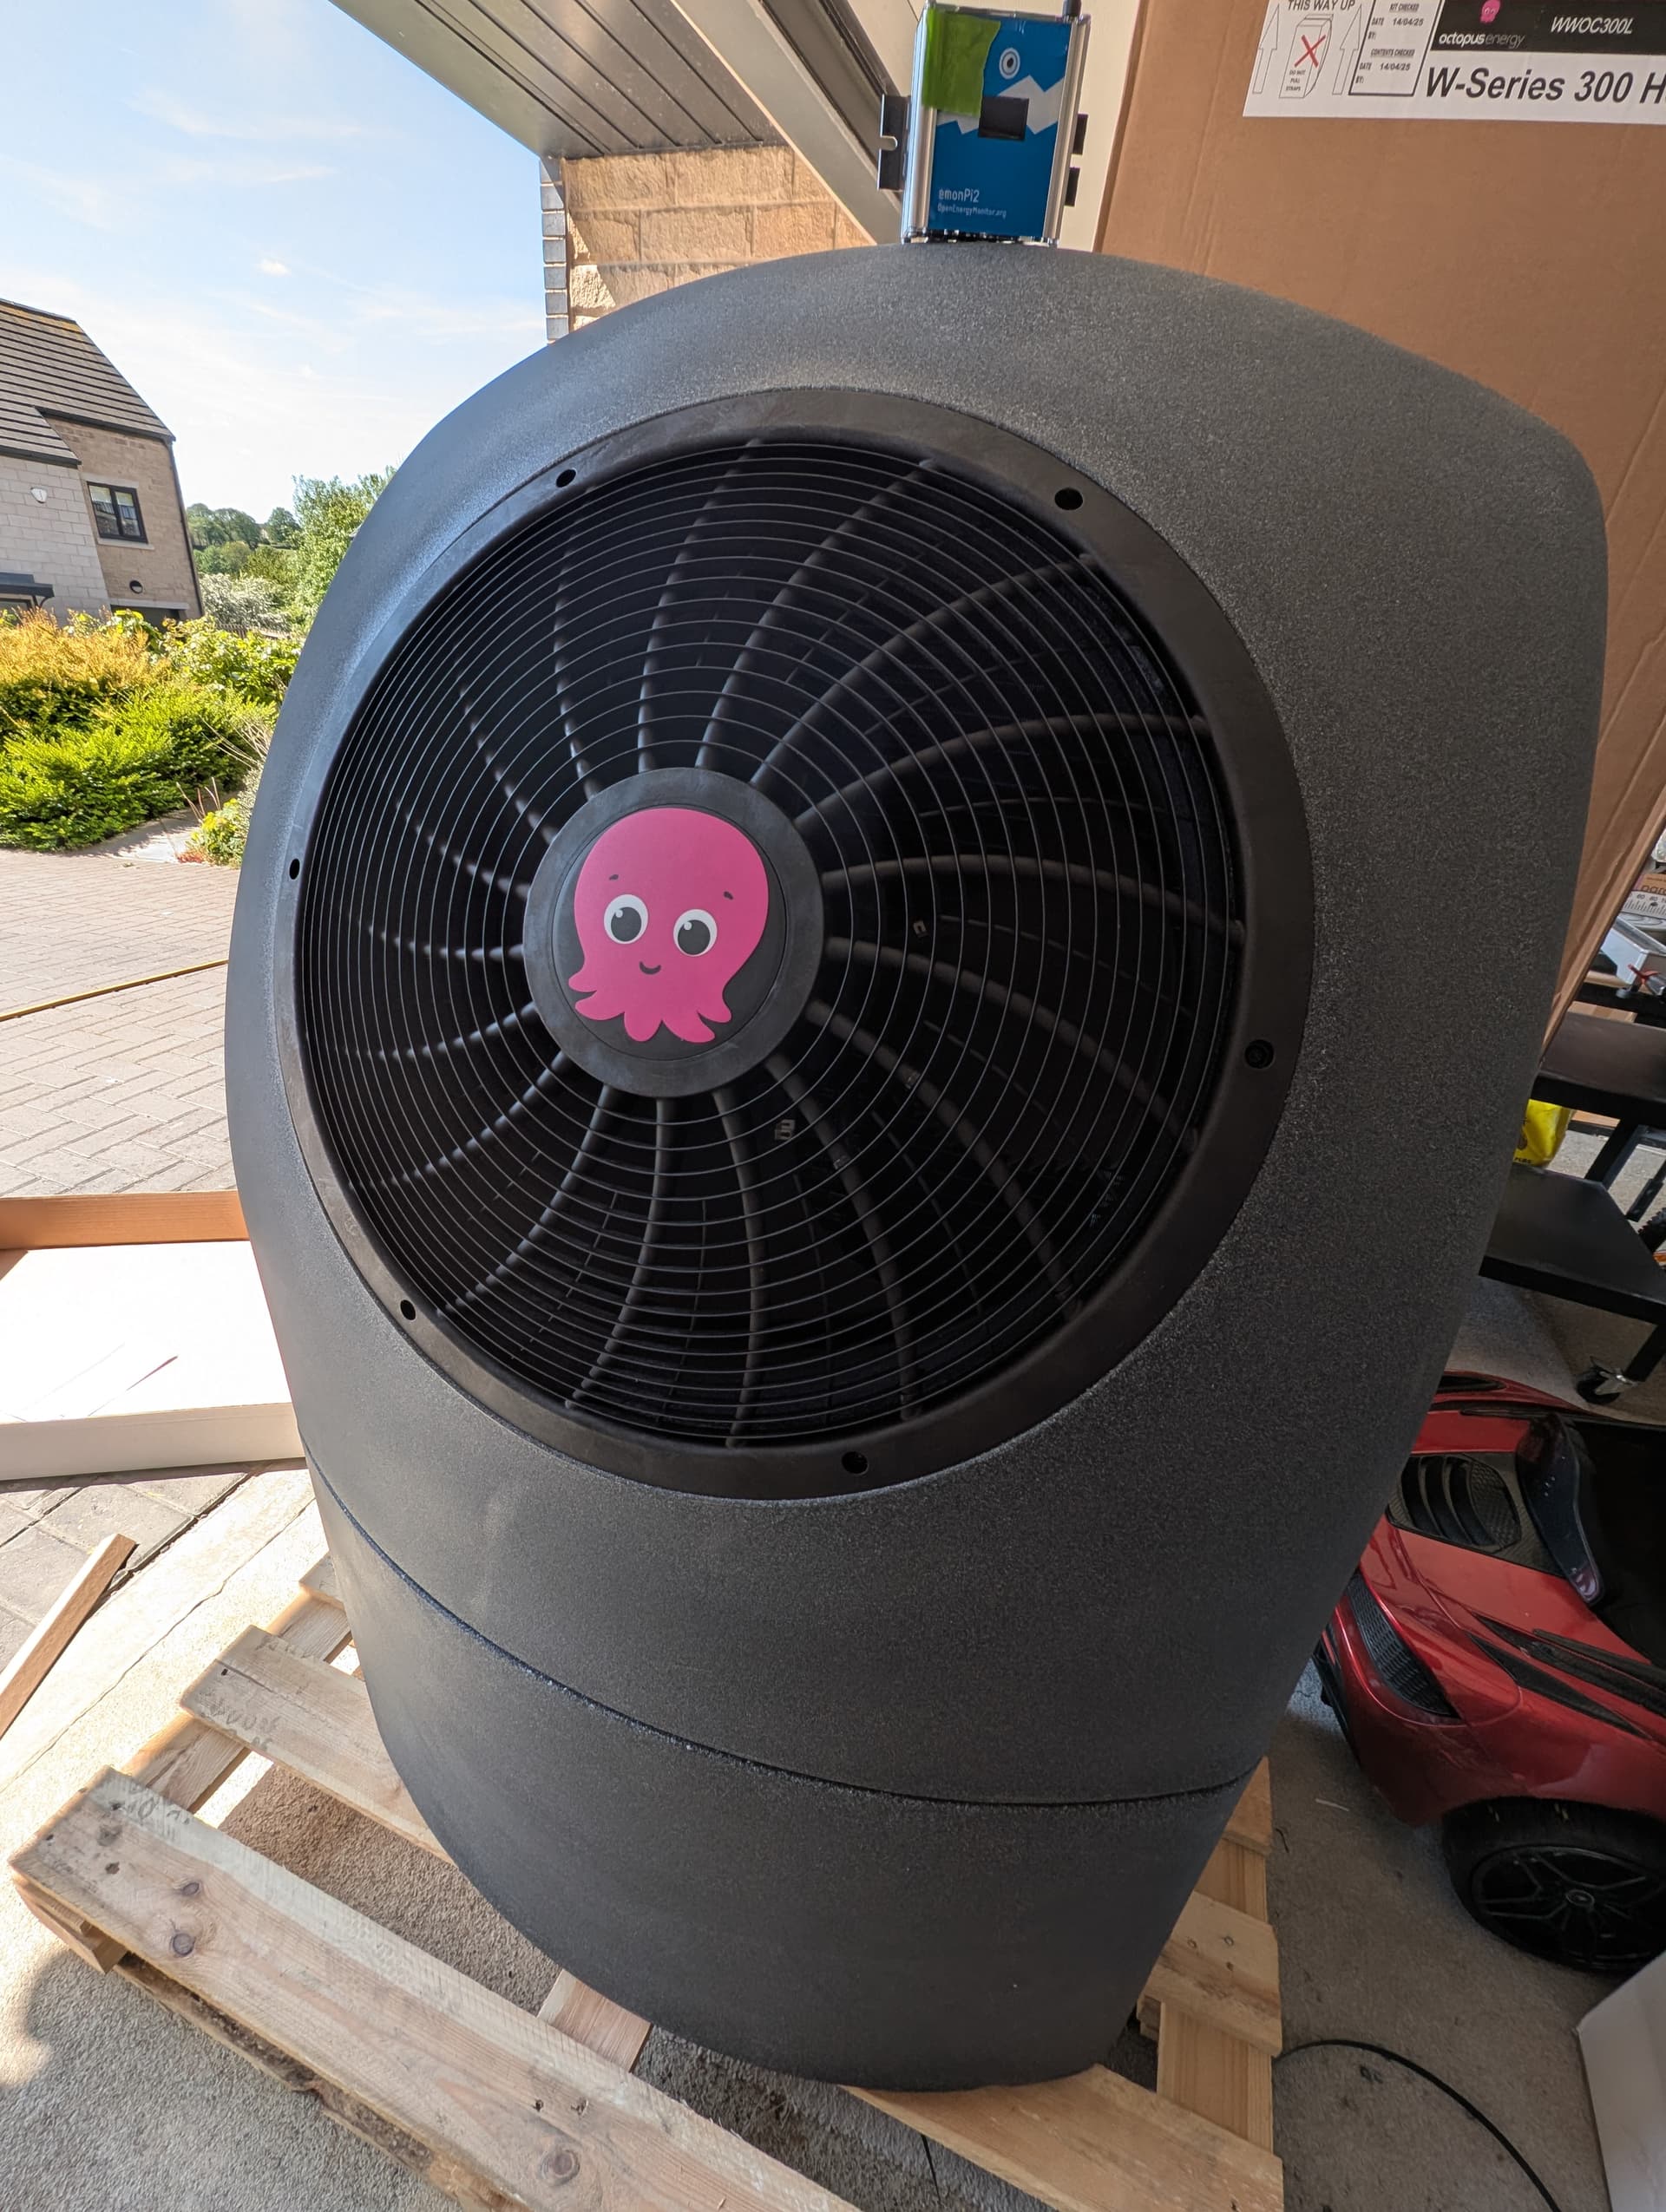
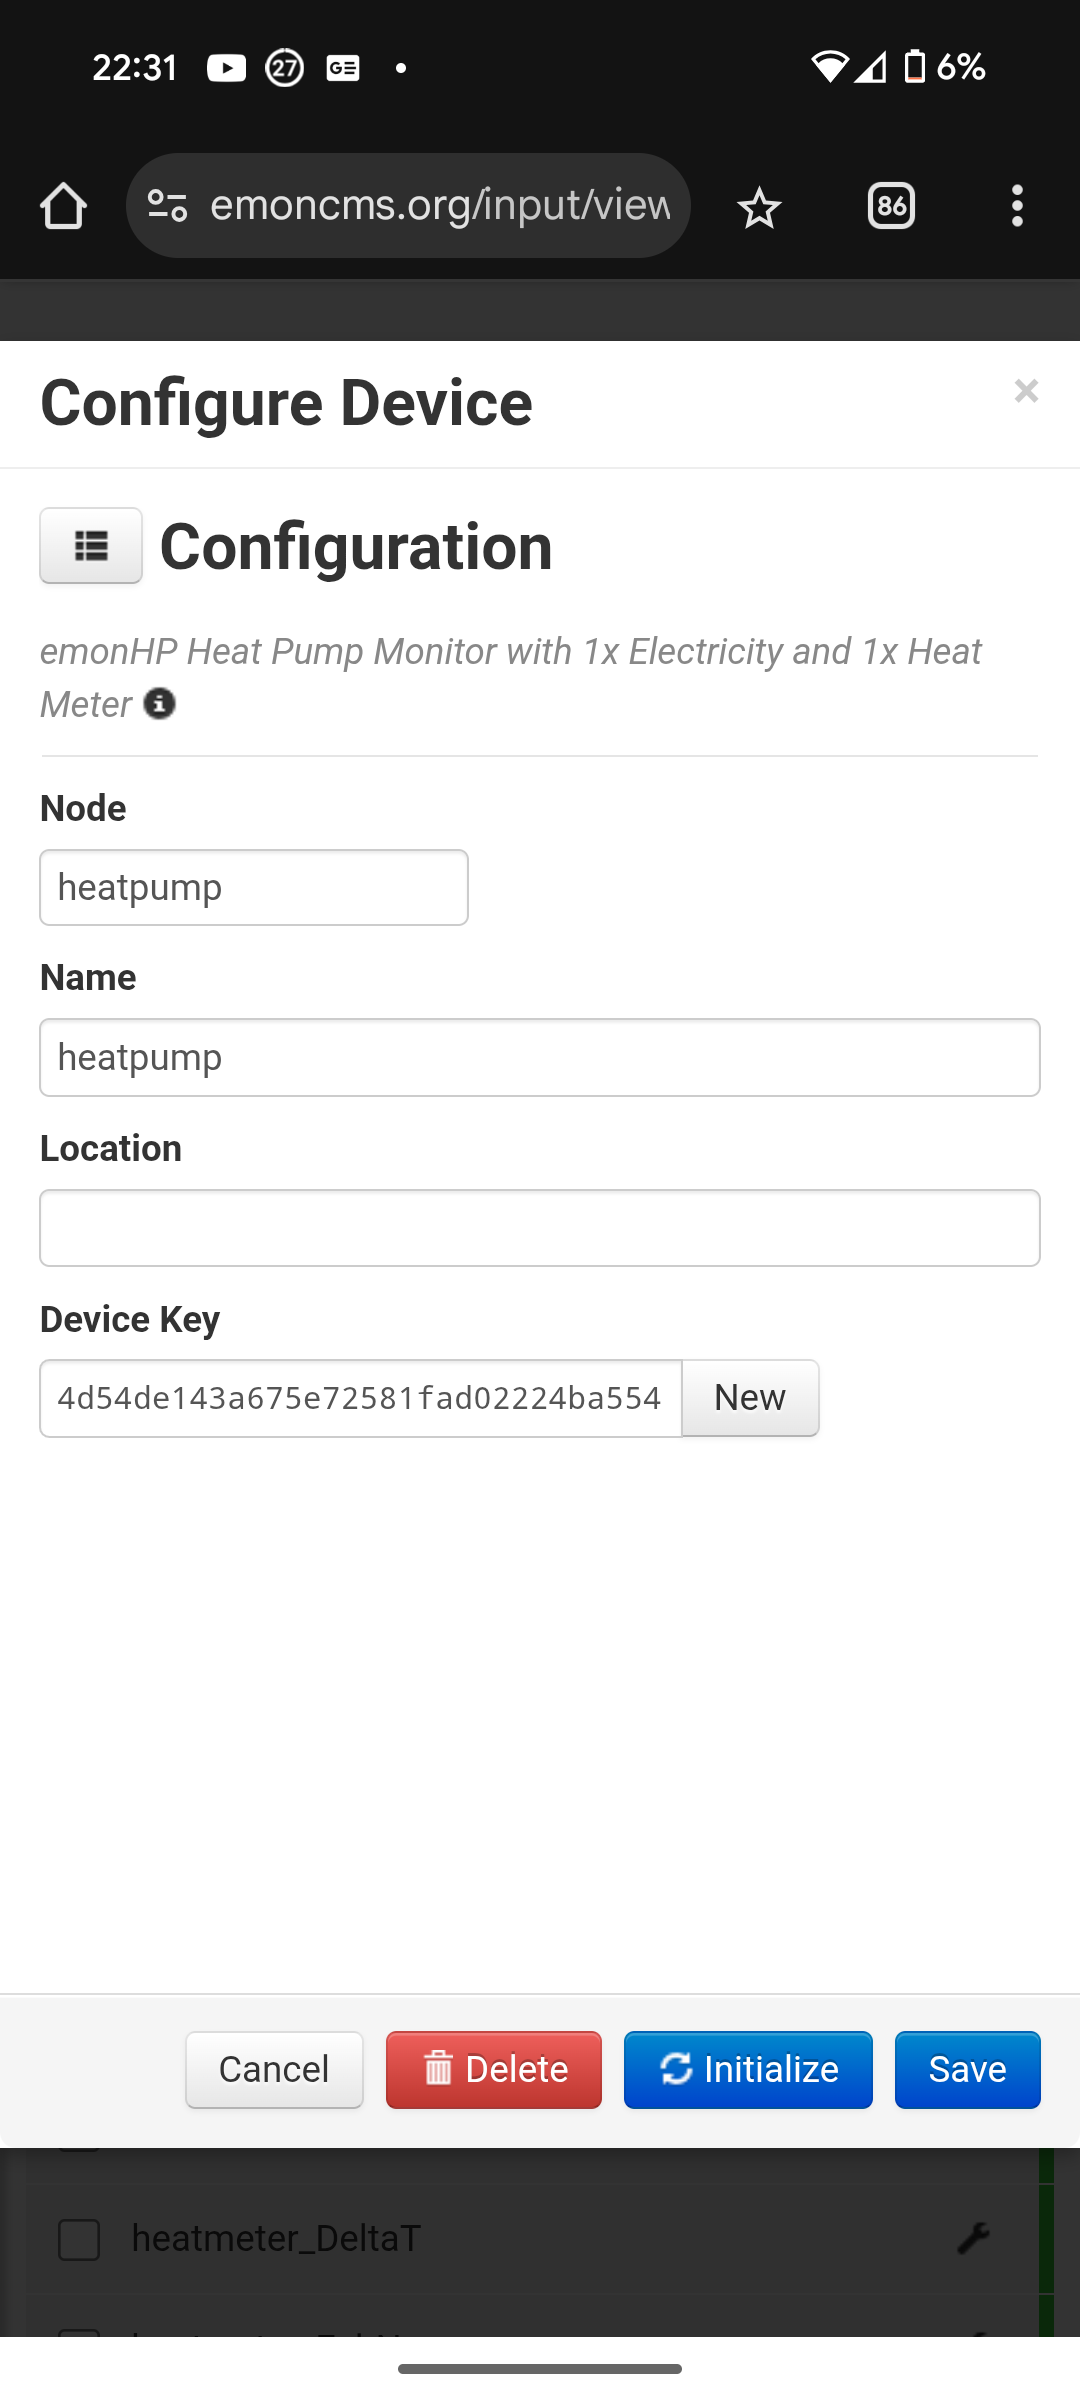
I have the system here so I will take some internals soon. Box states 4.65 COP @ 8kW. 0.88 KG of R290.20A max current. UPML 25-105 130 grundfos.

2 Likes

Ikea induction hob FTW

I have an R290 Vaillant, but regulations in Germany around that are the same. A Vaillant service engineer confirmed to me that the (minimal) risk of R290 leakage into the drainage system is the reason why the condensation needs to soak into the ground.

Reading various labels…

USB C diag port.

Internal modbus.

CAN bus.

Lots of 10k NTC. Some clipped, some in solder pockets.

Inverter VFD seems to be a ED3 from emerson so I would guess that means it’s an Emerson Copeland scroll compressor. :+1:

SIKA flow sensor.

Some lovely lovely Easter eggs.

1 Like

Yeah this info has not reached the octopus surveyor, it could cause some issues but I’m sure it will work out.

@Ringi I am fairly sure it has a new 120hz copeland HG YHV compressor inside (probably the 8.4 m3/h size), so it should run down to 700W.

Pump is in. Level 3 monitoring is working but I’ve no idea how to add it to heat pump monitor.

:+1:

1 Like


2 Likes

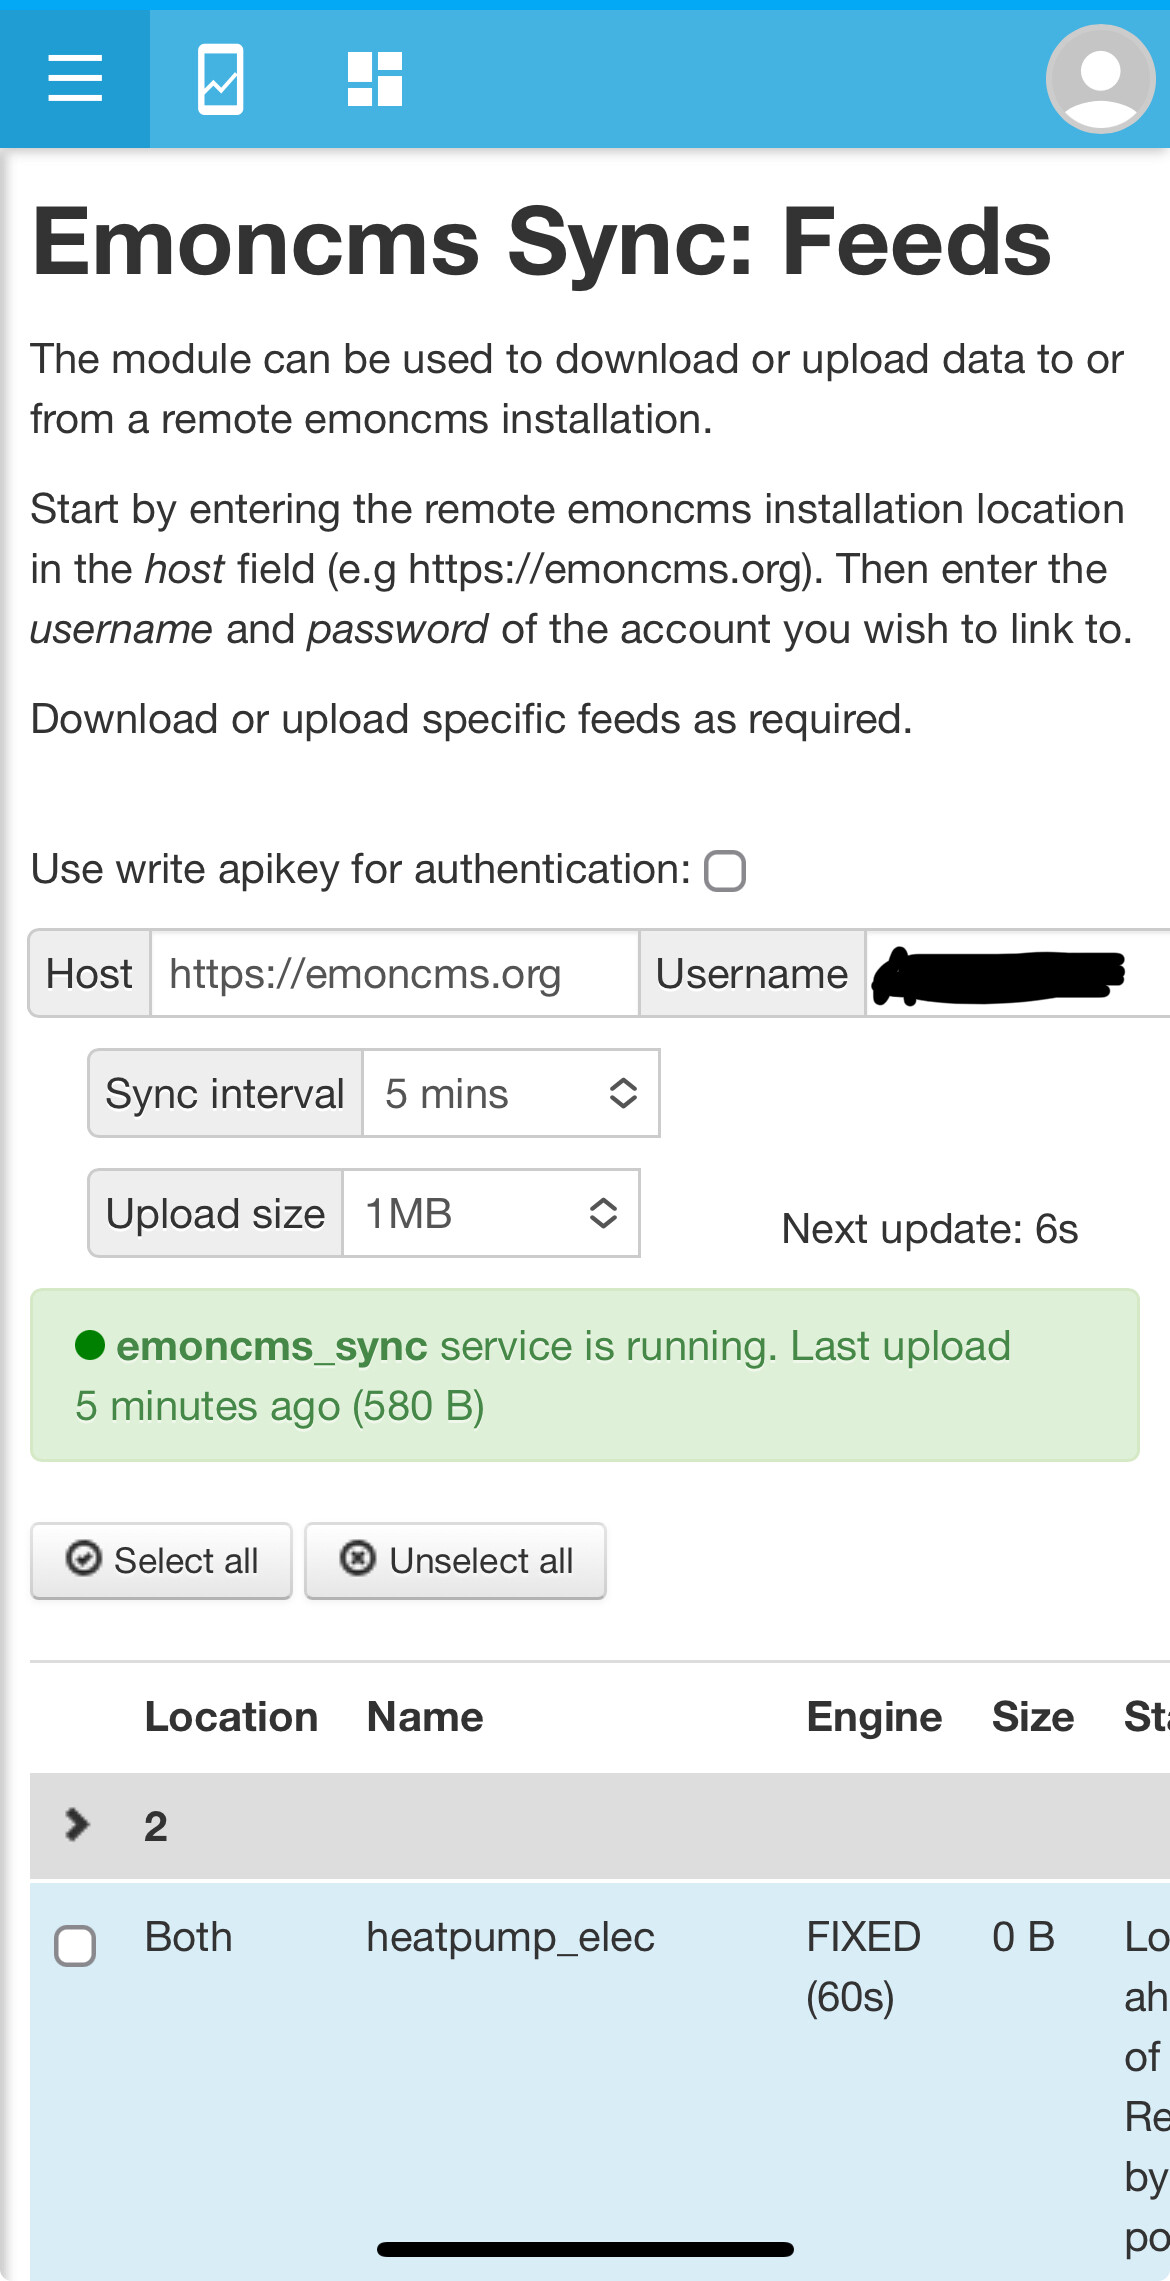
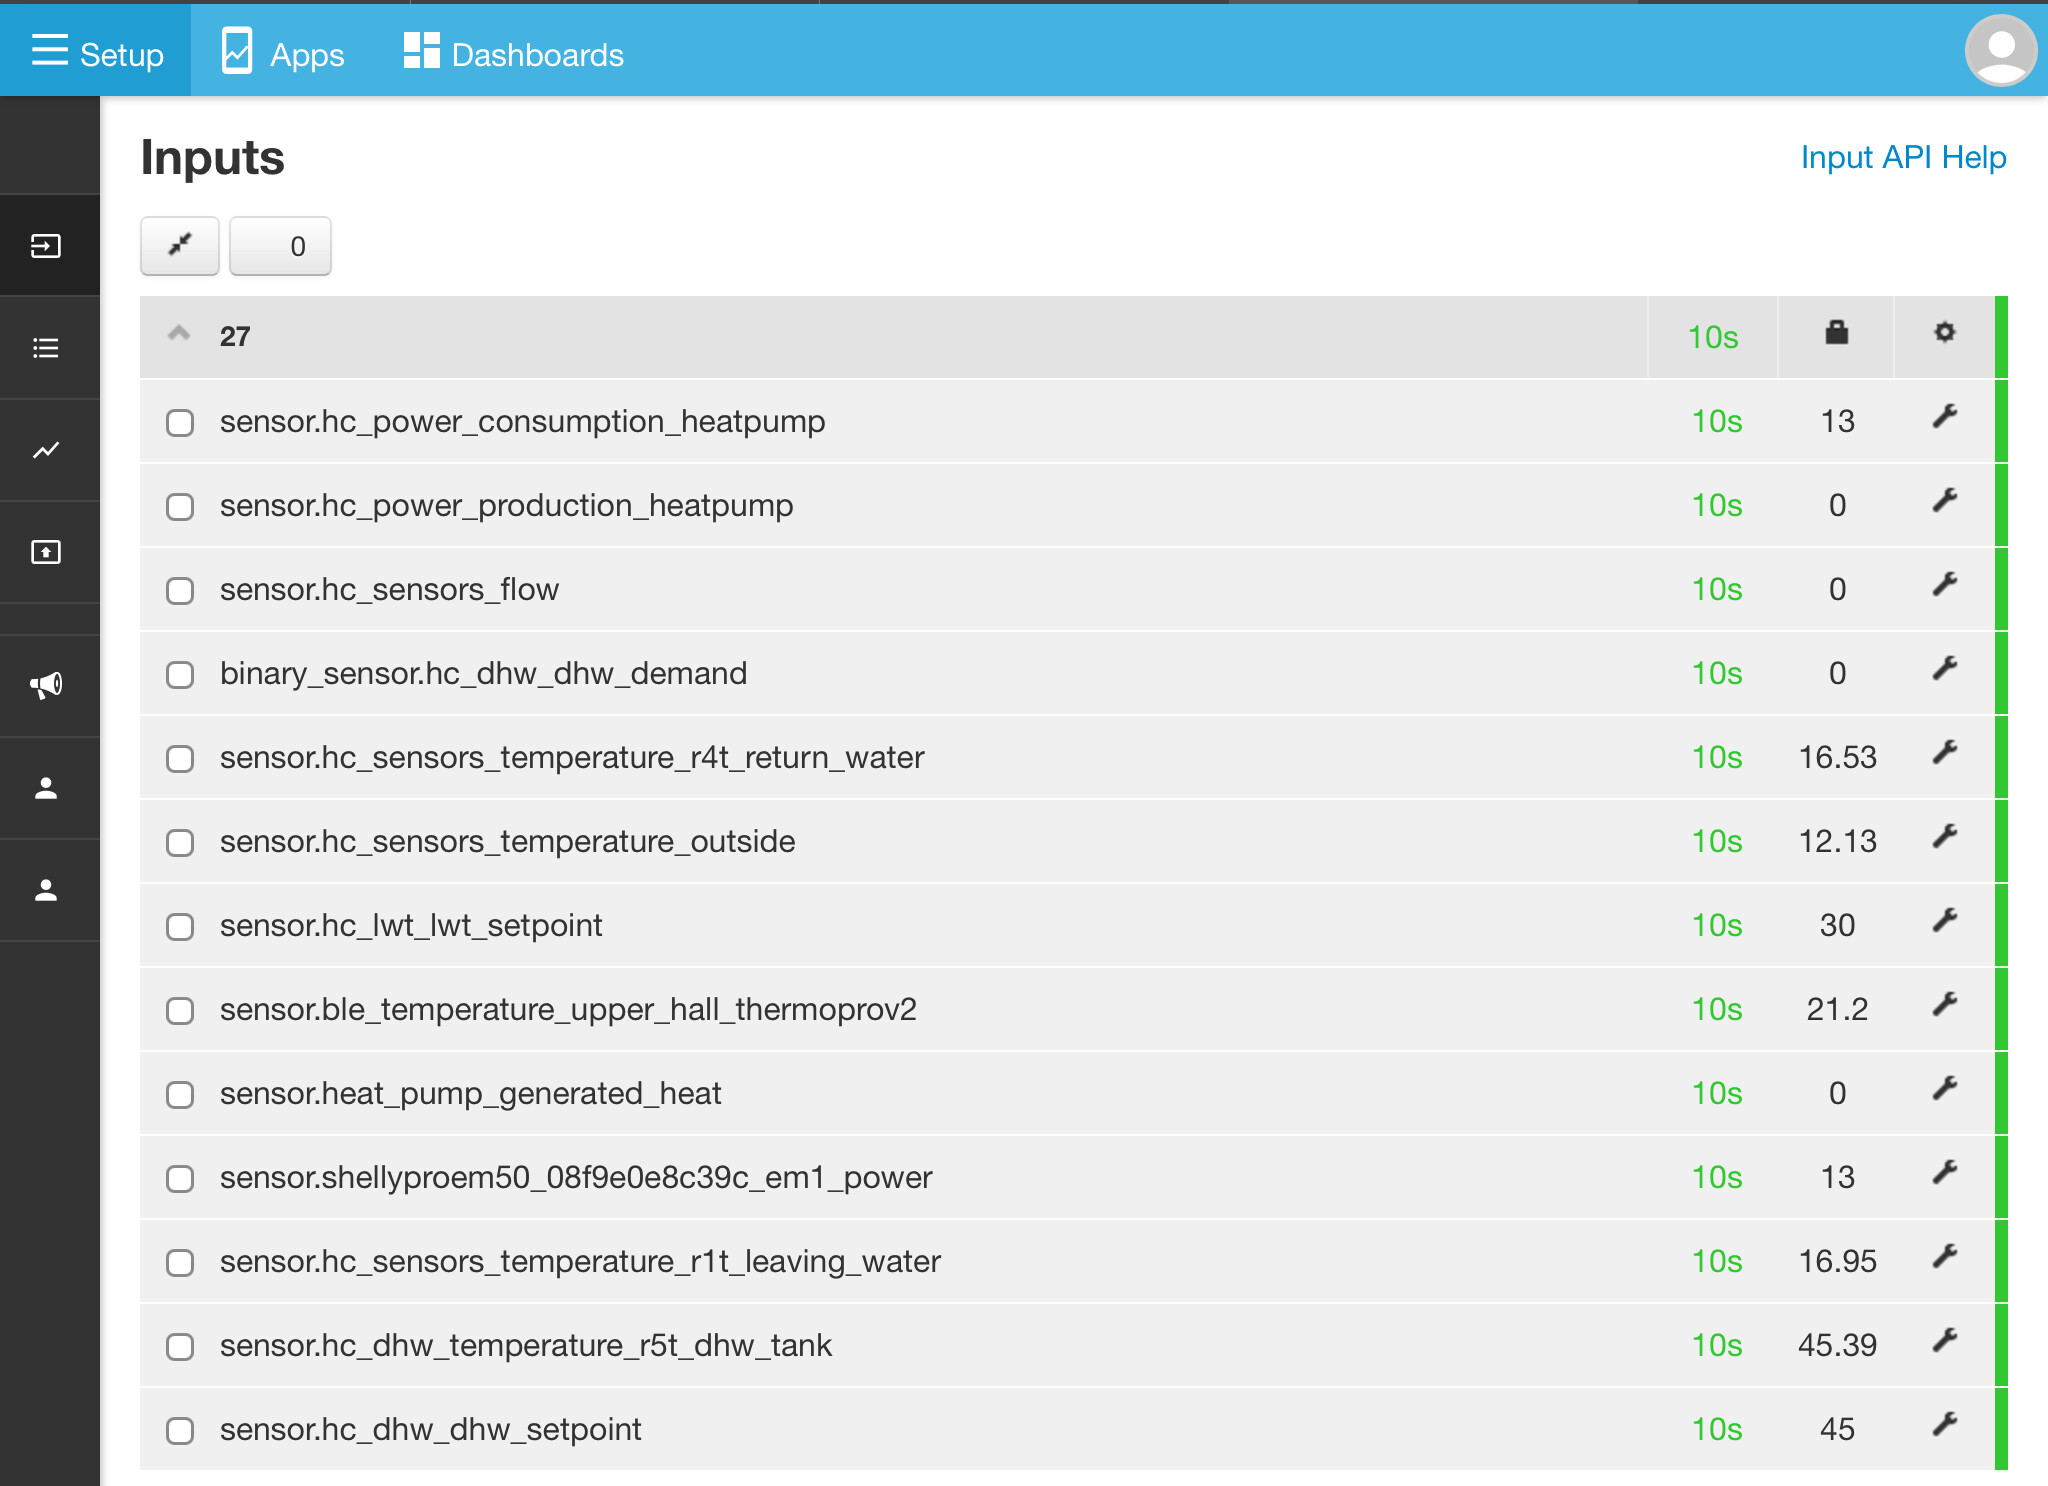
Sync the feeds from your local instance to emoncms.org, set up the app on there, then make public. You need credits on there from the shop. If you bought kit from them, you’ll have got some credits free. Sign into heatpumpmonitor.org with emoncms credentials and fill in the form under My Systems.

OK I got it working.

I don’t have a outdoor temp sensor in the emonpi, I also can’t the Cosy 9 temp sensor into emoncms.

I have it as a sensor entity in HA thats working, but I cant work out how to add an inputnode to write the sensor to emoncms for use on the app.

Cool. emoncms history integration will enable you to send the outdoor temp sensor straight from HA to emoncms.org. You have to configure it via YAML with your emoncms API key.

Yeah ive tried but I cant get it to work. I can’t seem to generate a new inputnode for it.

emoncms_history:
  api_key: *****************************************
  url: https://emoncms.org
  scan_interval: 30
  inputnode: 19
  whitelist:
    - sensor.octopus_energy_heat_pump_**********************_live_outdoor_temperature

And I dont see any new inputs in emoncms.

You are adding it to InputNode 19, is that the node number of the “heatpump” input group?

Have you expanded that group to see if it has appeared there?

I don’t know the node id of heatpump

It’s not appeared. :sob:

As an alternative: Configure the local emonpis MQTT server in Home Assistant and push the data via MQTT to the emonpi. Alternatively usethe Node-REad addon for HA which can easily dend any HA sensir via MQTT so it appears in emoncms. The latter is the approach I’m using. Currently on the road but happy to provide mire info if needed when I return.

Click the cog on the right of the Heatpump node

It’s not there just a key that’s not an int

Looks like your node id is heatpump, maybe try that instead of 19.

  • The node parameter can be an unquoted string e.g: emontx or a number e.g: 10.