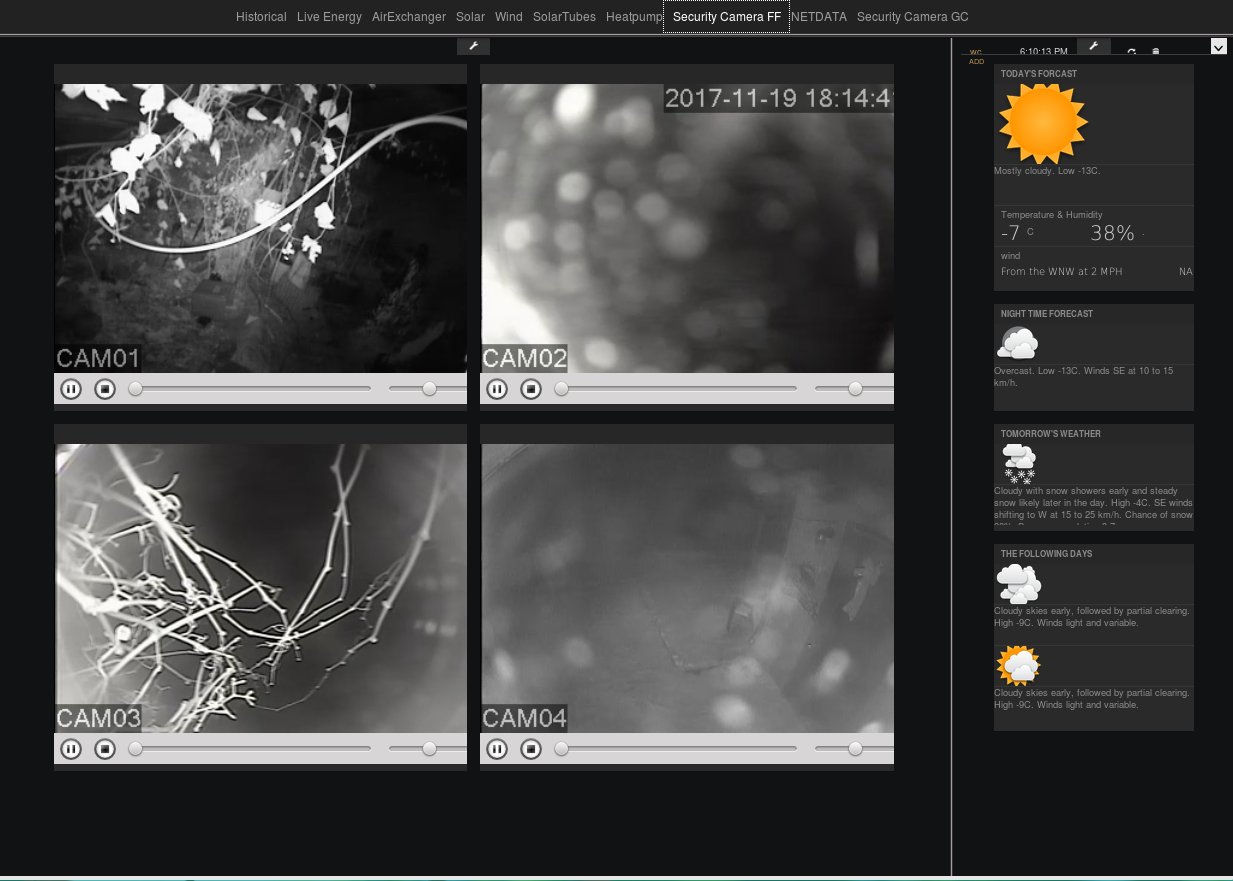
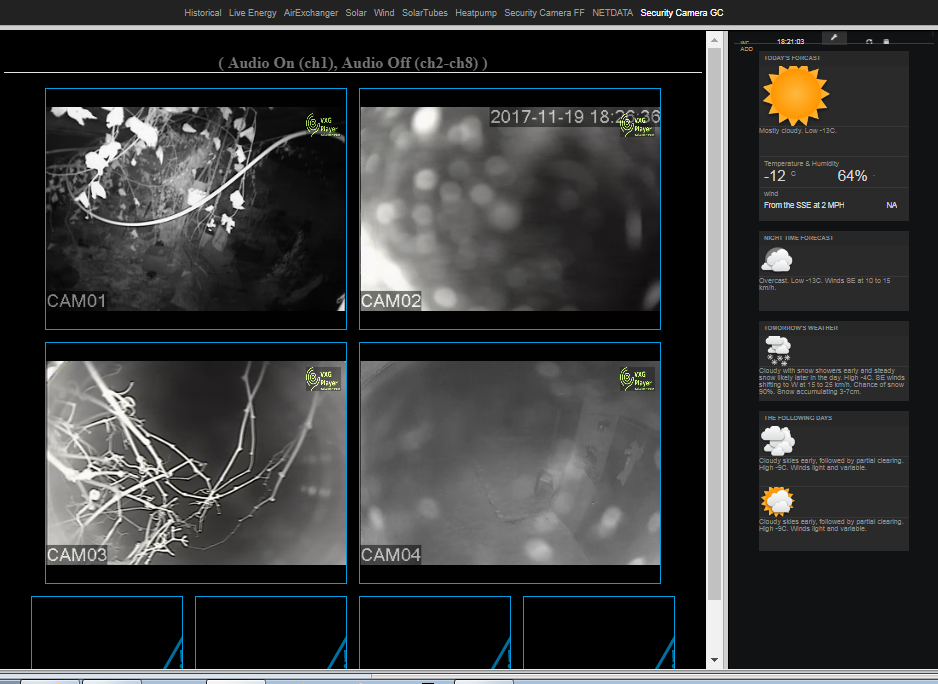
Here an Updated method for freeboard IOT interface for Banana, and other PIs for mQTT and emontx - it still my fave for IOT for ease of use …
setting up a bananian iot ( or other PI type hardware) the quick way
first install your image to SD
update and upgrade it
install apache2 – optional only if you want interactive interface in freeboard
change listening port to another port other then 80
nano /etc/apache2/ports.conf
if you wish to install influxdb
add this to source list
 nano /etc/apt/sources.list
 deb https://repos.influxdata.com/debian jessie stable
add this for websocket enabled mosquitto
deb http://httpredir.debian.org/debian stretch main contrib non-free
update and install
apt-get update
apt-get install mosquitto
apt-get install mosquitto-clients
mosquitto websocket config
nano /etc/mosquitto/conf.d/websockets.conf
add this to it
listener 1883
protocol mqtt

listener 9001
protocol websockets
once installed disable them – put a “#” in front of them
if you wish to test websockets install hive
cd /var/www/html/
git clone https://github.com/hivemq/hivemq-mqtt-web-client.git mqtt-web
chown www-data:www-data -R mqtt-web
to view webpage
http://localhost/mqtt-web
Install Node Red
 curl -sL https://deb.nodesource.com/setup_4.x | bash -
 apt-get install -y build-essential python-dev nodejs
Before installing Node Red if you had an earlier Node.js installation it is a good idea to…
npm cache clean
Now it’s time to install Node Red.
npm install -g node-red
You will see tons of warning and gyp errors that you should ignore. You will probably also see an error about the Bananian OS, that you should ignore also. After about 5 minutes, you will have Node Red installed on your Banana.
To start Node Red you can run the following command(and change the size of RAM in MB that Node Red will use from 128 if you want):
node-red-pi --max-old-space-size=128
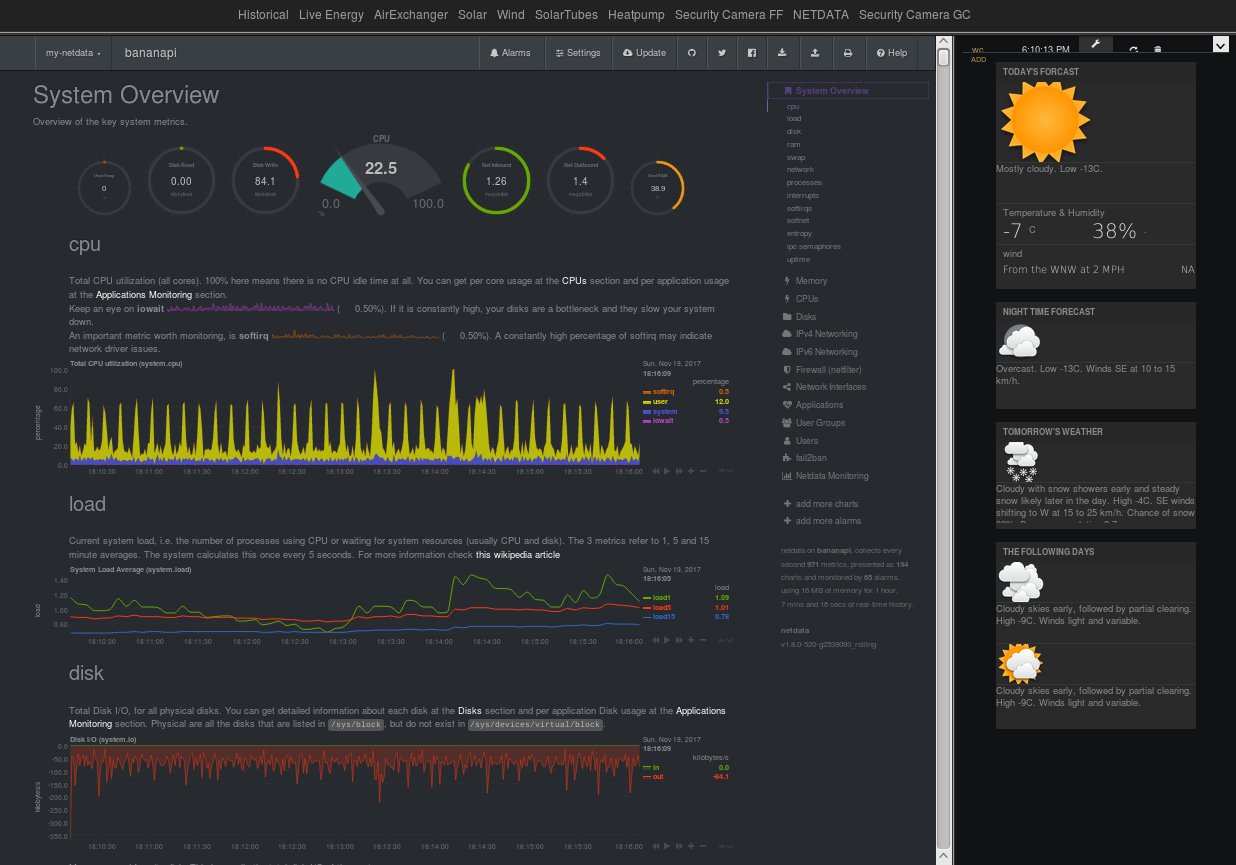
You can open your browser, go to :1880 and you should see Node Red running.
now there are a couple methods to install freeboard
for basic install
cd /var/www/html
git clone https://github.com/Freeboard/freeboard.git freeboard
chown www-data:www-data -R freeboard
problem with this is the newer freeboard they disable the save interface it only saves a json file that needs to be loaded at start
but this is my prefered method a pre compile version of node-red freeboard but with newer version of node-red freeboard is broken and require alot of reconfiguring to get working.( this version its interface is saved and load directly at start)
the simpler way download this precompile package it contains everything all the plug ins are preconfigured and MQTT is working directly from with freeboard or you can also configure it through node-red interface if you like using all of node red modules in freeboard
download this:
https://ufile.io/uy2oa
sorry link is good only for 30 days if expired let me know and i will upload it again - maybe I will find a free fileserver for it that does not expire or if someone has a suggestion let me know
extract it to your working directory
tar zxf 2iot.tar.gz
now simply cd in to it
cd iot/node-red
node red.js -v -s settings.js
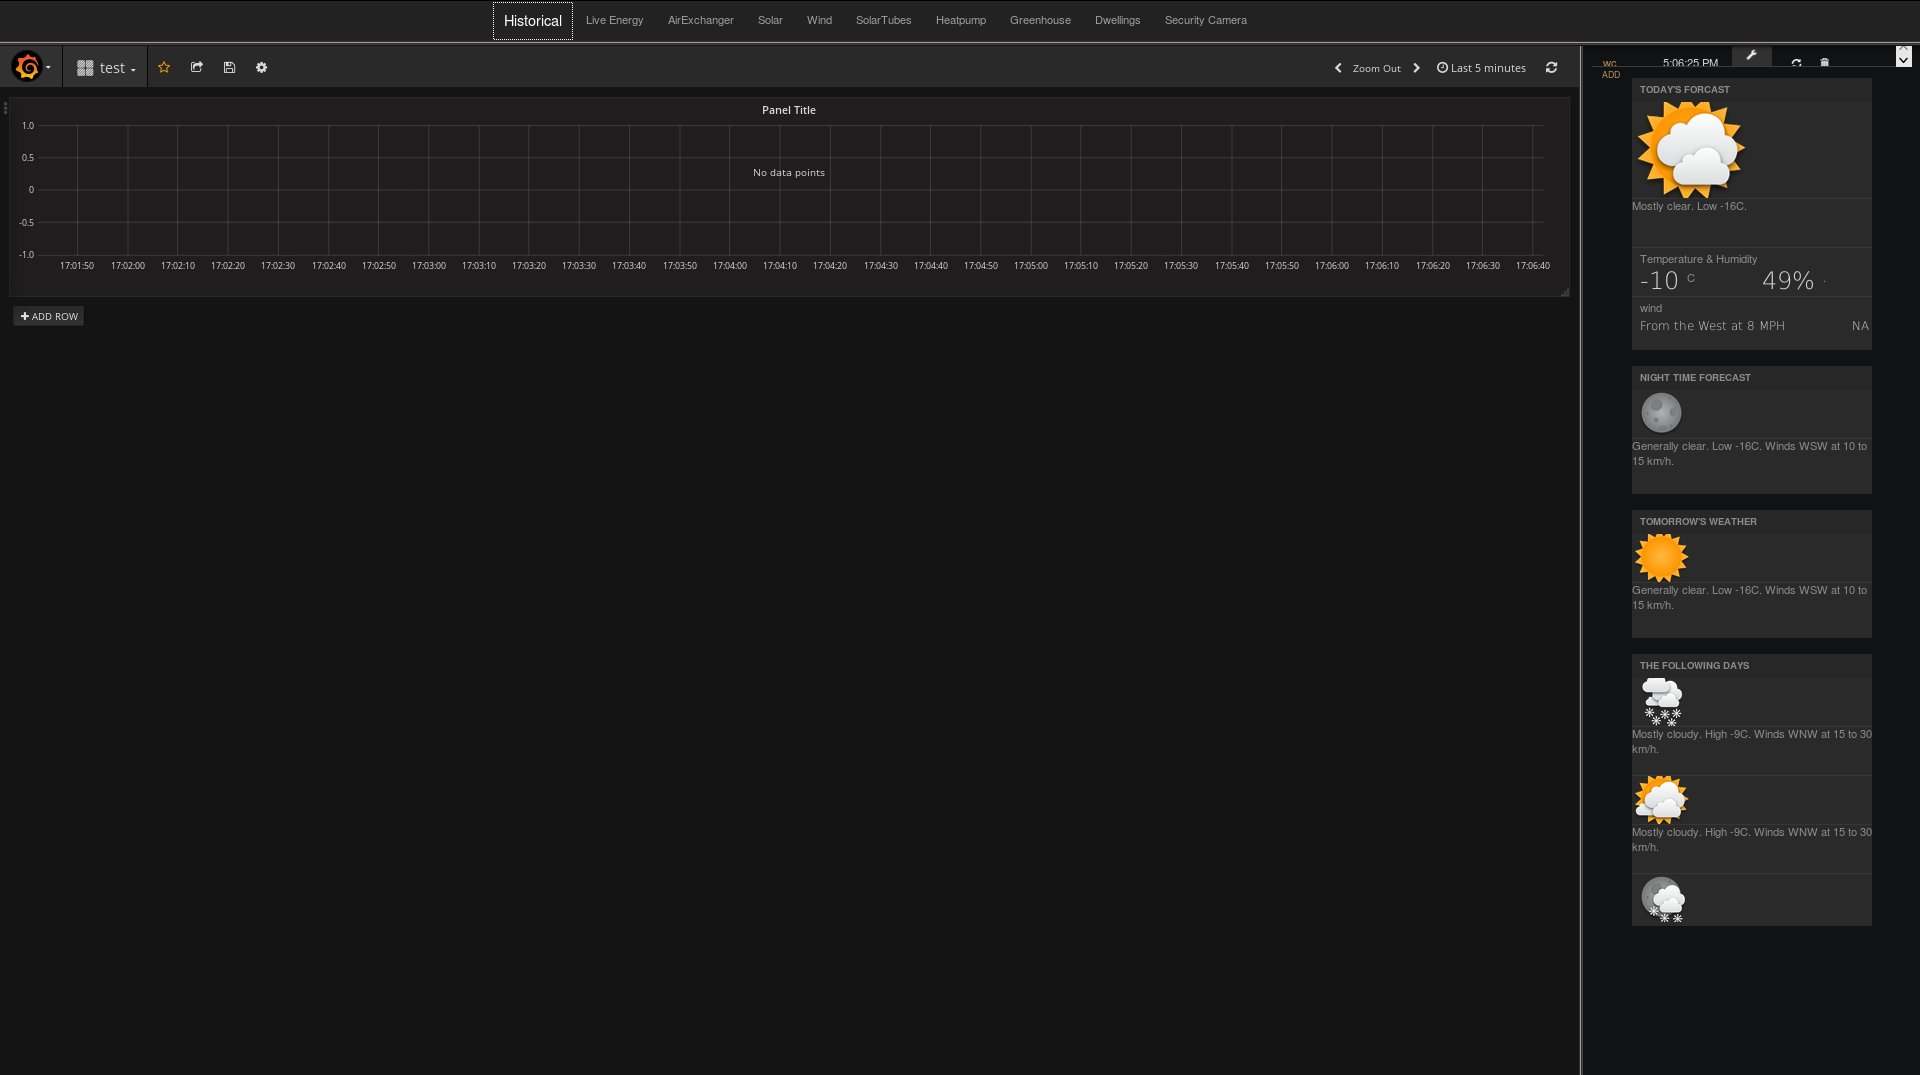
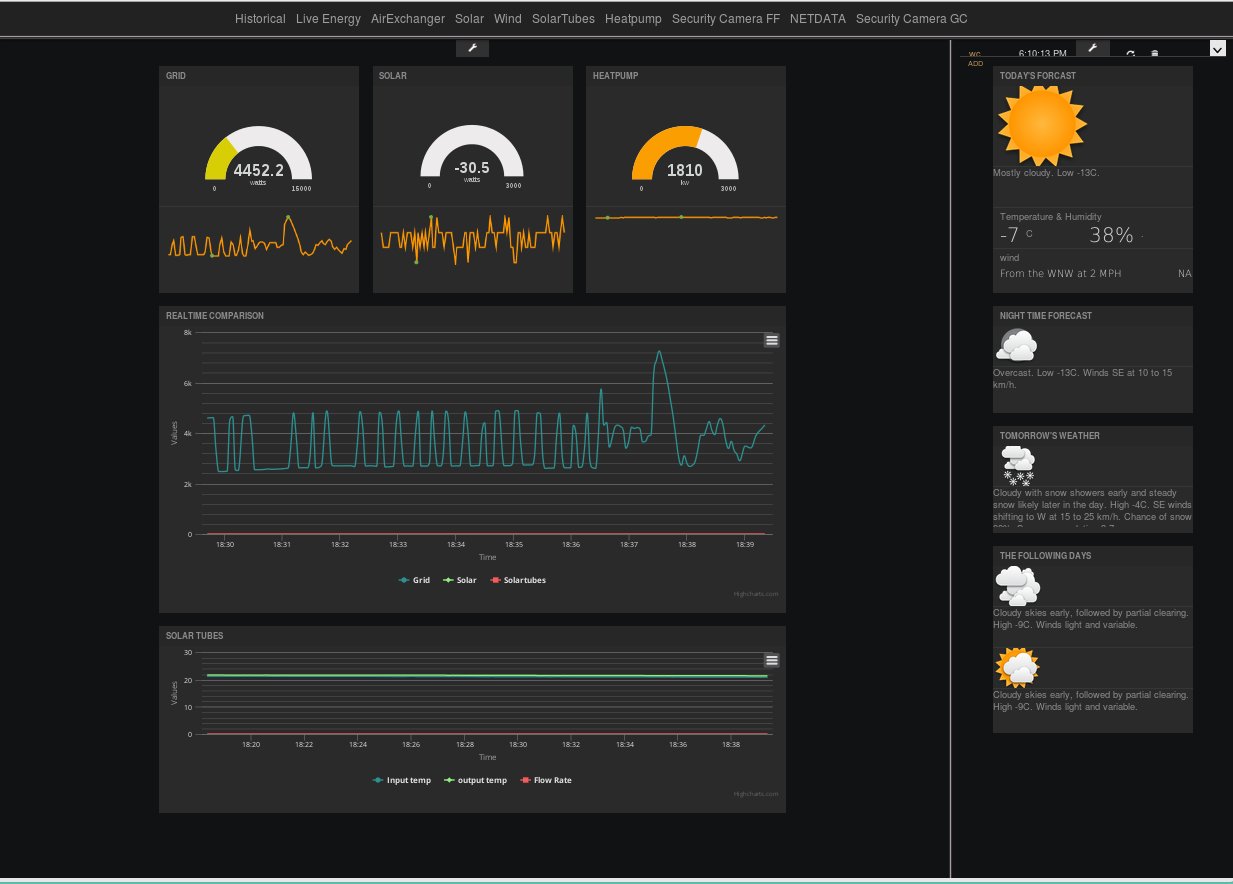
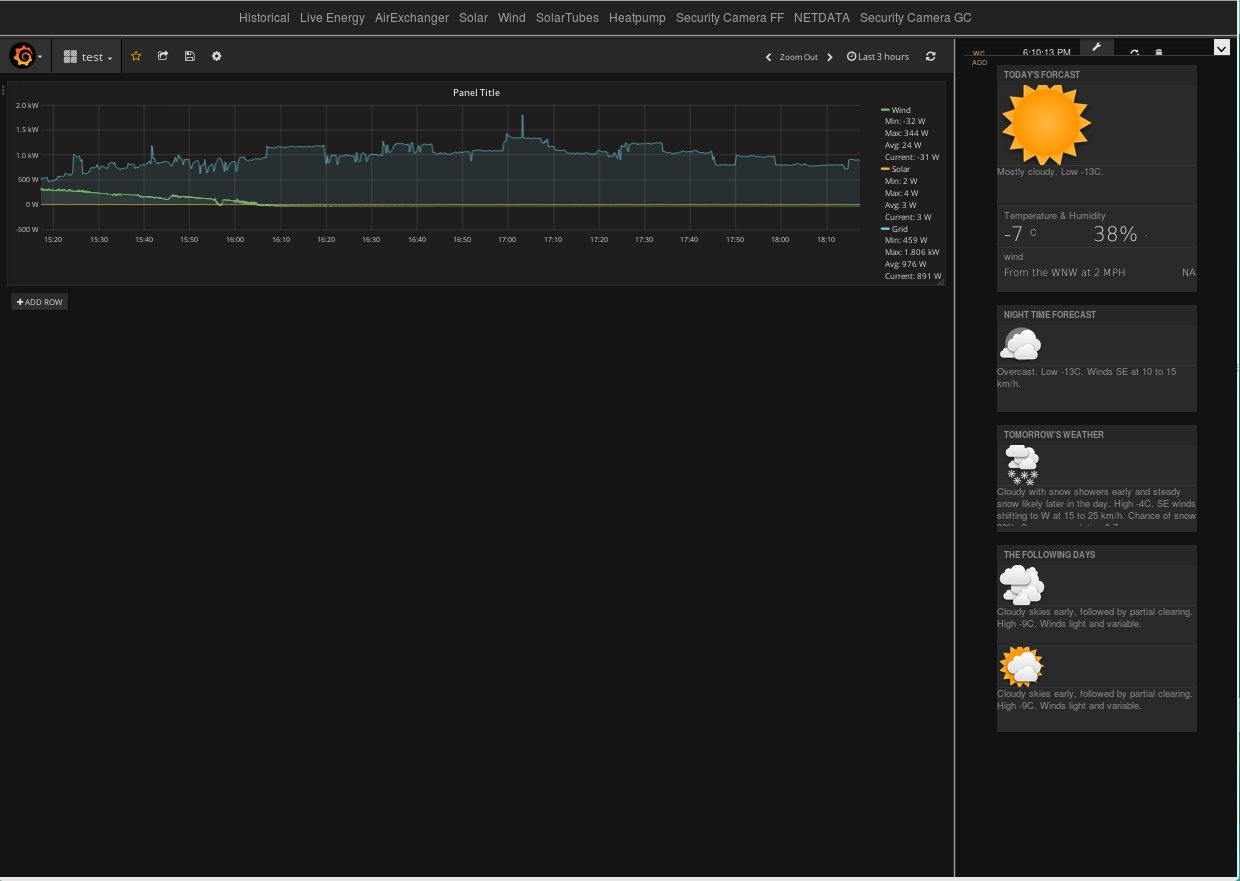
freeboard is accessible at http://localhost/freeboard
this way will run on your normal node red folder modules but also run the modules with in this iot folder that contains freeboard . you can install newer modules in newer node-red yet is stay compatible with freeboard
this version i uploaded is preconfigure for port 80 ( so if you install apache webserver change listing ports or change node-red’s – setting .js)
also security has being enabled
so you will need to edit
   cd iot/node-red
   node -e "console.log(require('bcryptjs').hashSync(process.argv[1], 8));" your_password
then edit the section in setting.js and insert yours hash for you your_password
To have Node Red start on boot, you can install PM2, a process manager for Node.js.
npm install -g pm2
create a bash file called iot.sh ( set it permissions as executable) insert this
#!/bin/bash
cd /home/user/iot/node-red/  (
node red.js -v -s settings.js
You can have Node Red autostart by placing the following commands:
pm2 start /home/user/iot.sh
pm2 save
pm2 startup
if you wish to use the interactive plug-ins for freeboard you have to enable cgi
 cd /etc/apache2/mods-enabled

 sudo ln -s ../mods-available/cgi.load

 sudo service apache2 reload
extract and copy this file to it
mqtt.tar.gz (477 Bytes)
but you can check this post for more info on that A Howto install freeboard with MQTT for emontx shield - #11 by stephen
but since apache not using port 80 for CGI you have to insert your port number in
example:
http://localhost:81/cgi-bin/MQTT.pl?topic/test+12347
– Banana pi specific —
if you wish every thing to run on a SATA HHD instead of a SD
do this ( be weary - if you mess up you will need to reinstall again)
Prepare the partitions
fdisk -l
That should give you a list of the disks connected to your Banana. You will most probably see a disk /dev/sda, and that is what you want. From here on you will need to delete all partitions from your hard drive, so don’t continue unless you backup any data you might have in there. Once you are ready to proceed…
fdisk /dev/sda
There are several options there. You will need to delete all partitions and then make a new one. So the options you should select are:
d
If there are multiple partitions, first delete partition 1(type 1 and enter). Repeat the process until all partitions are gone. Then to write the partition table changes:
w
Let’s enter the partition manager again:
fdisk /dev/sda
Create a new partition:
n
and make it a primary one:
p
Enter 1 as the partition number and select the default values of start and end sector(simply press enter), and at the end write the changes to the partition table:
w
Now to format our new partition to ext4 and mount it as /dev/sda1:
sudo mke2fs -t ext4 -L rootfs /dev/sda1
Copy the OS to the SATA drive
Now to copy everything to our hard drive. First, we need a temporary mount point where we will mount our SATA drive:
mkdir /tmp/sata
mount /dev/sda1 /tmp/sata
and let’s copy everything. That should take a few minutes, depending on your SD card, your SATA drive and how much data there is to copy:
rsync -arx --progress / /tmp/sata
Prepare the Boot partition
Once the copy is over, let’s prepare the boot partition so that the Banana will use the SATA drive.
mount /dev/mmcblk0p1 /tmp/boot


nano /tmp/boot/boot.cmd

after changing to
… root=/dev/sda1 ..
 apt-get install u-boot-tools
 cd /tmp/boot
 rm boot.scr
 mkimage -C none -A arm -T script -d boot.cmd boot.scr
reboot your bananapi and it running on SATA
good luck have fun