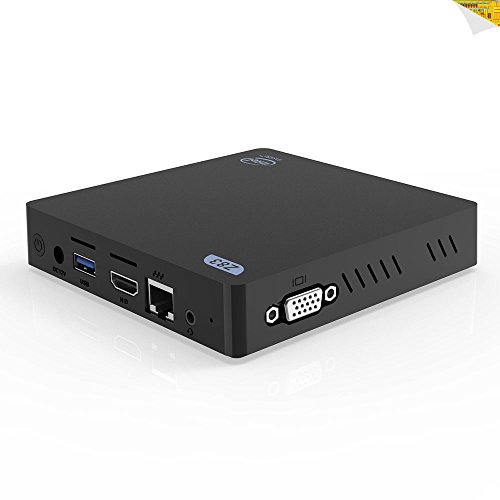
Hi there for those who might be interested in setting up mini PC ( ie in my case an alfawise V83 - which is a 64bit - 1.92 Ghz quad core intel motherboard that has blue tooth 4.0 - wifi 2.4 & 5.8G giga lan with dual monitor support (hdmi & vga) 3 usb and 1 SD
- that I got on amazon for $50 normally 99.00… ( little trick if you leave it in your cart and ignore for a couple weeks amazon will usually send a coupon to make it cheaper work for most stuff)
struggle to get linux installation on this device for a few days… as it not so straight forward. and this is what i found to be the best method to do so…
first off download a copy of Lubutu 18.10 64bit pretty much all the hardware works properly in this version. in other version of ubuntu the HDMI sound does not always load up at boot for these mini pcs . but it also supporting the headphone/mic jack as well but you will need it connected at boot).
after you download it write the iso image to USB stick with your normal method ie: rufus
now this is what I found to to be the safest easiest method it will not mess up the windows 10 on these mini pc’s - once you do it once - you can skrink the partion as much as you can then image it - so as you can do it easily and quickly for other SD/flashdrives if you like
hopefully you have access to a modern efi computer-- laptop or PC ( or virtuall machine with efi bios that supports writing to hard drive directly ) - simply pull the harddrive out and then boot off the lubutu Live usb stick.
Then once it loads to the desktop insert your second low profile class 10 USB flash drive ( these devices supports up to 128 gigs) this will be your linux harddrive.
now simply double click install lububtu that is found on the desktop. and follow the prompts
When it gets to the portion about your harddrive… you will have to select “manual” then press “Next”.
after that press “New Partion table” and choose “GUID Partion table (GPT)”
after that press “create”
create a 200 - 300 meg partion with a file system of fat32 and a mount point of /boot/efi. with the flag of “esp”
next create a 1 - 2 gig “linux swap”
then lastly create a root dir . with a file system ext4 and a mount point of /
press next. and continue with the lububtu install…
once it is finished installing - reboot pull out the lubuntu install usb and test your newly built “lubutu usb harddrive”… if all goes well and it should boot up fine on the normal intel computer .
if so you are ready to continue 
insert the newly build “usb hard drive” into the mini pc - power it up and press F7 to get into the bios. go to Boot section and change boot priority so that the USD drives come before the windows manager. save and exit
it should now load linux instead of windows 10… once it is loaded
update and upgrade your OS
  sudo apt update
  sudo apt upgrade
after you do the upgrade it will also update and install grub for you and you will now have dual boot to the windows 10 computer if you want…
next you will need to install your wifi firmware for these little devices – for my Z83 it is AP6255 & AP6212
wget https://github.com/khadas/android_hardware_amlogic_wifi/raw/b6709758755568e4a0ff6e80993be0fc64c77fb9/bcm_ampak/config/6255/nvram.txt
then copy to firmware dir
sudo cp nvram.txt /lib/firmware/brcm/brcmfmac43455-sdio.txt
now simply reboot your device and it will have fully functional Mini PC. ready for you to install your IOT monitoring system
if using ubuntu bionic version most likely you will need to install zram it is ram swap compression software to limit writes to the SD as it set swappiness to 0 or close to zero (debian sketch it already installed)… if your device ram is 2 gig it increase it to ~3 gigs of ram space . before it tries to tries to SD as a swap ( but a good class 10 sd card or ssd has 20000 writes- so if you leave 25% of your hard drive space free for wear leveling the ssd or sd should last several ( +5) years as with my current configuration I rarely write to the SD swap. unless I have 10 - 20 firefox windows open. then i might push 100 -200 megs to SD - or if I am compiling I might push alot more…
sudo apt install zram-config
reboot to enable as it it is auto configures itself
in my case I used this device to install kodi and mycroft AI as an all in one device in my living room. it works very well like this and much smoother then an android device running kodi or kodi loaded onto the windows10 os … mycroft does not struggle with the cpu at all- like it was with corex-A7 at times… mycroft runs at about 15- 20% once it settles down… and with mycroft and kodi working at the same time it barely reaches 40%… I could easily add in my IOT monitor system and home automation to this little PC and it would not even notice it… ( and if my computer dies I probably just buy one of these and install linux on it and use a external hardrive as for data storage)
okay good luck have fun –