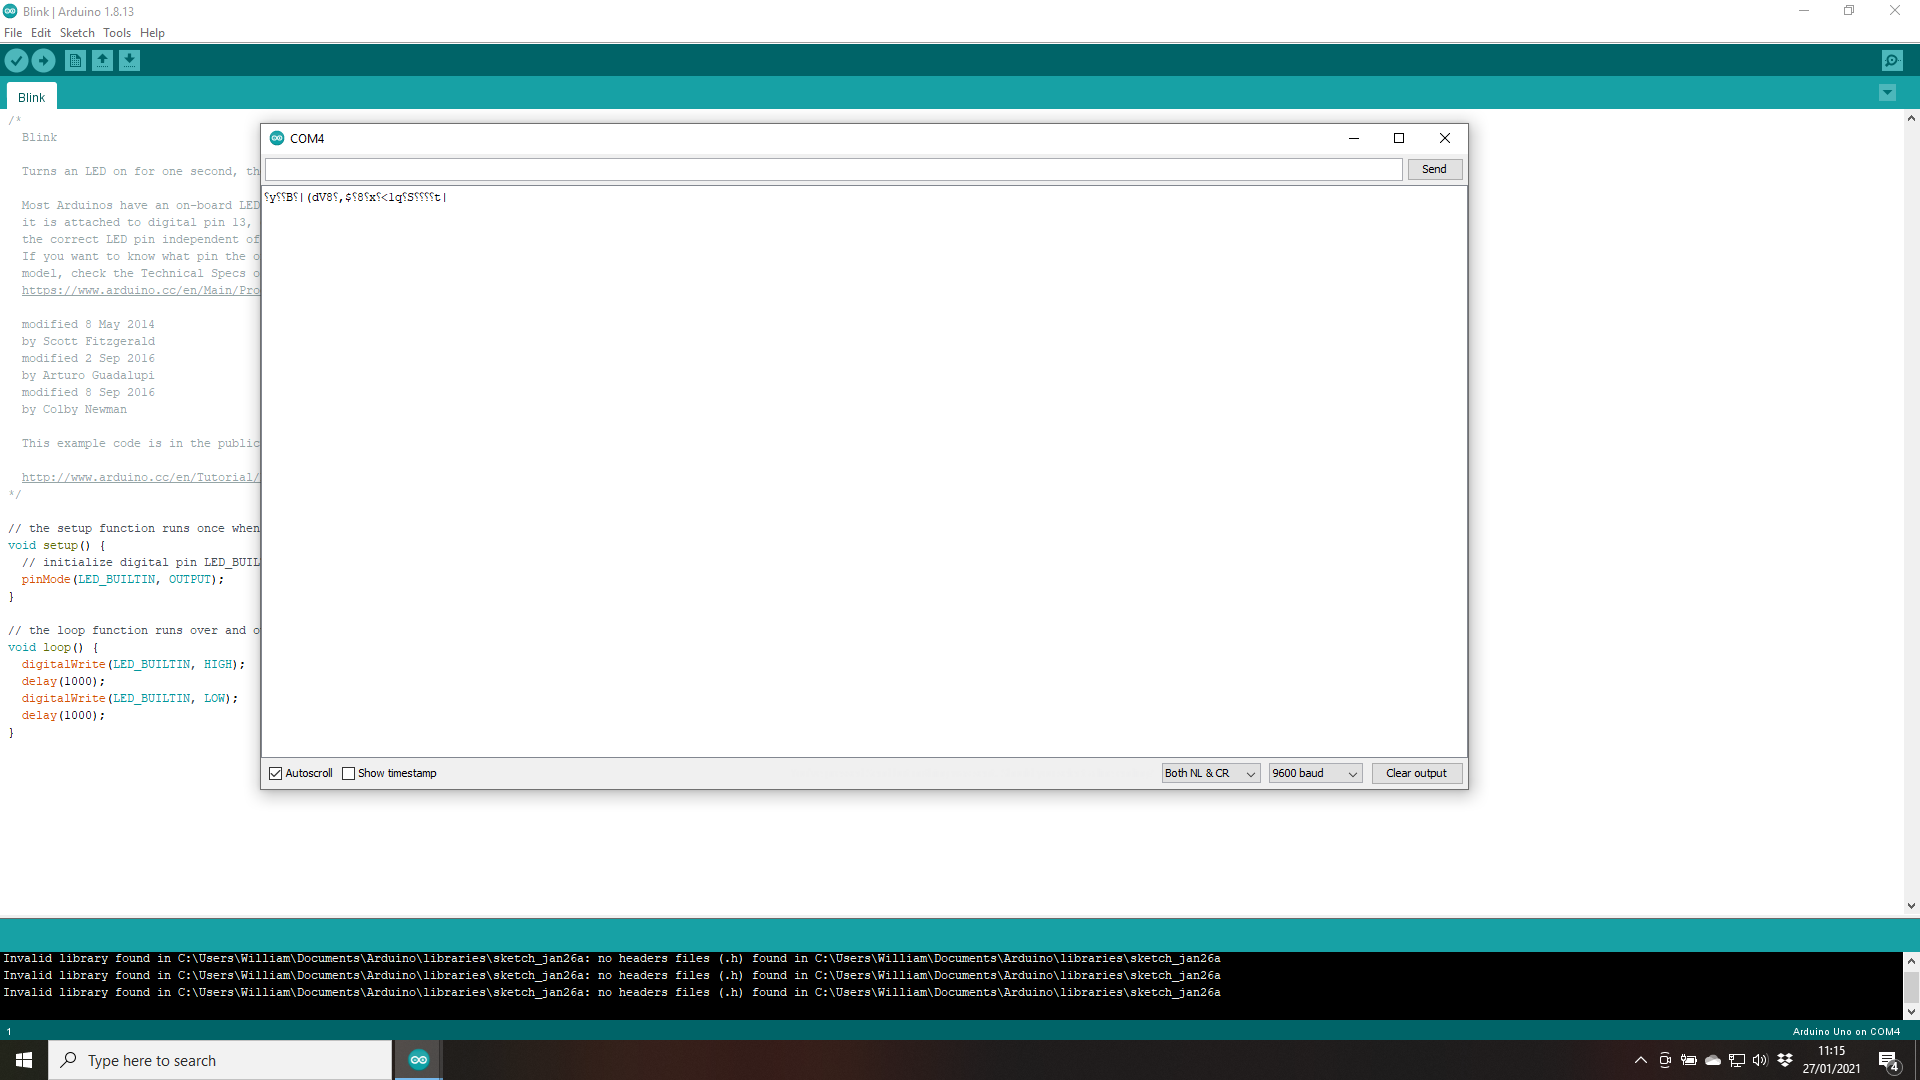
I’m trying to edit the node id on my third emonTx using the Arduino IDE on Windows 10. I’ve attached the FDTI programmer and installed the VCP driver from the ftdichip.com website, but I’m receiving garbled characters on the serial monitor screen.
The same when using putty, or on a different W10 laptop, a different cable, and tried an emonTH, so I assume the issue is a faulty LC231X module.
I will order a replacement, but just enquiring if anyone else has had this issue or there is something I’m missing?
Are you sure you have the correct baud rate? Look at the setting in the sketch you’re using - not that “Blink” sketch, that doesn’t send anything to the serial output - for a line like:
Serial.begin(9600);
My bet is the number in there is not 9600.
Or just try every one from 9600 up to 115200 - the last one is that which is used for many of the latest sketches.
Hi William, I believe the default baud rate for the EmonTH is 115200, try changing it in the dropdown box next to the ‘clear output’ button in your screenshot above
As I said - many of the most recent sketches use 115200. But not necessarily, e.g. the 3-phase PLL sketch cannot use anything greater than 9600, because the processor is too busy to keep up with anything faster.
That’s why I didn’t want to mislead William by writing that 115200 is the default for his emonTx as well as the emonTH, because it isn’t necessarily so.
The only sure way that I know of, if you don’t know the rate being sent, is to try each one available until it works.
As a very general guide, when you have a string of random characters, you’re too slow. When you get strings of the same character repeated, you’re too fast.
Agreed - I did try a few speeds without success, but my heart wasn’t in it, as I realised how many combinations of baud rate, stop bits etc there might be, so thought I’d just ask!
I had some difficulty finding the right documentation on the web site for setting up this serial connection. There is a broken link at the bottom of the page Guide > ‘add additional emonTx’. And no reference in the shop options list to the very useful pages under ‘Learn> electricity monitoring’.
Unfortunately, the documentation tends to get left behind. I’ve spent about 6 weeks more or less solid writing and correcting pages in the ‘Learn’ section, but as I don’t have access, I can’t edit it myself, it has to be written exactly as I’ve written below, then I ask Gwil to change it (when he can find the time). And it’s a long job. At the last count, the instructions ran to about 10 pages, and I haven’t finished.
There’s a new page in the system for the “old” programmer, to replace the instructions in “Using the Arduino IDE”, so the ‘Shop’ page can then be changed to point to both sets of instructions. Another job for poor Gwil.