Hi emon folks. I had a Vaillant Heat Pump installed in October 2025 and the installer wasn’t interested when he saw the tiny 56x68cm “plant cupboard”. So I cobbled together something that helps me see what’s going on. Not a new idea or the best way to go about it I guess. Anyhow it has been running for 2 months so I thought I would give a write up and post it.
Thanks for this, really interesting. I’m going to add Temp sensors to my DHW circulating loop, I was going to cut the pipes and do it with T pocket connectors, but now that I’ve seen this (and your small margin of error). I think I’ll follow you and attach it to the outside of the pipe. I’m also going to use this as my first ESP32 project.
Hi.Ian, Just make sure the two probes read the same value when there is no difference.
Alternatively you could add an offset to one in software to make them identical.
The absolute values I don’t think are critical. Mine are within 0,2C of the correct temperature I think.
The flow temperarures given in myVaillant seem to agree within 0.5C with my probes which was not expected. The Vaillant temps are measure outside, mine are inside. Maybe just a coincidence ?
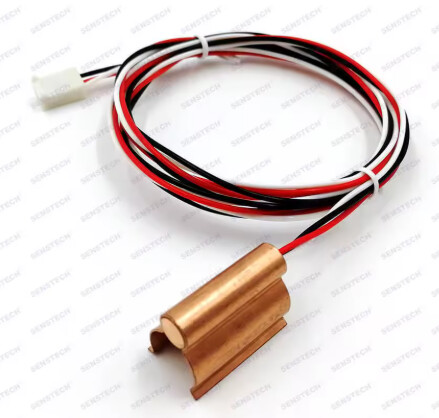
The way I attached: I put the probes on a flat surface and pressed some thin copper strip over them to form a groove with two wings. I put some double sided pads on the back of the wings and then stuck the copper strips to the inside of the pipe insulation. Finally I put some heat transfer paste on the probes and taped them into the copper grooves using thin aluminium tape. The whole assembly then tie wrapped to the pipe.
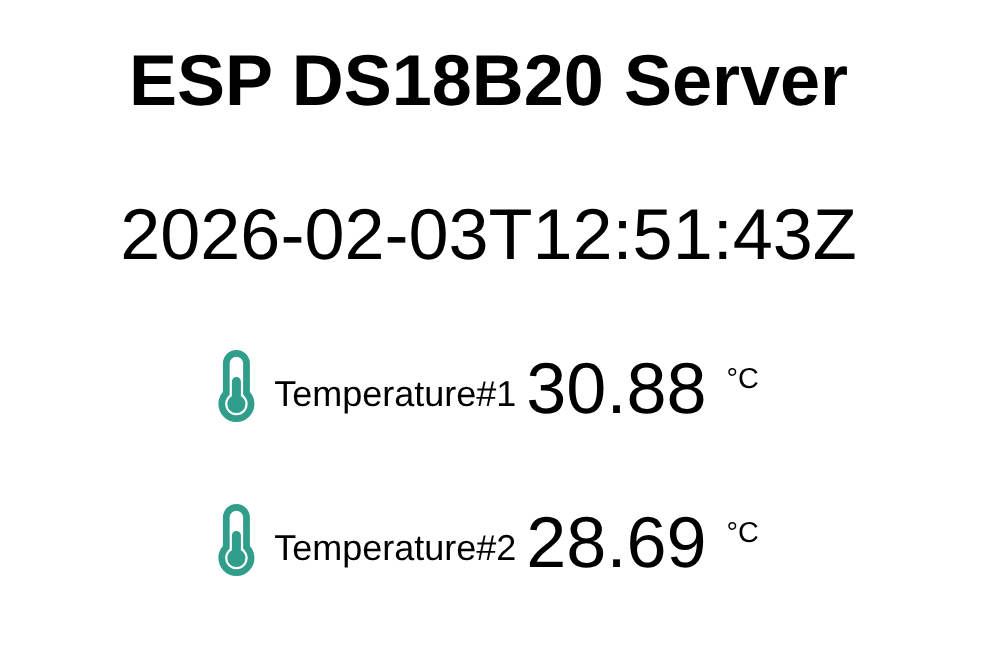
The temperatures are read by simple Linux shell functions to strip the output and leave the two values.
You will need to adjust as necessary as this was written purely for my benefit and never designed for github ! The randomnerds code has slightly different text. My esp32 web page here: