Thanks very much Neil. That is really helpful. I’ve had another look at the rear of the Altherma and can now see I have another exit option rather than just into the conduit. I think this will work better.
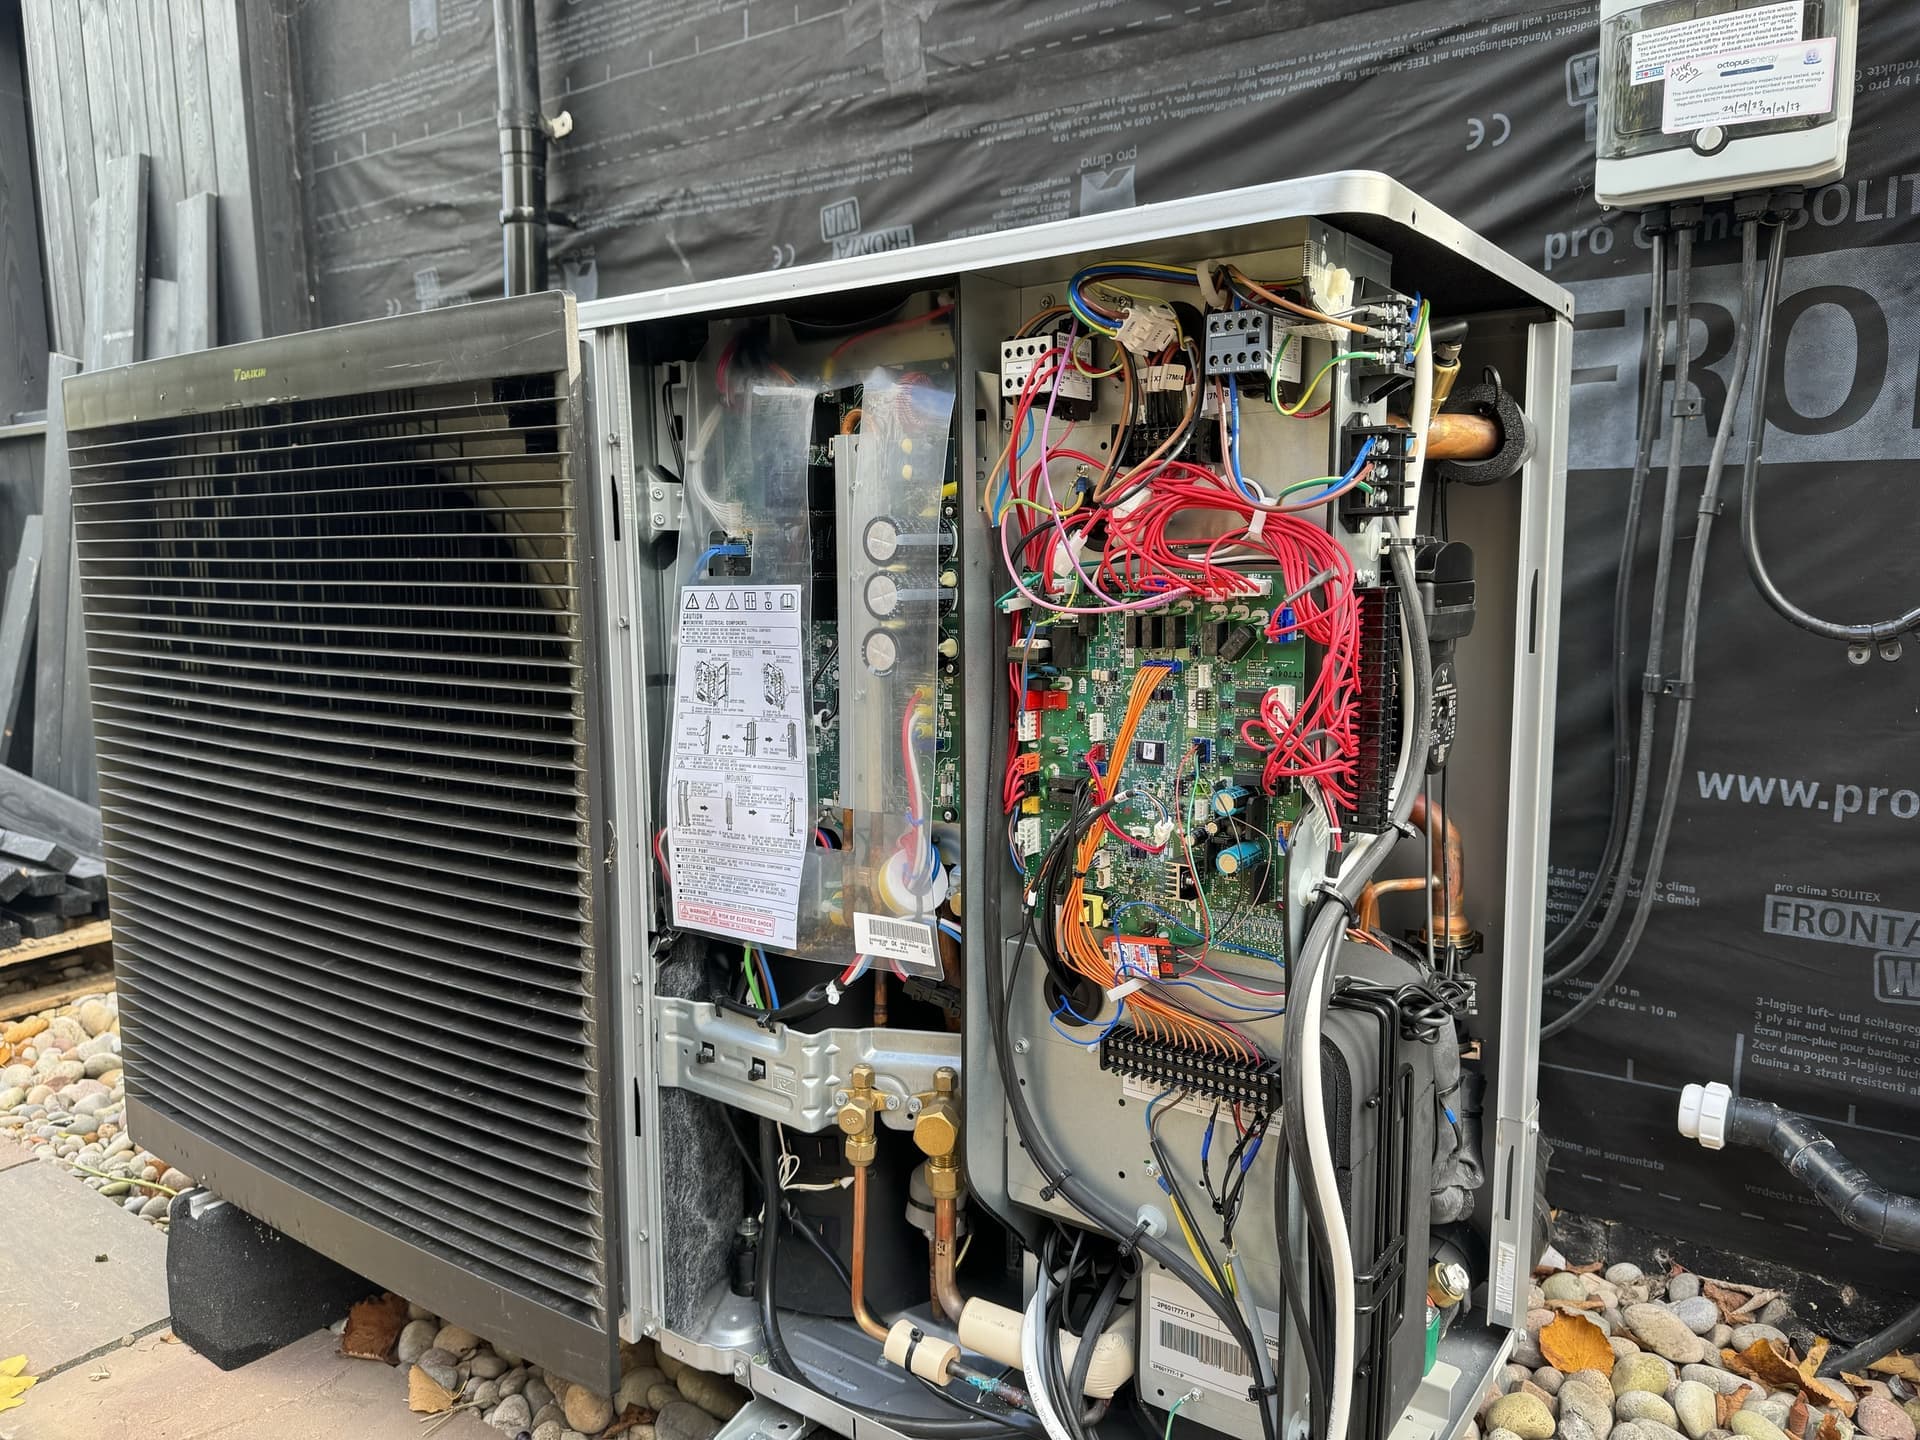
when you get the cover off, there is loads of room to route the cables to the exit grommet, here is one pic (9kW unit) from the other thread, make sure you isolate the power or get someone that’s competent!
I’m holding off any work until the weather improves and it certainly won’t be live when the cover is off and I’m routing/connecting cables. Once I’m done, I’ll post some photos. Thanks for your advice.
Like @tiger_cook, I used a waterproof plastic box, but screwed to the wall behind the HP. I ran the cable from the X10A socket down past the PCBs, down through an obvious cover/frame gap and looped it up underneath and over to the wall. I used some cable ties to stabilise/route it. So it basically leaves the box under the front cover, and that’s it. No grommets involved! It can’t be seen, and the natural curve ensures any water drops off underneath.
I made my own cable up from Cat6, crimping Dupont sockets/pins on to the ends as appropriate - I borrowed the tool. The X10A end I used a 5-socket block so it was a good fit. I’ve since found/obtained some proper JST EH 5-way plugs, but haven’t used them yet.
I looked at it, but it’s time… Had I not been able to use MQTT, I’d have been forced to, but since it now works, there’s other more urgent things to do!
I am looking into setting this up for my Daikin heat pump with Home Assistant. I see on GitHub in the discussion that they could get the firmware onto a M5StickCPlus2, but in this post I see there is a fix. Can you use a M5StickCPlus2. I am not very electronically technical. I am confused by which cable I will need. I have also seen some discussion about using a M5Stack ATOM Lite. Has anyone used one of those. What are the pros and cons over the M5StickCPlus2.
@bazcurtis RS have stock so no need to wait! @Phil_E The standard code now has the amendments needed for the Cplus2 so just download that. At some point when you configure the code prior to upload you just select the Cplus2 one.
@Redtree99 I don’t have an heat pump yet Waiting on my planning permission, but hoping for an August/September install. This is a stupid question, but I am a bit scared of the hardware side of this, the software I am more happy about. Is there anyway to test my cabling is correct without a heat pump. I am thinking more the crimping is correct and it should work before I plug it in.
You can check the M5StIck connects to HA without plugging it in to the heat pump. No way of testing the wiring that I know of.
To be honest that was the easy bit. If you connect the cables to the stick then label them up with which pin on X10A port it connects to it is fairly easy. When they were fitting the heat pump it took me all of a few mins to put it through the hole in the back of the unit and connect to the X10A port.
I am now going over things in the main code that does not just port directly. But should be straight forward getting it to at least run the same way as a CPlus2. Would be nice to add some graphics/information to the display but one step at a time.
I will probably take more of a look tomorrow evening, i am about to go our for the evening.
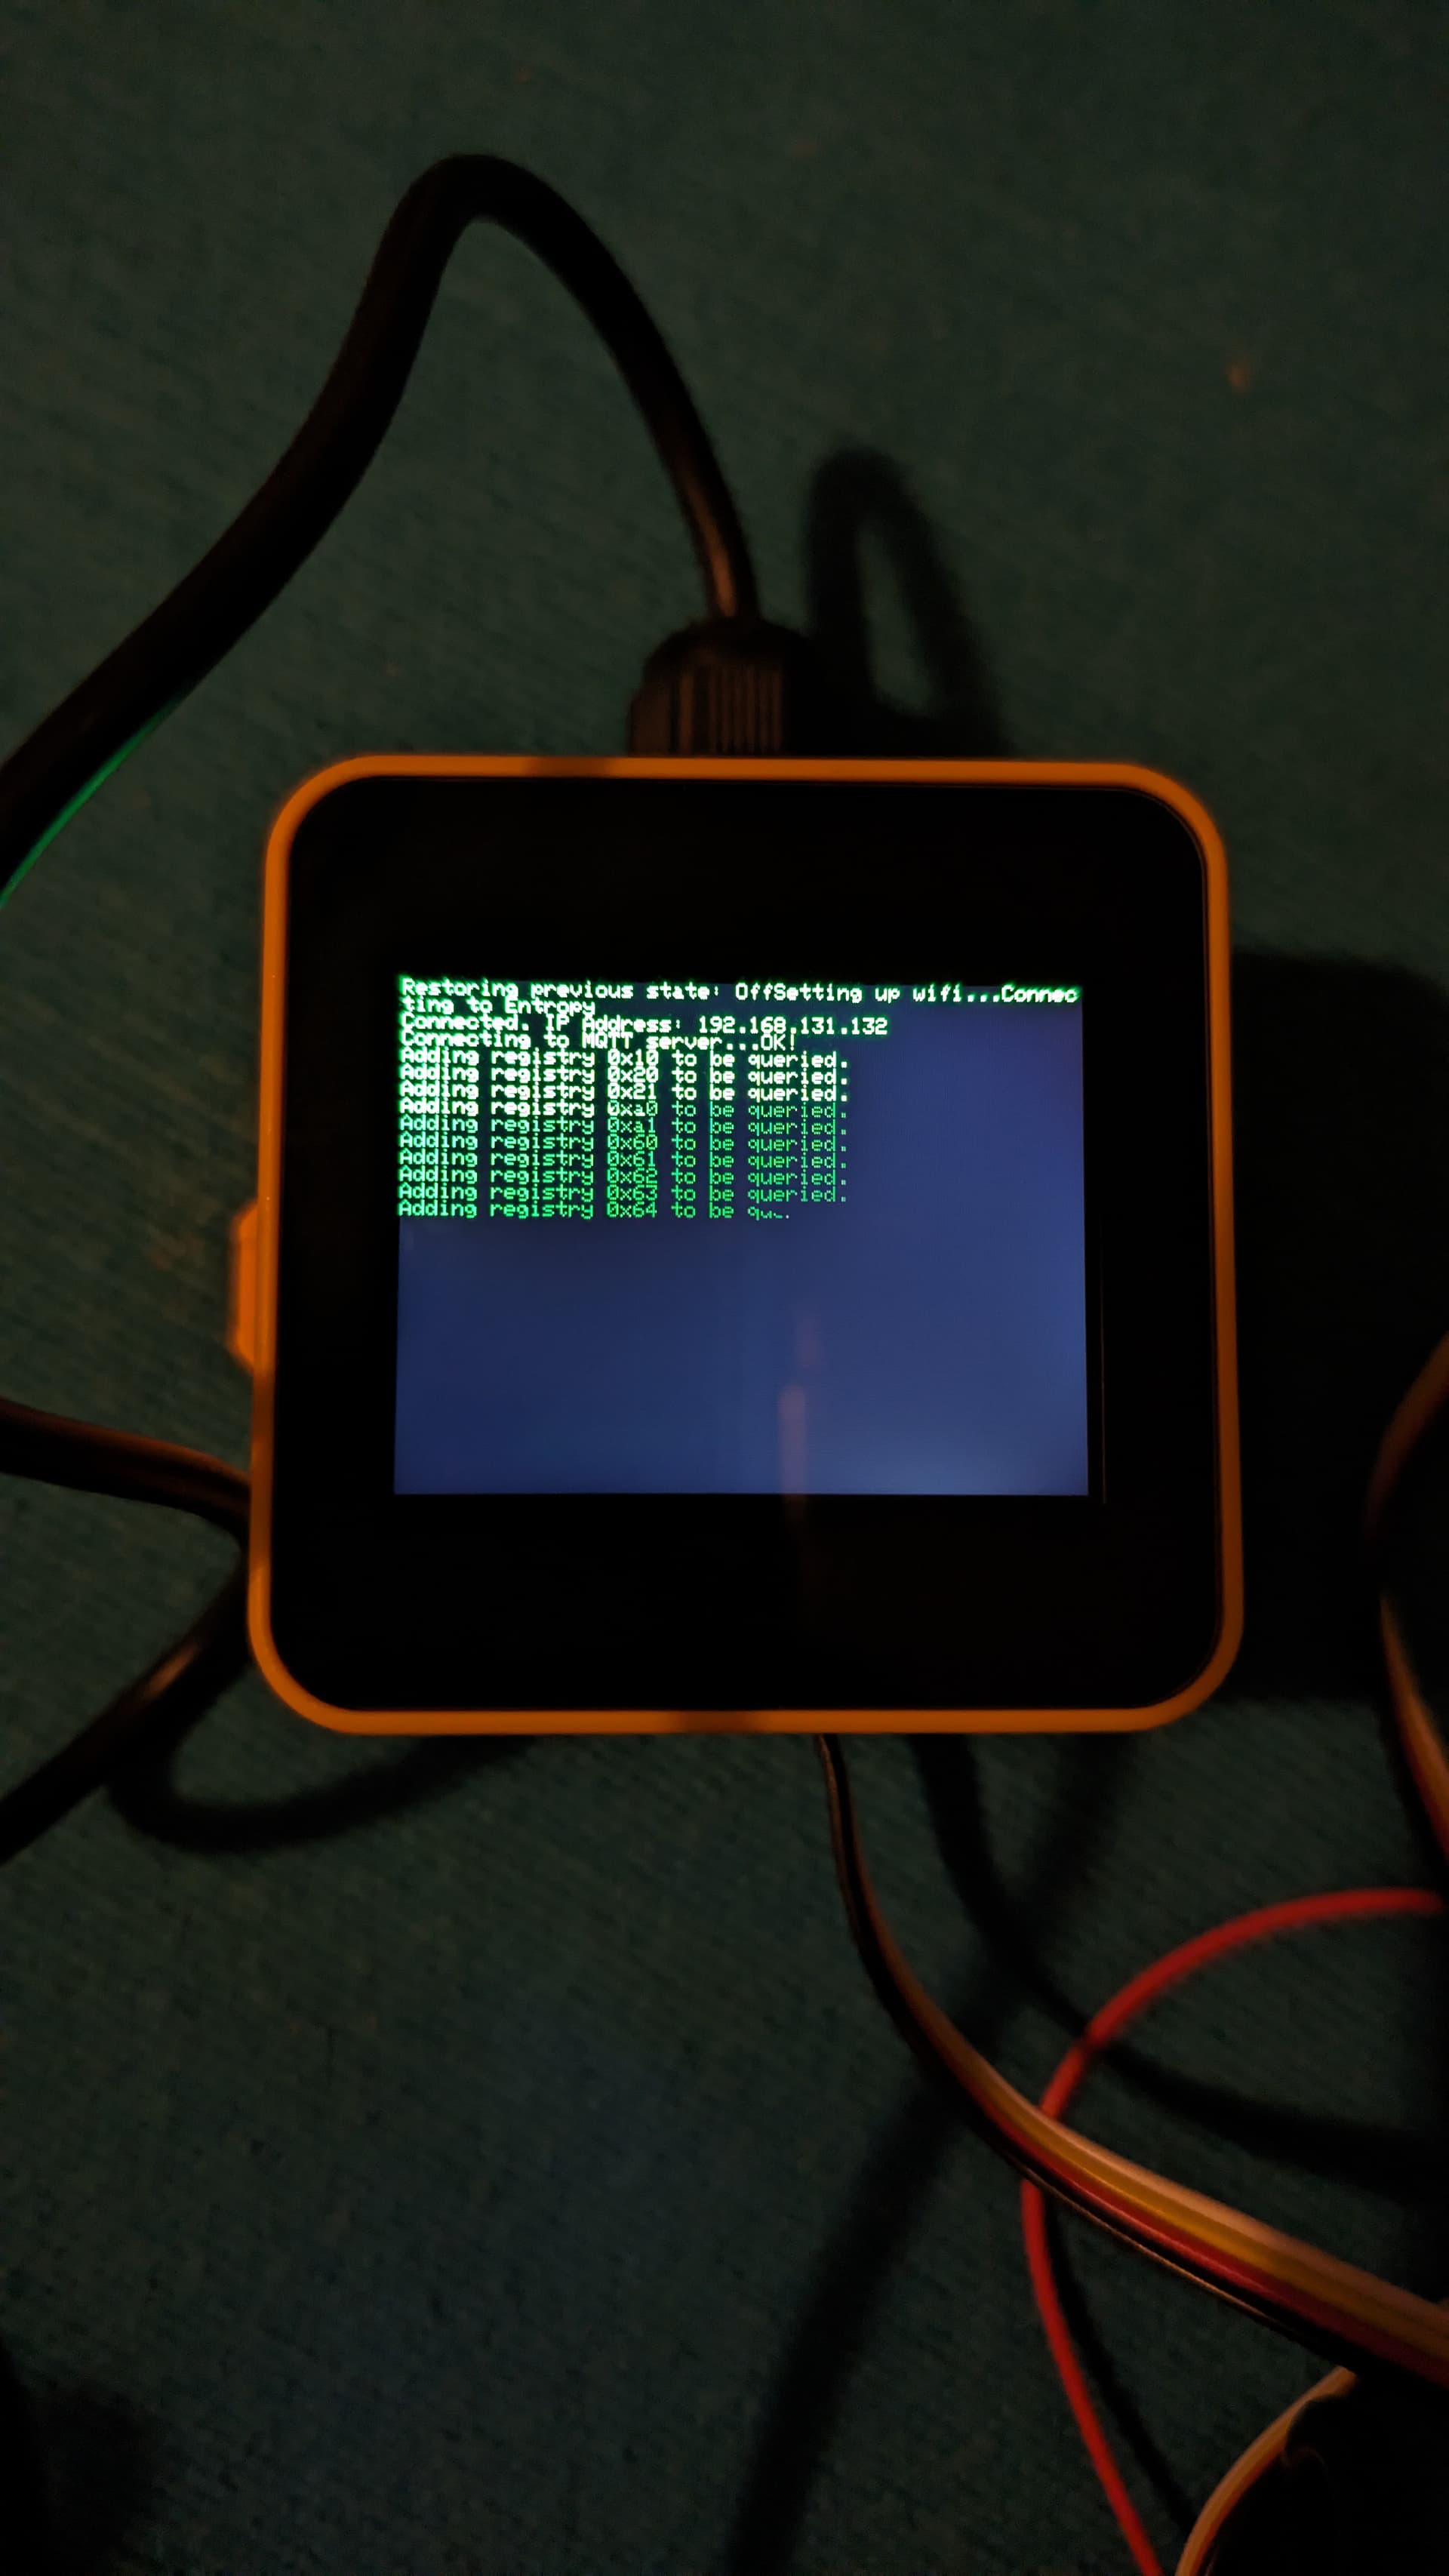
Seems to be working. Will try wiring it up to the heat pump tomorrow to check it actually does pick up stuff. Monitoring the GPIO I can see the commands and I have pointed it to an MQTT server and getting messages so i don’t see why it wont.
Found a rather weird bug.
This line
client.setBufferSize(MAX_MSG_SIZE);
causes it to crash… the problem comes from realloc causing a memory corruption but it only happens when the reallocation is of size > 0x1000.
For example
void* ptr = malloc(0x2000);
is fine but
void* ptr = malloc(0x10);
realloc(ptr, 0x2000);
crashes the device Will have to have a dig about to see what is up with that but it is not an ESPAltherma issue.
So I changed MAX_MSG_SIZE to be 0x1000. 4k seems like enough right? Is there a reason it is so large before (7120 bytes)?