Daikin 9kW ASHP application discussion

Hi Matt

I figured I’d take the hint from the Forum code and message you instead, not sure the rest of the world needs to hear us banging on about rads unless we get a different result at some point! :slight_smile:

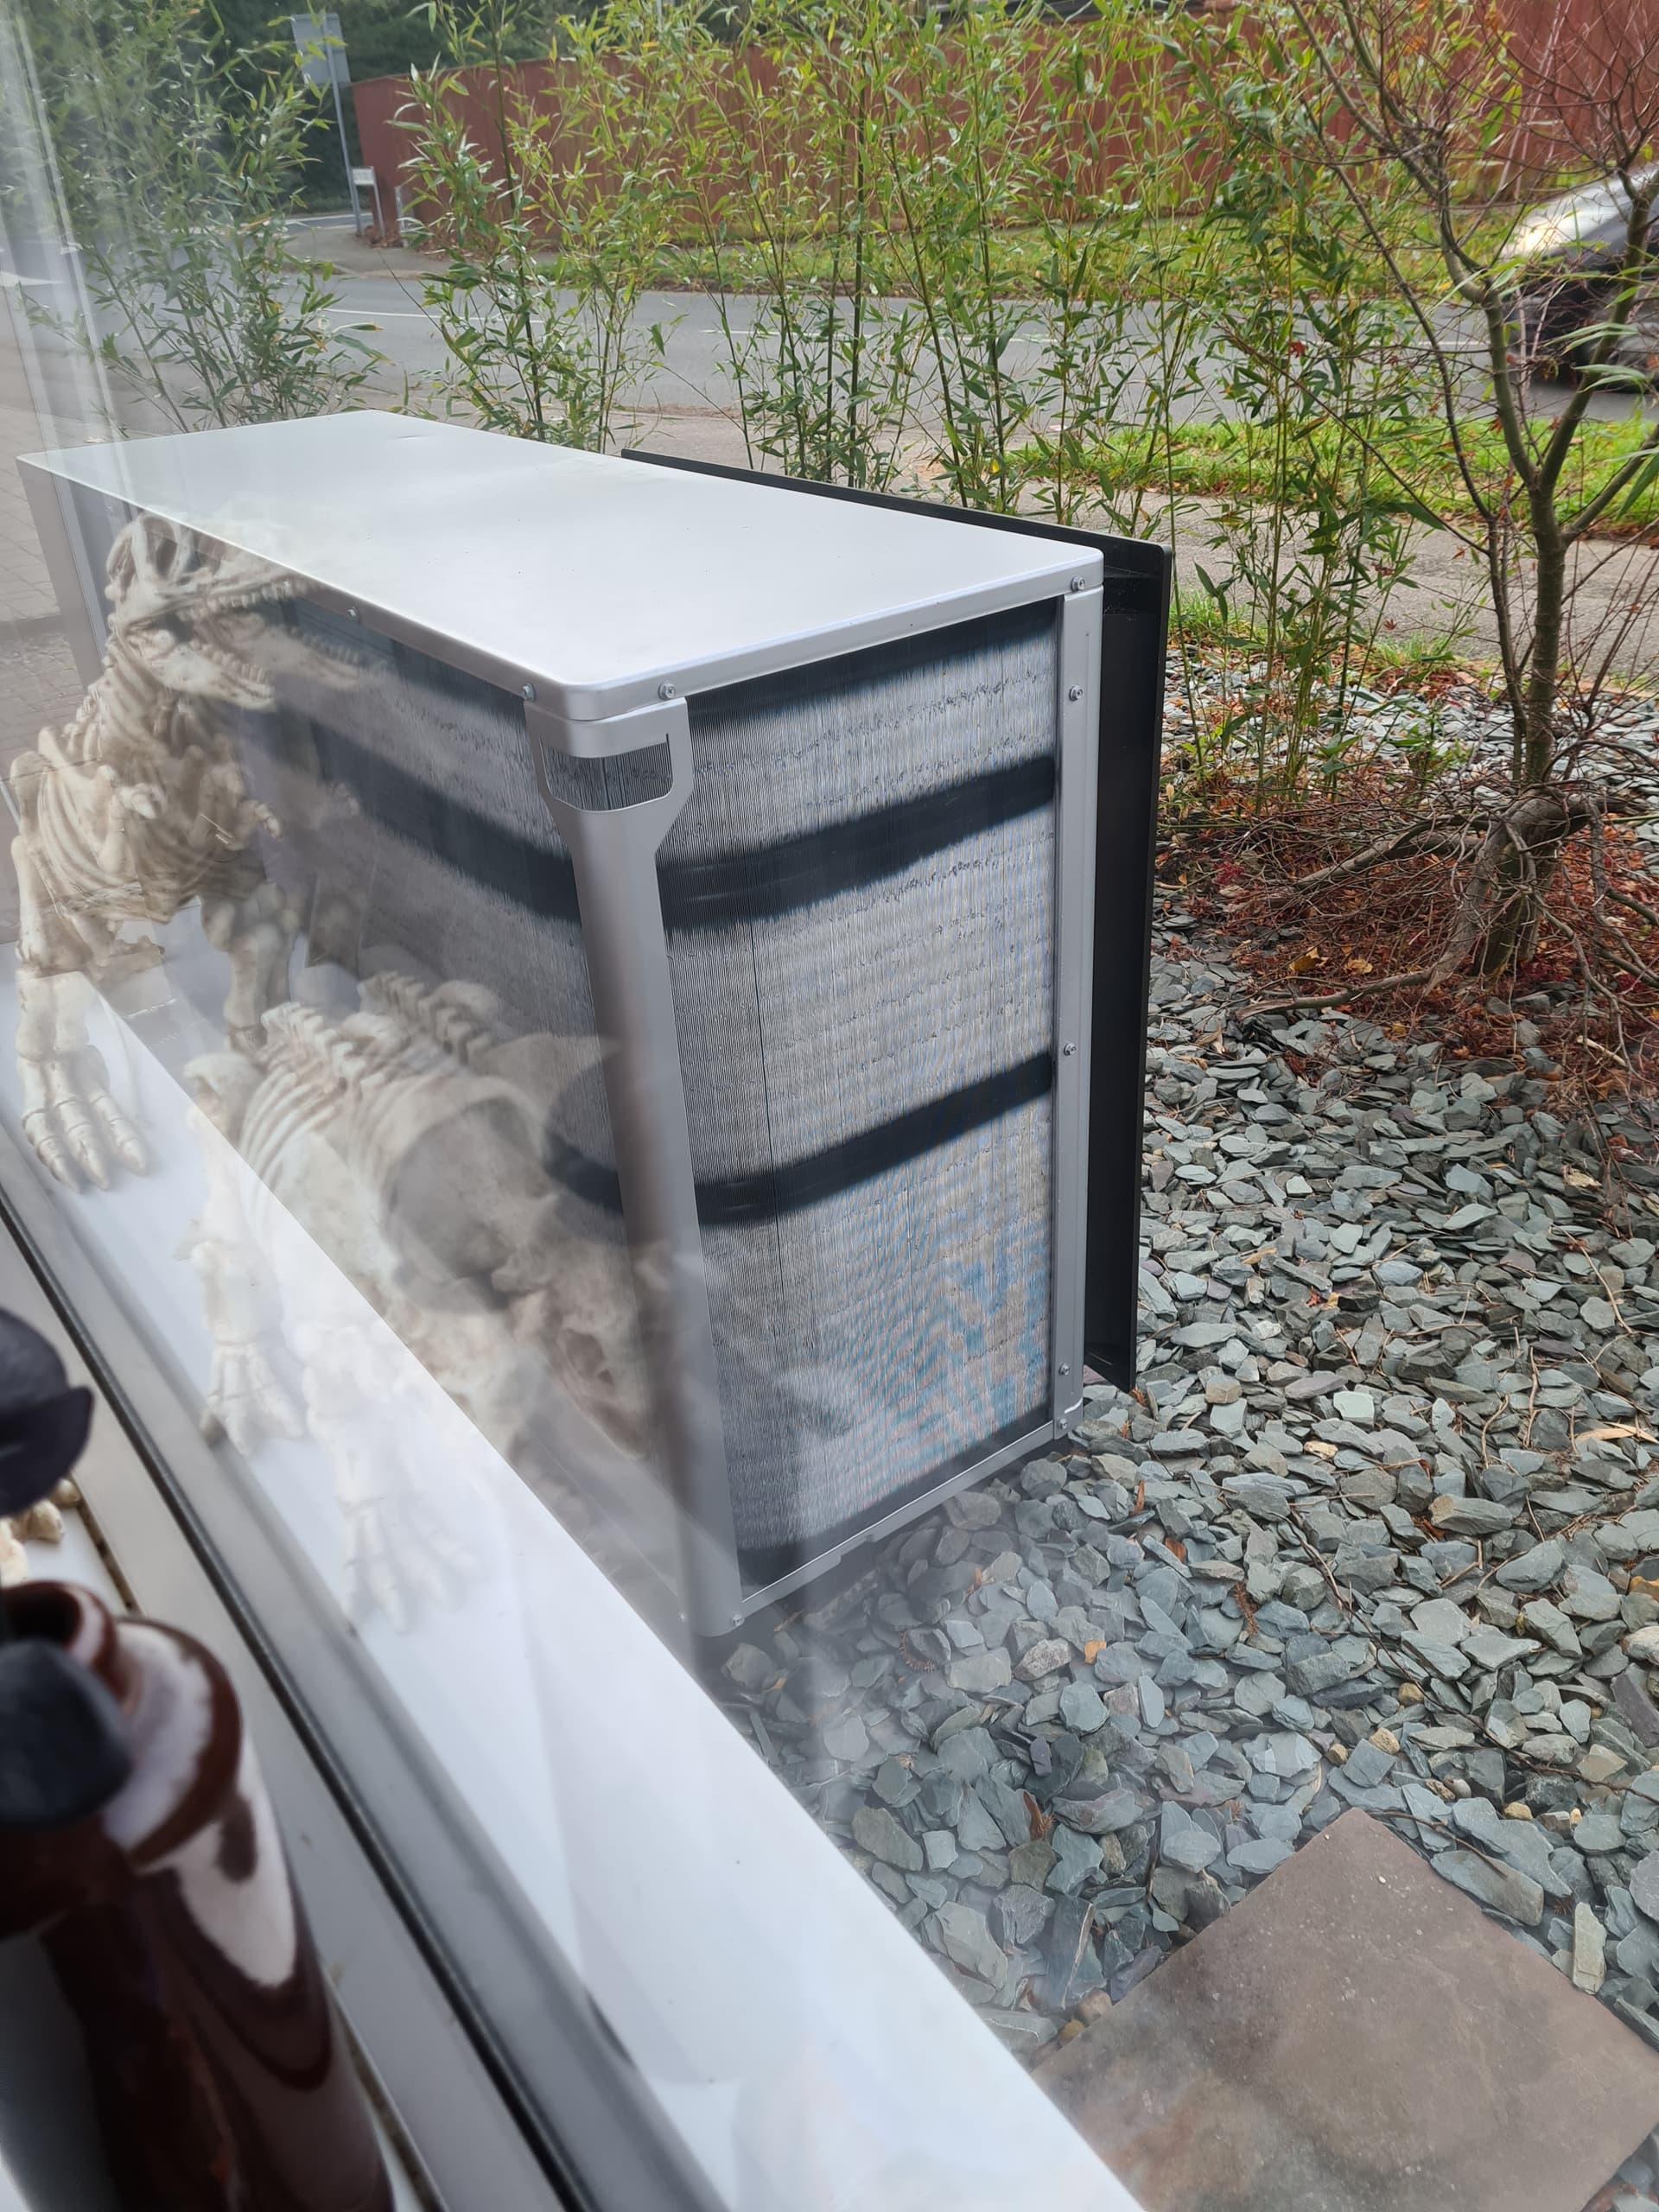
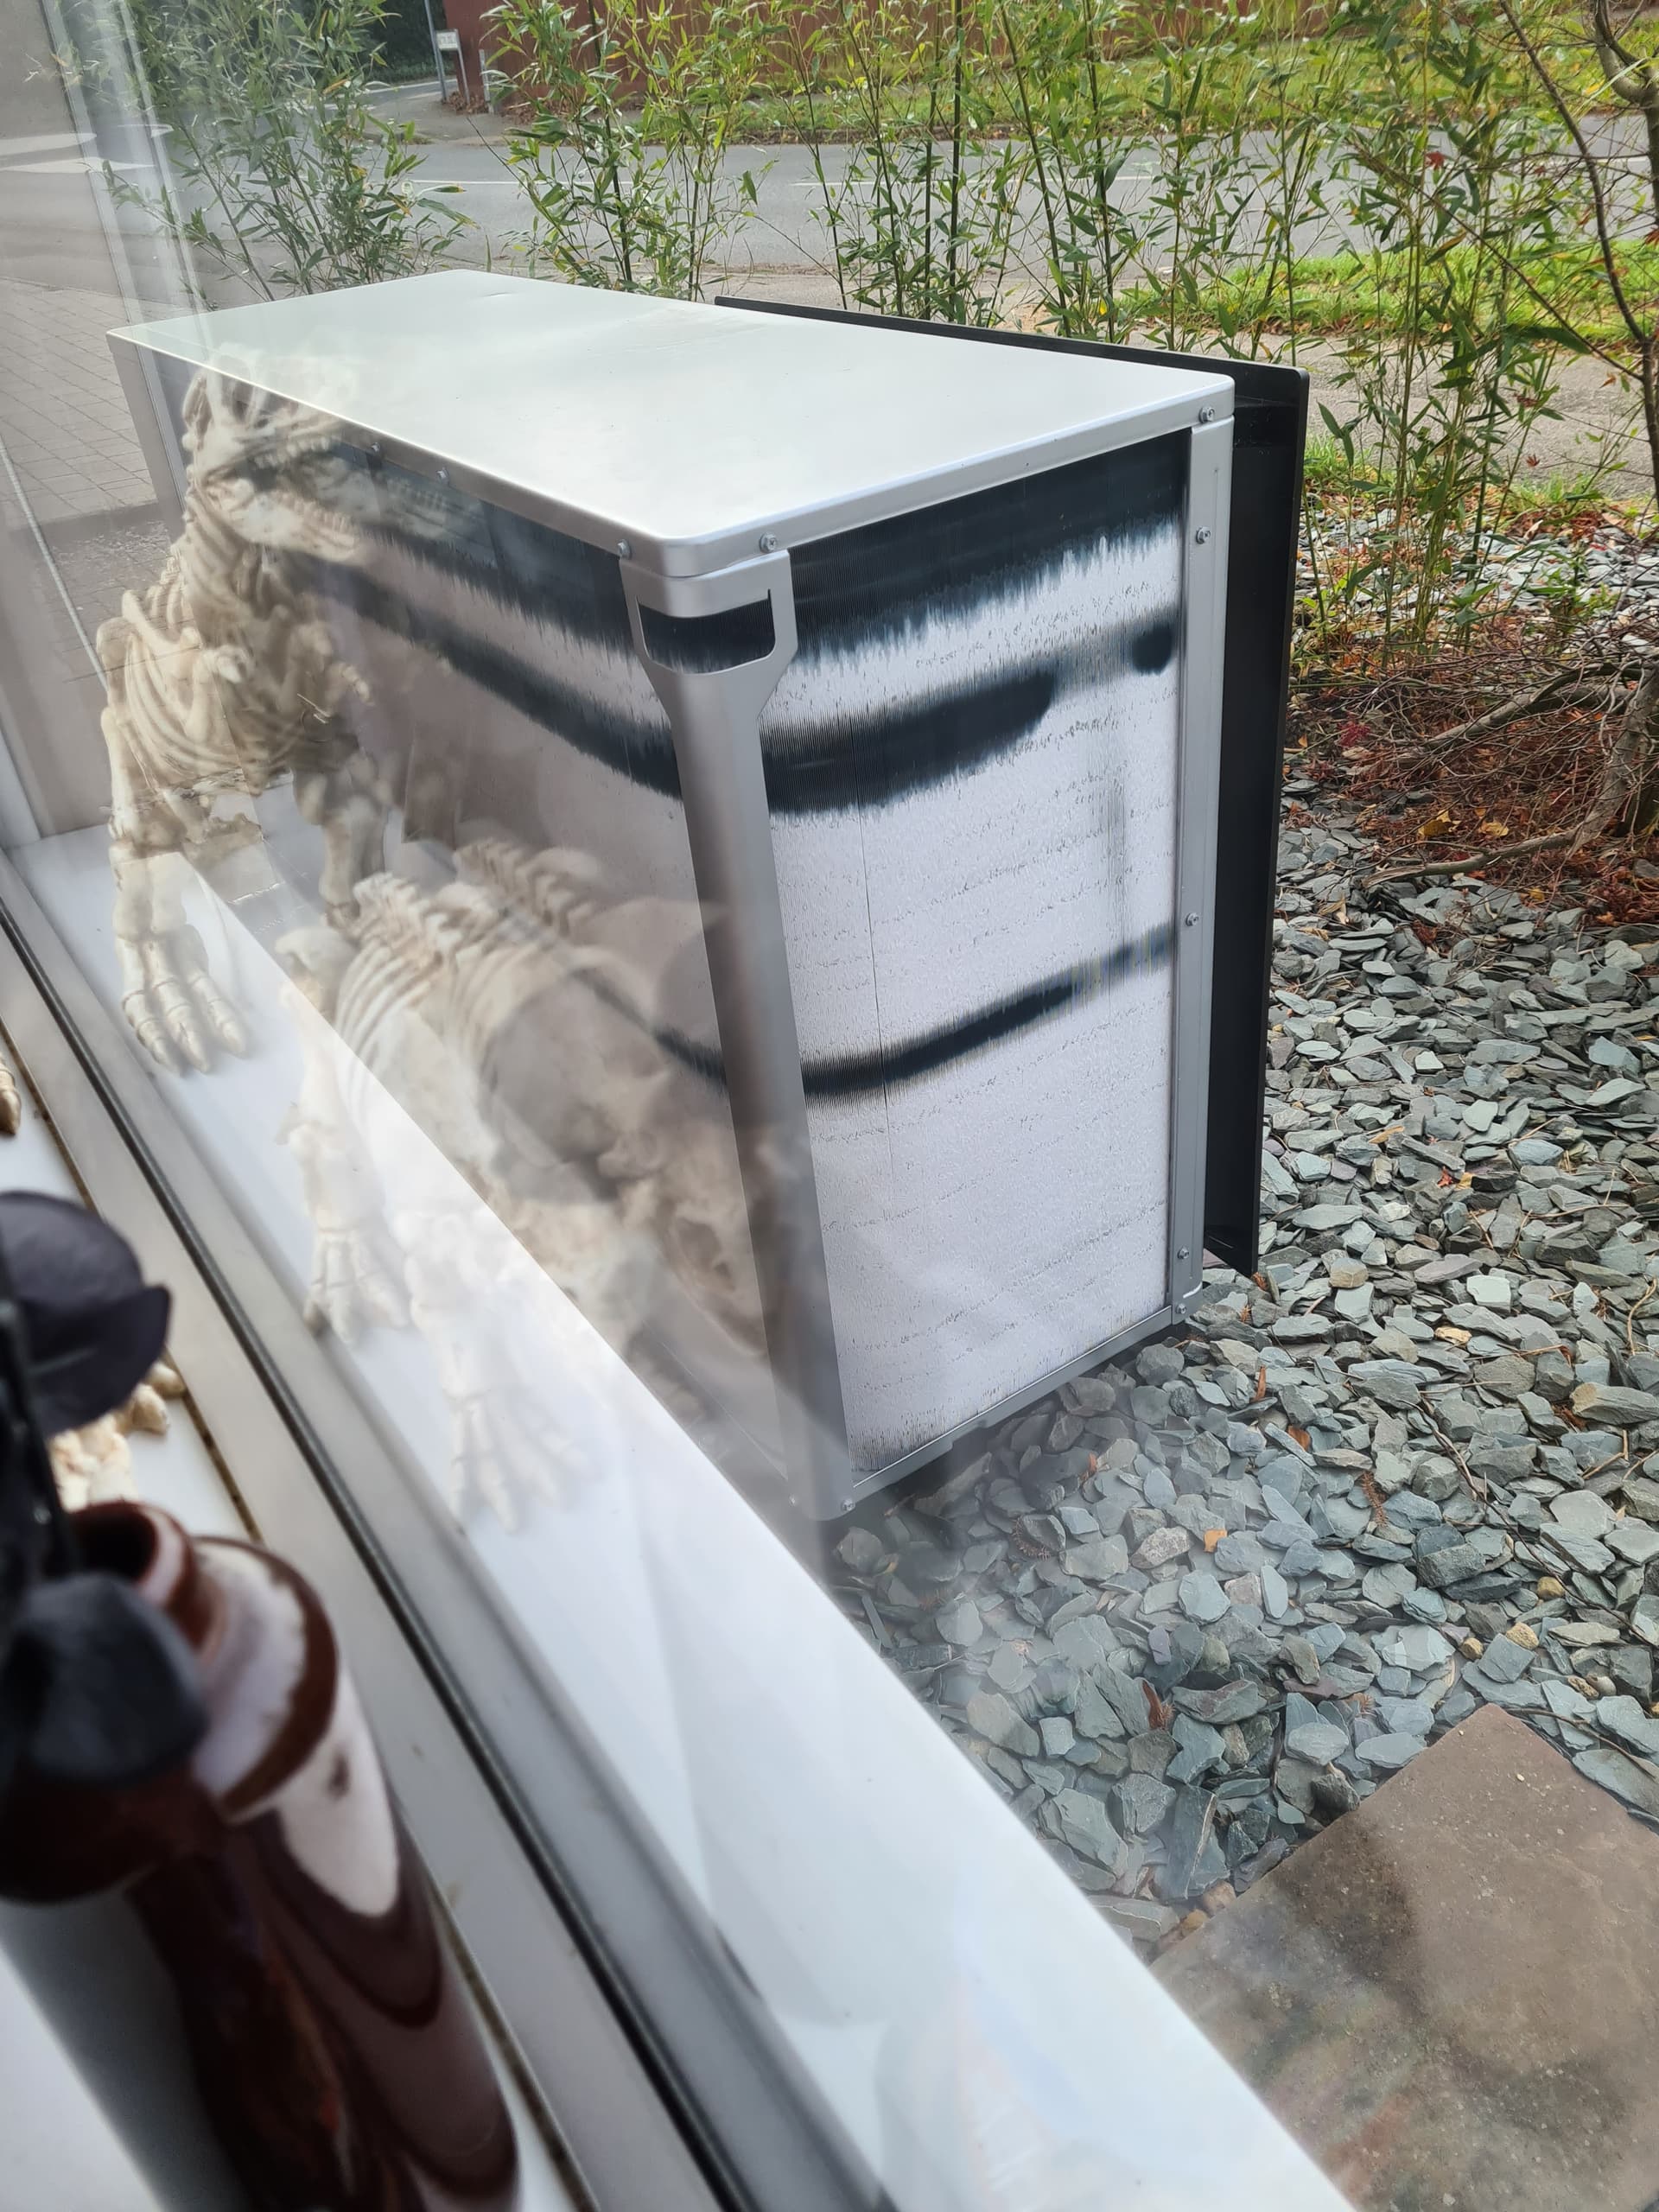
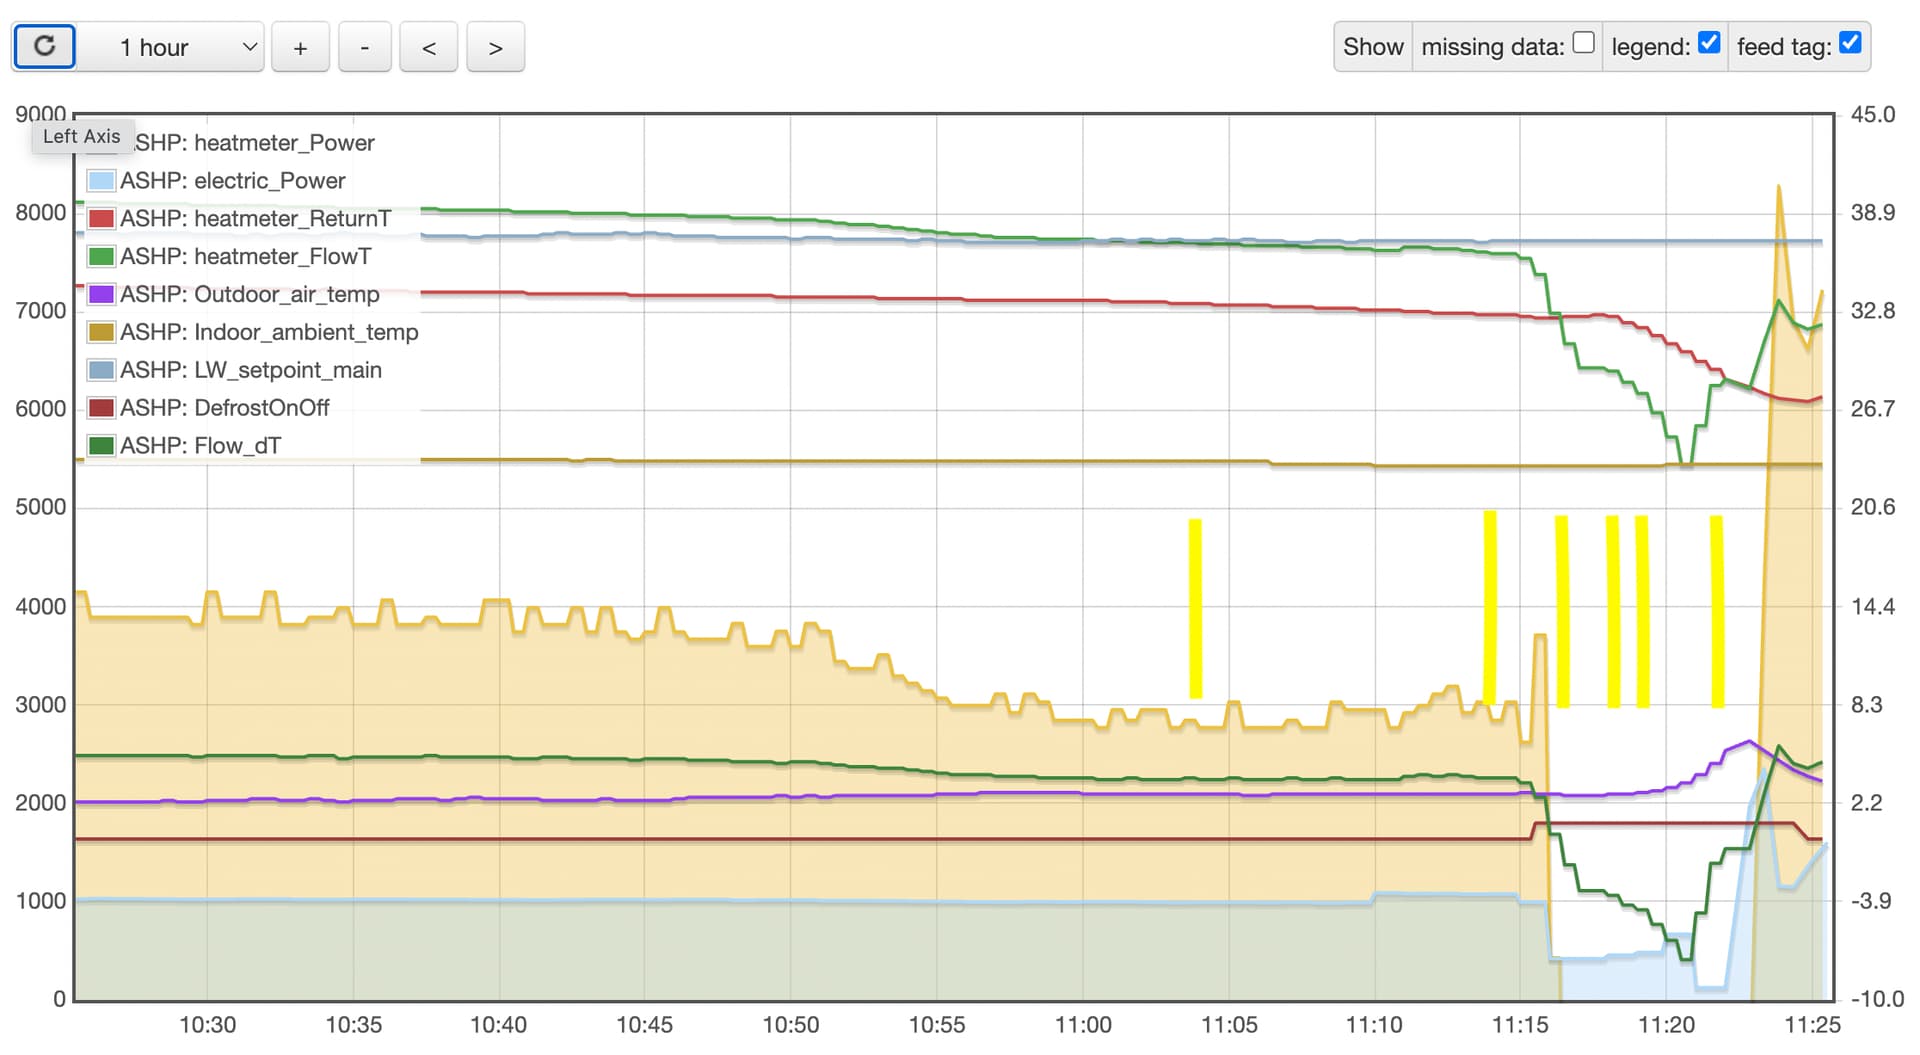
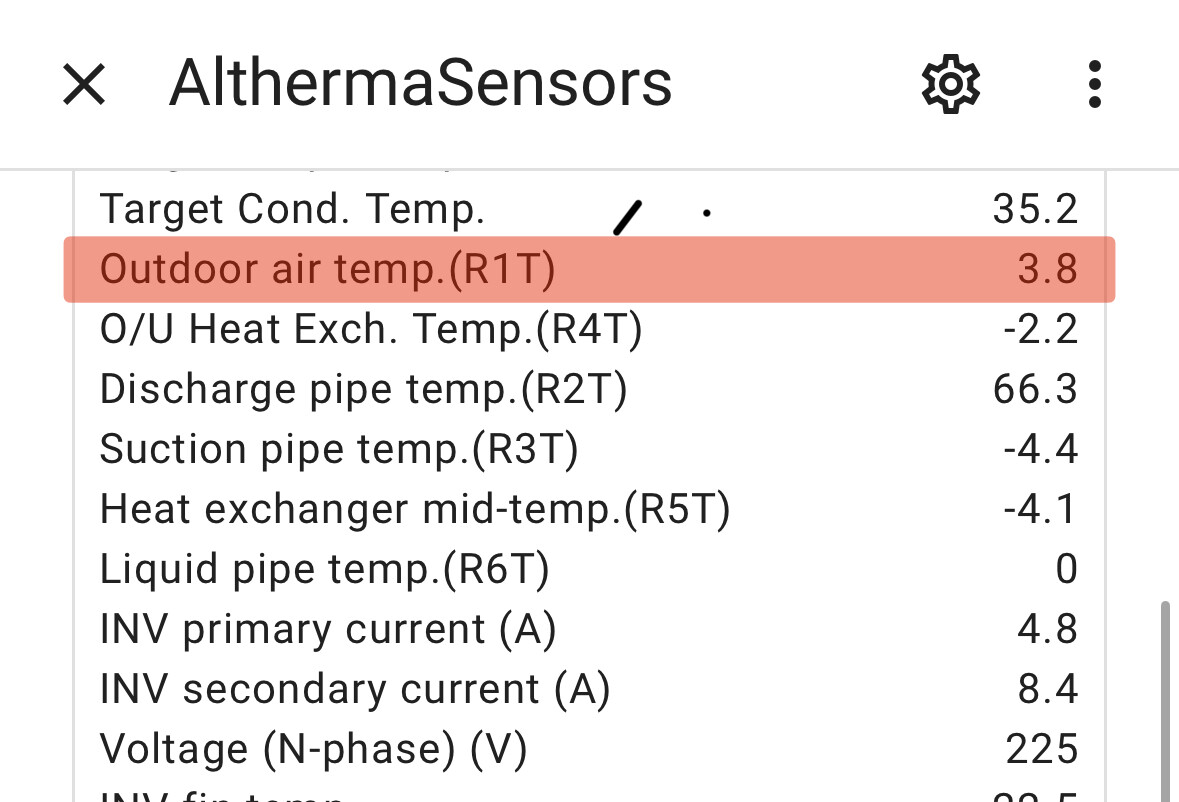
Looking at my rad output at the current 34C avg flow temp and rad/room dT as per schedule (18/21), they would output 3.8kW, so yes, at that flow temp they’re underrated for the heat output of the ASHP. Which is why it cycles, right? It can’t keep the flow temp down given its power output, so it has to stop. But if I had bigger rads, I’d be putting more heat in, so the room temps would rise and the output would go down anyway! If the pump’s too big at these temps, it’s too big…

Looking at the kWh output averaged over the last 24 hrs, the requirement is about 2.9kW continuously, which is why it’s too big!

Settings:

  • LWT control only (no stat used); 15/26, -7/50 (we’ll see how that works out!)
  • Fan Coil units selected, as at installation; I note that Target Out/In Flow dT from the data is 5C, and the HP is maintaining that pretty well once it gets going
  • -2C LWT setback 22.30-6.30, seems to save a bit but require a hump @ 6.30

There are shedloads more settings, happy to send you my current config dump from the MMI, which is the only way to compare forensically. Or you could send me yours and I can run a Diff on them, and tell you what the differences are - the [n, m] installer settings are impenetrable unless you’re actually working on one!

How much effect are the Speed Comforts having? I’m considering them as an option if the HP really can’t manage 9kW @ 50C @ -2. Are they as quiet as you’d hope? @Timbones analysis of the increased output was pretty hopeful - 25% more @ 45C is very handy.

Cheers
John

2 Likes

Hi John,

Good call on the separate thread.

I think there are a few of us known and probably a lot unknown that will struggle with this heat pump.

I think I have it as the 4/6/8 range wasn’t available earlier in the year and a bit of a mess up/lack of confidence in the heat loss calculations results in you getting this heat pump from Octopus.

It’s in no mans land really, it’s a big heat pump pretending to be small and seems to have bit fitted to properties on the edge between the 7kW and this.

Personally, I am in two minds about it, it’s difficult to handle when it is mild outside and I feel you need to go really big with the radiators to get the most out of it. On the other hand I have always thought that it will probably be really good when the outside temperatures plummet…

Mine had fan coils set at installation and that has variable delta t whereas I now run radiators with a fixed delta t of 8c

My intention is to run all my previous settings when I have completed my upgrades and see what works best.

The only real problem I have is that as I improve the efficiency the heat output goes up, it’s such a shame that it is so limited at the bottom end in terms of electricity input, you cannot do anything about it so the only answer is to deal with the heat.

I do have a plan to increase my heat loss by heating my timber office, hopefully I will get that done this year, my plumber is on board with it so a good start.

I am on Cosy Octopus so have my heating kick in at 04.00 together with battery charging.

I am actually not so worried about the high house temperature, I quite like it but want to stop it rising too far, a bit more heat loss will help.

Once I can lower the flow temperature a lot it should reduce the initial power consumption a lot and shorter cycles will be ok. Right now longer cycles result in the best COP and I am trying to get the best from it and then work downwards!

The fans are pretty good ignoring the cost, they are quite expensive but are good quality.

It is noticeable that the rooms are more evenly heated and I am happy with that.

They are not silent but no worse than a computer cooling fan and not particularly noticeable unless you listen for them.

If I had a choice between tha fans and a bigger radiator I would choose the bigger radiator every time.

I have to say, once the heat pump is running and I can keep it running it is pretty good, not up there with the best installations I can see but as a retrofit with no serious replumbing I think running at a COP of 4.5+ is acceptable to me.

I just need to get to the point where I can get it doing that for more of the time.

I did all my calculations regarding solar and batteries at COPs of 3 at worst and 4 at best. If I can get this thing to consistently heat our house at a COP of 4+ I will be really happy.

Considering that this heat pump is a turned down beast in comparison to the size of my house I would consider running at 4+ a success.

I have ice today as you would expect, no problem, or is there?

I have bands on the fins with no ice, does that indicate that part of it is not working or is it normal?

@matt-drummer - this is normal - photo below taken just now, and only 10 mins or so since last defrost finished:

Edit: purple vertical line seems to be a lens/processing artefact, so ignore that!

1 Like

Thank you Stephen.

Actually, @matt-drummer, what is odd on a second look at your photo, is that you have so few bands….

I’ve only got my own (which is essentially the same as yours) to go on, but any photo I have of the frosting up phase shows multiple bands across the heat exchanger.

It’s possible and very likely to be fair that it’s just the phase of ice formation we are seeing independently having differences, as eventually, the entire heat exchanger is white and iced up - see photo below.

Can you monitor yours? It should in theory exhibit the same banding across the entire heat exchanger, and I guess we are trying to help you find any anomalies.

My first photo was taken an hour ago at 08.50. This is it an hour later, no defrost has taken place yet between the two photographs.

I can’t say it looks correct but as we all know, I’m no expert!

It has just started defrosting at 09.55 so 5 minutes after my last photograph.

1 Like

@matt-drummer on a side note - do try and catch the very very end of the defrost cycle outside if possible. Much more apparent on really cold days.

The puff of steam shoved out as the fan kicks in again is quite cool (if you can try not to worry that the steam is escaping energy that you’ve paid for! Haha)

Brings back memories of having a boiler flue! :face_with_peeking_eye:

2 Likes

I missed that but I will try to catch the next one.

The defrost was complete at 09.56

My ice build up does not look like yours.

1 Like

The large area without ice were there right until the defrost started.

It suggests to me that large parts of my heat exchanger are not working, ie not extracting and delivering heat.

It looks like 30% or so or my heat exchanger is either inoperative or not fully operative, the parts without ice cannot have been performing the same job as the iced up parts?

This is at 10.10 as the ice is starting to form.


Hi Matt and Stephen

I don’t really need to demonstrate my sadness, but here goes - a collection of shots of my Daikin defrosting and the EmonCMS graph to go with it…


I’ve annotated the Graphs shot with lines at the appropriate times - I’m not sure how accurate the times are, but can’t be far off. The last shot shows Stephen’s favourite part, with vapour taking my paid-for energy away!

Points:

  • Since I’m using ESPAltherma, I’ve added tracking the DefrostMode register, which is shown on the graph - 0/1 depending on state, and clearly ON during the period.
  • There were very prominent un-iced bands prior to shot 1, which is what made me take the series, having just read your note, Matt
  • Interesting to see the Flow/Return temp lines cross over whilst defrosting
  • Outdoor temp is massively affected by the defrost operation, going from 2.8 to 6 C; makes me wonder if moving the sensor, currently screwed on the back of the box, would be useful, since it might be registering too cold there
  • Defrosting is killing CoP, as @ColinS has noted - the graph goes negative for heat generated (of course), although not shown below X-axis, and with overnight lows it’s happening hourly - is that what you guys are seeing? I think I need bigger rads; I assume a lower flow temp would reduce this
2 Likes

This looks like a typical defrost profile for any heat pump. Note how heat output drops around 10:55 as ice starts to impeded the heat transfer process, and is much better after the defrost.

1 Like

@John I wouldn’t do that! Probably needed for its internal algorithms etc.

What I would do (and surprisingly yours has not been setup with this), is install the remote external outdoor temperature sensor - intended for a more appropriate location such as a North facing wall.

Here is my friendly name setup in Home Assistant and you can a difference in temps reported:

The below sensor is the internal name brought through from ESPaltherma and is the sensor on the back - same as yours.

This is massively affected by direct sunlight etc.

The below sensor is remote from the outdoor unit, and is located on a North facing elevation.

Annoyingly its’ name internally via ESPAltherma has internal in the name! Suspect this is because it could be used as an internal sensor as well.

The best way I can describe this sensor is that I’m not sure it’s accurate, as it “moves” or “swings” further than the other sensor (eg shows colder in depth of winter, and warmer in height of summer)

Once the external remote sensors is enabled, this is then used for the weather curve (leaving water control)

My external temperature sensor is nowhere near my heat pump, it is on a shaded north facing wall about 3 metres from the ground as it should be.

I am pleasantly surprised not to really have any issues with defrosting, I have some defrosts but the heat pump is performing really well, as well as it does when the outside temperature is much higher.

Of course, as it is oversized I am not pushing it hard and I am now able to run quite happily at around 35c flow and produce just the correct amount of heat I need, about 3.5kW at a COP approaching 4 during the current heating run.

2 Likes

@Stephen_Crown

My HP is on the N side of the house, and doesn’t get any sun ever, which is why I was happy for them to go with the on-box sensor at the time of the install. This is the sensor that is providing input to the Weather Compensation in my installation, so tracking its reading gives me some insight into cause/effect.

I’m intrigued by the “Ext. indoor ambient sensor (R6T)” data item - I had assumed that it was for a non-Daikin indoor thermostat, as that is often termed “Ext. Room Thermostat” in the literature e.g. p. 34 in the Installers Reference Manual. You obviously have it connected to a remote external ambient sensor - what setting is telling the HP to use that in preference to the R1T? I suspect [C-08]?

1 Like

@Timbones Hurray, thanks! I’m glad it’s typical - I reckoned the output dropping was ice buildup. I guess walking the tightrope of buildup vs. heat output is the secret.

Our Daikin is installed on the West elevation, and when we did the extension in 2019/2020 I had the for-thought to put in the cable to the North elevation back to where I was already thinking about the heat pump being situated.

I did try the Viessmann gas boiler weather compensation sensor for a period using this cable, but, being a lower end Viessman, the control was extremely basic, and therefore rubbish!

Anyway, back on topic:

Login as installer (code: 5678)

Installer Settings —> Sensors —> External Sensor —> Outdoor

@John are you publishing your ESPAltherma data to heatpumpmonitor via Emoncms?