I’ve been putting a little RaspberryPi 3A+ MBUS Reader together for a heat metering project. The project does not necessarily need the full emonsd image so I though I’d use EmonScripts to build a basic EmonHub gateway to forward the data on to a separate emoncms server. Thought I would share this as it might be useful for others.
Building the gateway image
Download RaspberryPi OS Lite and write to SD card (e.g using a tool like Balena Etcher):
https://www.raspberrypi.org/software/operating-systems/
Open boot partition on SD card and add a file called ‘ssh’ in order to enable SSH. To boot straight onto your WiFi network follow the guide here: Raspberry Pi Documentation - Configuration
Once the Pi has powered up, SSH into the pi via it’s IP address, use a tool such as the Android app Fing to find the Pi’s IP address.
ssh [email protected] (password: raspberry)
Once in, start the installation procedure with:
wget https://raw.githubusercontent.com/openenergymonitor/EmonScripts/stable/install/init.sh
chmod +x init.sh && ./init.sh
After a short period the script will ask to review configuration, enter ‘y’ for yes. I’ve added a emonhub_gateway config file that can be copied in place:
cd /opt/openenergymonitor/EmonScripts/install/
cp emonhub_gateway.config.ini config.ini
In the top section of config.ini, most of the components are set to false, apart from apt_get_upgrade_and_clean, install_emonhub and install_emonsd:
user=pi
hostname=ehgateway
emonSD_pi_env=1

# Components enabled
apt_get_upgrade_and_clean=true
install_apache=false
install_mysql=false
install_php=false
install_redis=false
install_mosquitto=false
install_mosquitto_server=false
install_mosquitto_client=false
install_emoncms_core=false
install_emoncms_modules=false
install_emonhub=true
install_emoncms_emonpi_modules=false
install_firmware=false
install_emonpilcd=false
install_emonsd=true
install_wifiap=false
Start the installation:
./main.sh
The installation takes quite a bit of time, in particular the system update steps at the start.
Once complete reboot the pi and SSH back in.
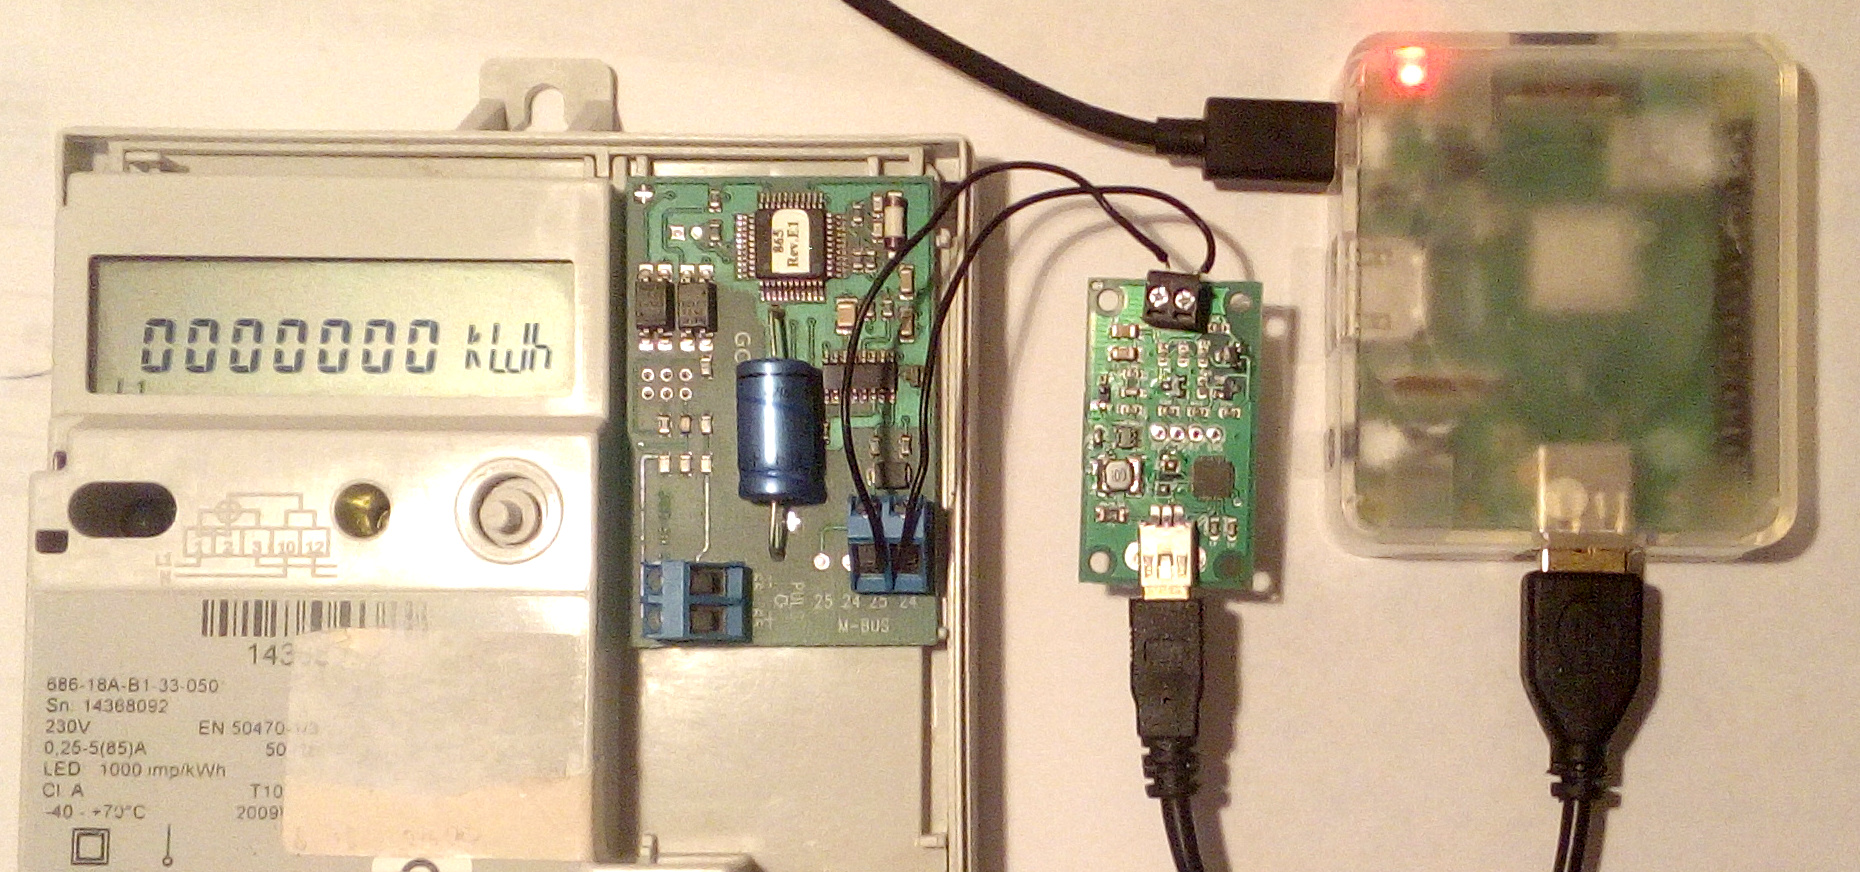
You can now configure emonhub.conf to read from the connected devices and forward the data to the correct location. Here’s an example of reading from the MBUS reader pictured above posting to an emonpi elsewhere in the house via MQTT.
[hub]
loglevel = DEBUG

[interfacers]

[[MBUS]]
    Type = EmonHubMBUSInterfacer
    [[[init_settings]]]
        device = /dev/ttyUSB0
        baud = 2400
    [[[runtimesettings]]]
        pubchannels = ToEmonCMS,
        address = 92
        pages = 0
        read_interval = 10
        nodename = MBUS

[[MQTT]]

    Type = EmonHubMqttInterfacer
    [[[init_settings]]]
        mqtt_host = emonpi.local
        mqtt_port = 1883
        mqtt_user = emonpi
        mqtt_passwd = emonpimqtt2016

    [[[runtimesettings]]]
        pubchannels = ToRFM12,
        subchannels = ToEmonCMS,
        node_format_enable = 0
        node_format_basetopic = emonhub/
        nodevar_format_enable = 1
        nodevar_format_basetopic = emon/
        node_JSON_enable = 0
        node_JSON_basetopic = emon/

[nodes]
I posted separately about the option to use overlayFS to make the image read-only here:
OverlayFS RaspberryPi read-only file system
This appears to work with the above installation fine, however I assume it will disable the persistence of the log2ram logging data so may not be desirable?
