Still no luck. I have ordered a USBTiny to do the programming so I’m hoping that will make things easier!
Hi Rick, i was trying last night to program my first module with an arduino, and after a few hours of tearing my hair out i got it working.
Inside the platformio.ini file shoul look like this:
; PlatformIO Project Configuration File
;
; Build options: build flags, source filter
; Upload options: custom upload port, speed and extra flags
; Library options: dependencies, extra library storages
; Advanced options: extra scripting
;
; Please visit documentation for the other options and
[env:attiny841]
platform = atmelavr
board = attiny841
framework = arduino
board_build.f_cpu = 8000000L
board_build.core = tinymodern
lib_deps =
GitHub - bakercp/PacketSerial: An Arduino Library that facilitates packet-based serial communication using COBS or SLIP encoding.
GitHub - mike-matera/FastPID: A fast, integer based PID controller suitable for Arduino.
upload_protocol = stk500v1
; each flag in a new line
;-B16 option needed for my USBASP programmer to slow it down!
upload_flags =
-P$UPLOAD_PORT
-b$UPLOAD_SPEED
-Uefuse:w:0b11111110:m
-Uhfuse:w:0b11010110:m
-Ulfuse:w:0b11100010:m
; efuse = 1111 1110 = Enables SPM instruction
; hfuse = 1101 0110 = EESAVE & 1.8V BOD detection level
; lfuse = 1110 0010 = CKDIV8 & Calibrated Internal 8MHz Oscillator
upload_port = COM4
upload_speed = 19200
Hope this helps
Paul
2 Likes
You need an USBASP, I use one and I didn’t have any problems at all.
1 Like
Have you tried a basic “blink” sketch using the Arduino IDE - just to test the programmer out?
Thanks Paul!!! That code worked perfect!!!
2 Likes
Glad to help! Wasnt sure if i fluked it or not, i generally just muddle my way through code.
I was able to use an arduino nano as an ISCP programmer to program the attiny841.
1 Like
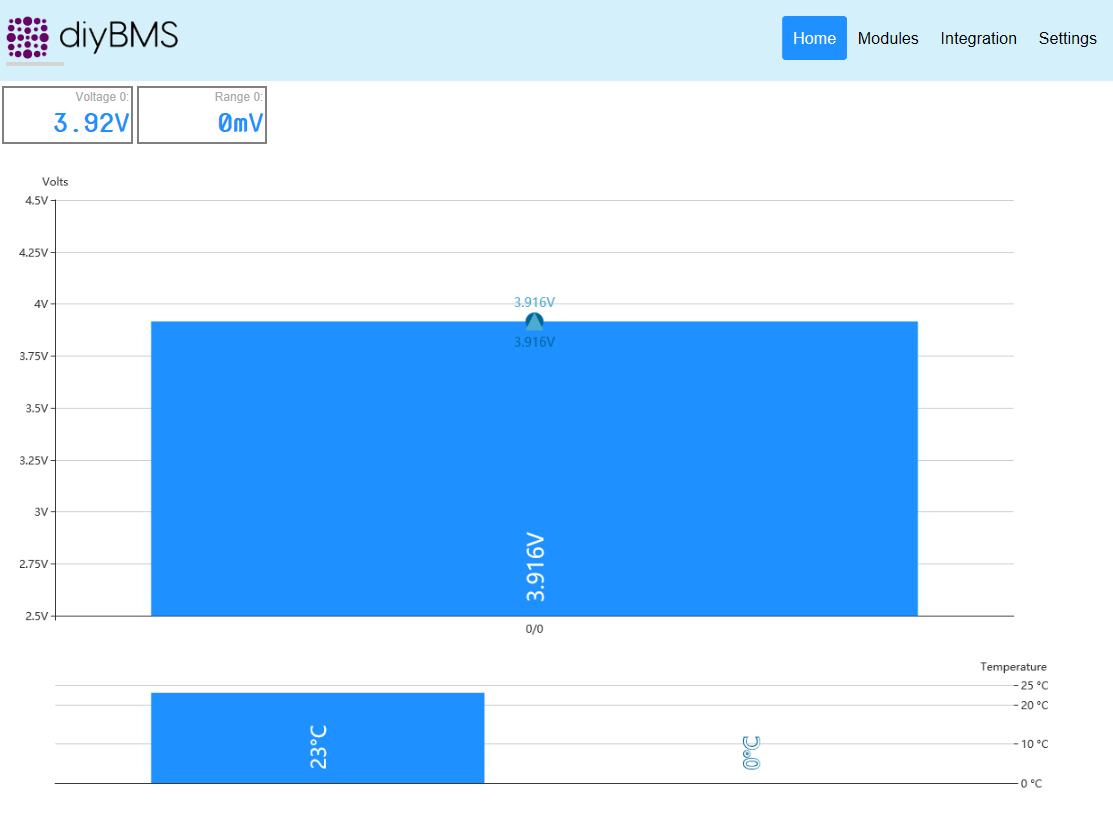
Sorry for all the questions. I finally got one board working  I have one that seemed to program okay. Lights blinked while programming. But red light came on when the battery was connected. It was never recognized on the controller. It also started getting warm so I unplugged it and checked all the components for shorts and proper connection. I then tried to program the board again but it fails with the following error:
avrdude: Device signature = 0xffffff (probably .reduced_core_tiny)
avrdude: Yikes! Invalid device signature.
Double check connections and try again, or use -F to override
this check.
I tried the override and it finished but still gave an upload error. Have I fried the chip or is there anything I can do to get it to write again?
darn it. You better make sure you re-check the LCSC order after you import the bill of materials file. I ended up with several things in quantity of 10 instead of 100, bleh 
(like the big 2512 balance resistors! … and JST connectors and…)
I managed to figure out what was the problem in my case. At first I did not know that Platformio would download the appropriate library automatically once you build the project but also I had an error while downloading libraries so it did not work anyway. So I downloaded all necessary library one by one from Libraries section in Platformio. I guess that did not download the right version of the NtpClient library. Even I deleted Time.h file it did not resolve the problem. What I did in the end was to uninstall all the libraries and loaded a new project but commented out NtpClient library. After that all libraries were downloaded fine. At this point I commented NtpClient and it downloaded OK too. After that I deleted Time.h and all code compiled and uploaded OK.
It is probably easier to include libraries like it is done in the Sonoff-Tasmota project with the required revision specified in the lib folder:
uncommented?
Yes sorry that was a typo uncommented of course
No worries. Thought that was the case. Been there, done that, many times myself. 
Just wanted to avoid any confusion for other users who may be having the same problem.
1 Like
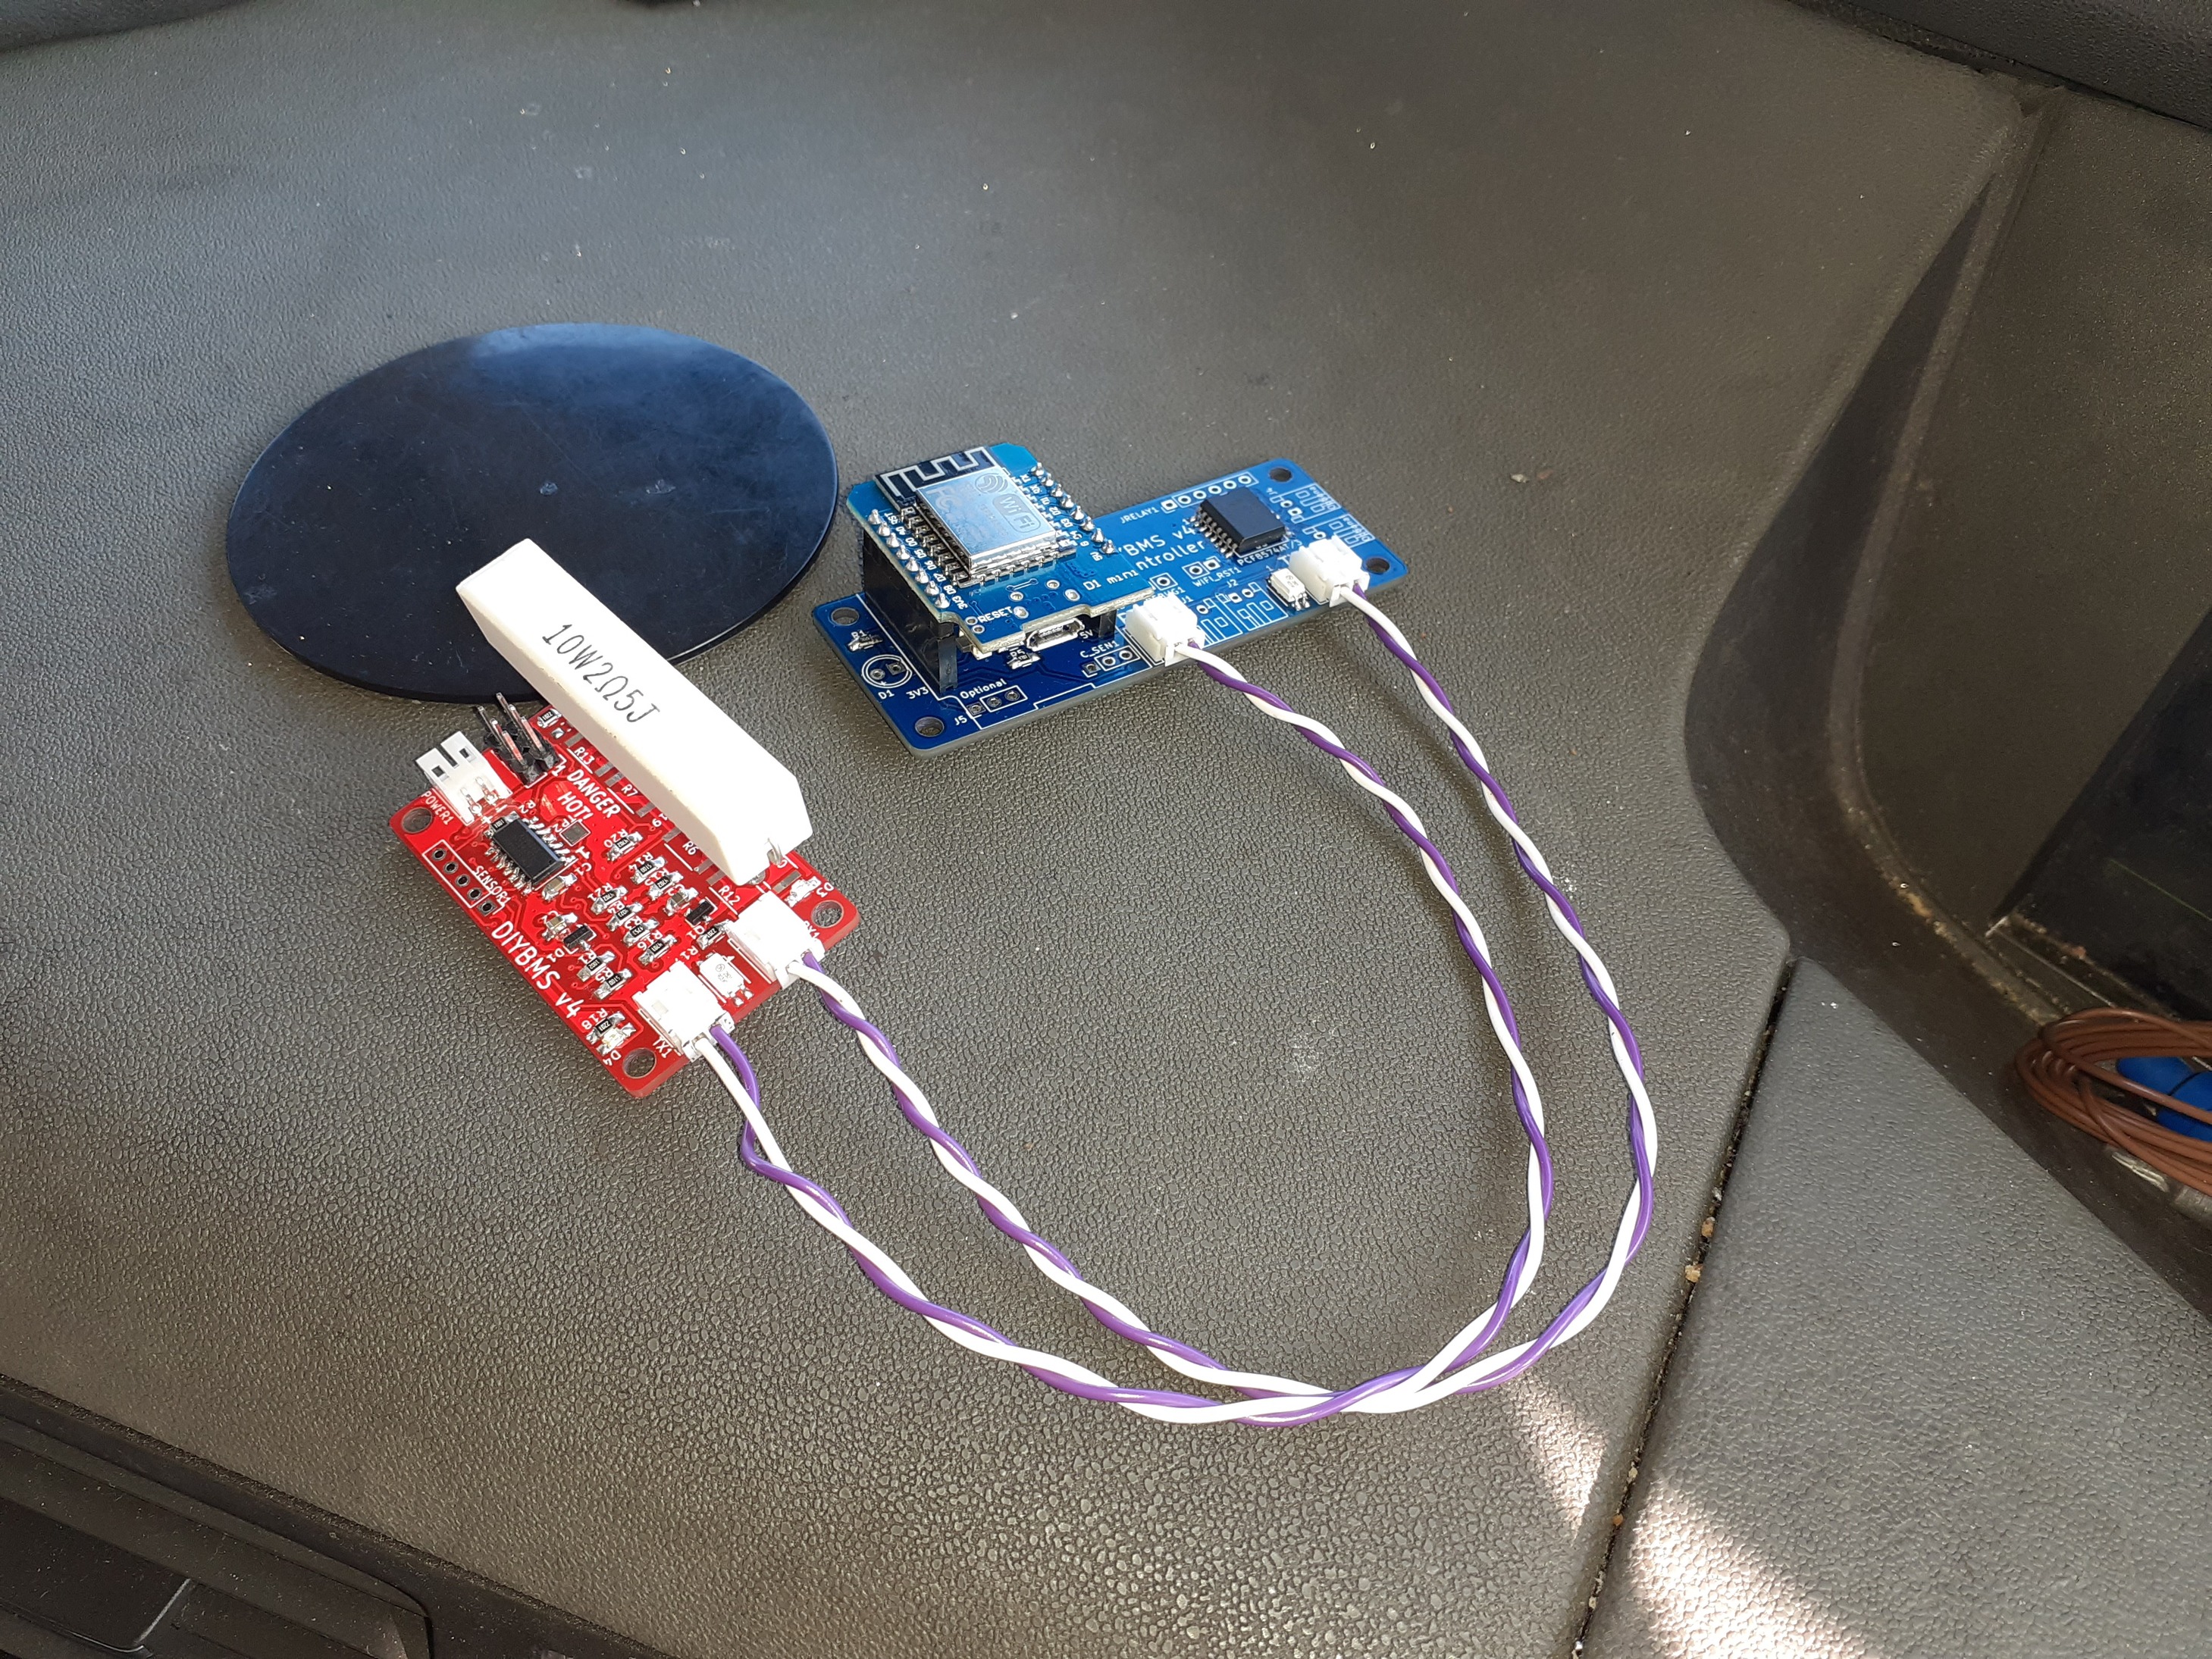
Still struggling on these boards. So I have made 4 now. 2 are working and 2 are not. Still facing the error if I try to re-program the chips on the bad ones. But the 2 that I have working only do so if connected single. When I try to add another into the chain, it gets a communication error. Using the same cables for each board?
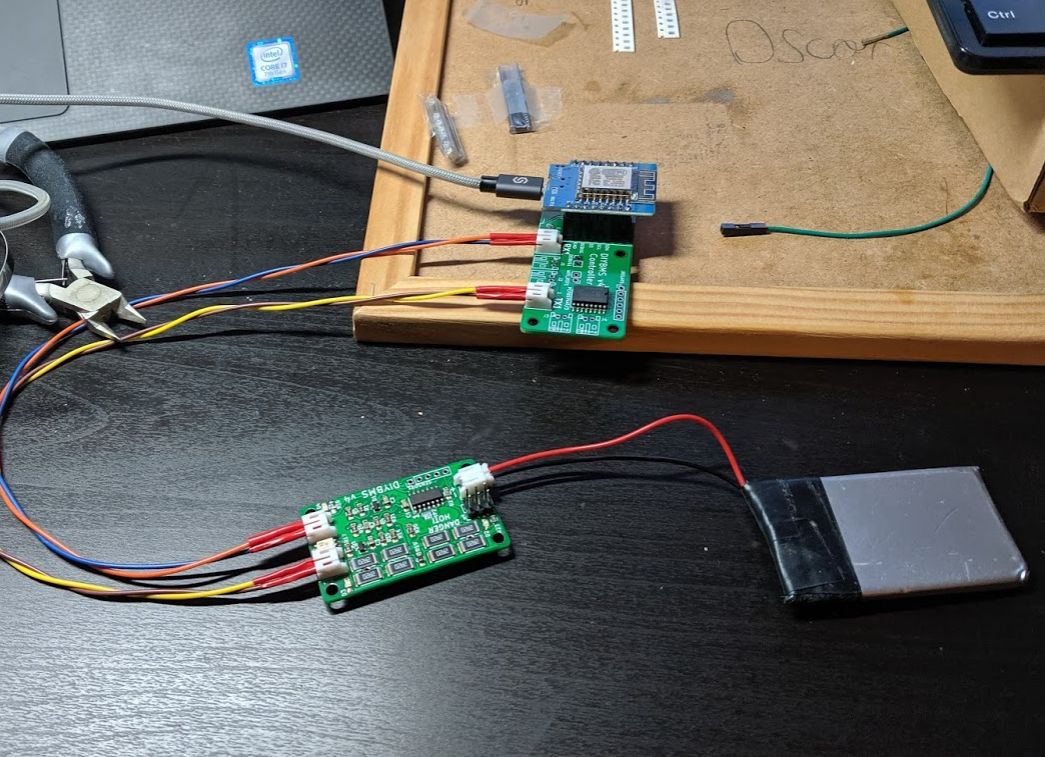
I have one made along with the controller board and they work flawlessly together, surprisingly so, as they were both hand soldered in my lorry whilst parked up for the night. The next ones ill be using solder paste and the stencil.
As for problems the only ones i had was a broken wire on a jst pin and i ordered the PCF8574T and not the AT version, but i altered the code to suit and it works.
As for anyone having communication problems, make sure the optoisolator is the right way round and none of the pins are shorted out (They’re awfully close together)
Hi Paul. Thanks . Could you kindly share the code changes as I have made the same mistake with the order
This is simply a number change. The i2c address is different for these chips. Think there are comments in the controller code about this already.
1 Like
Cheers thanks Stuart !!