DIYBMS v4

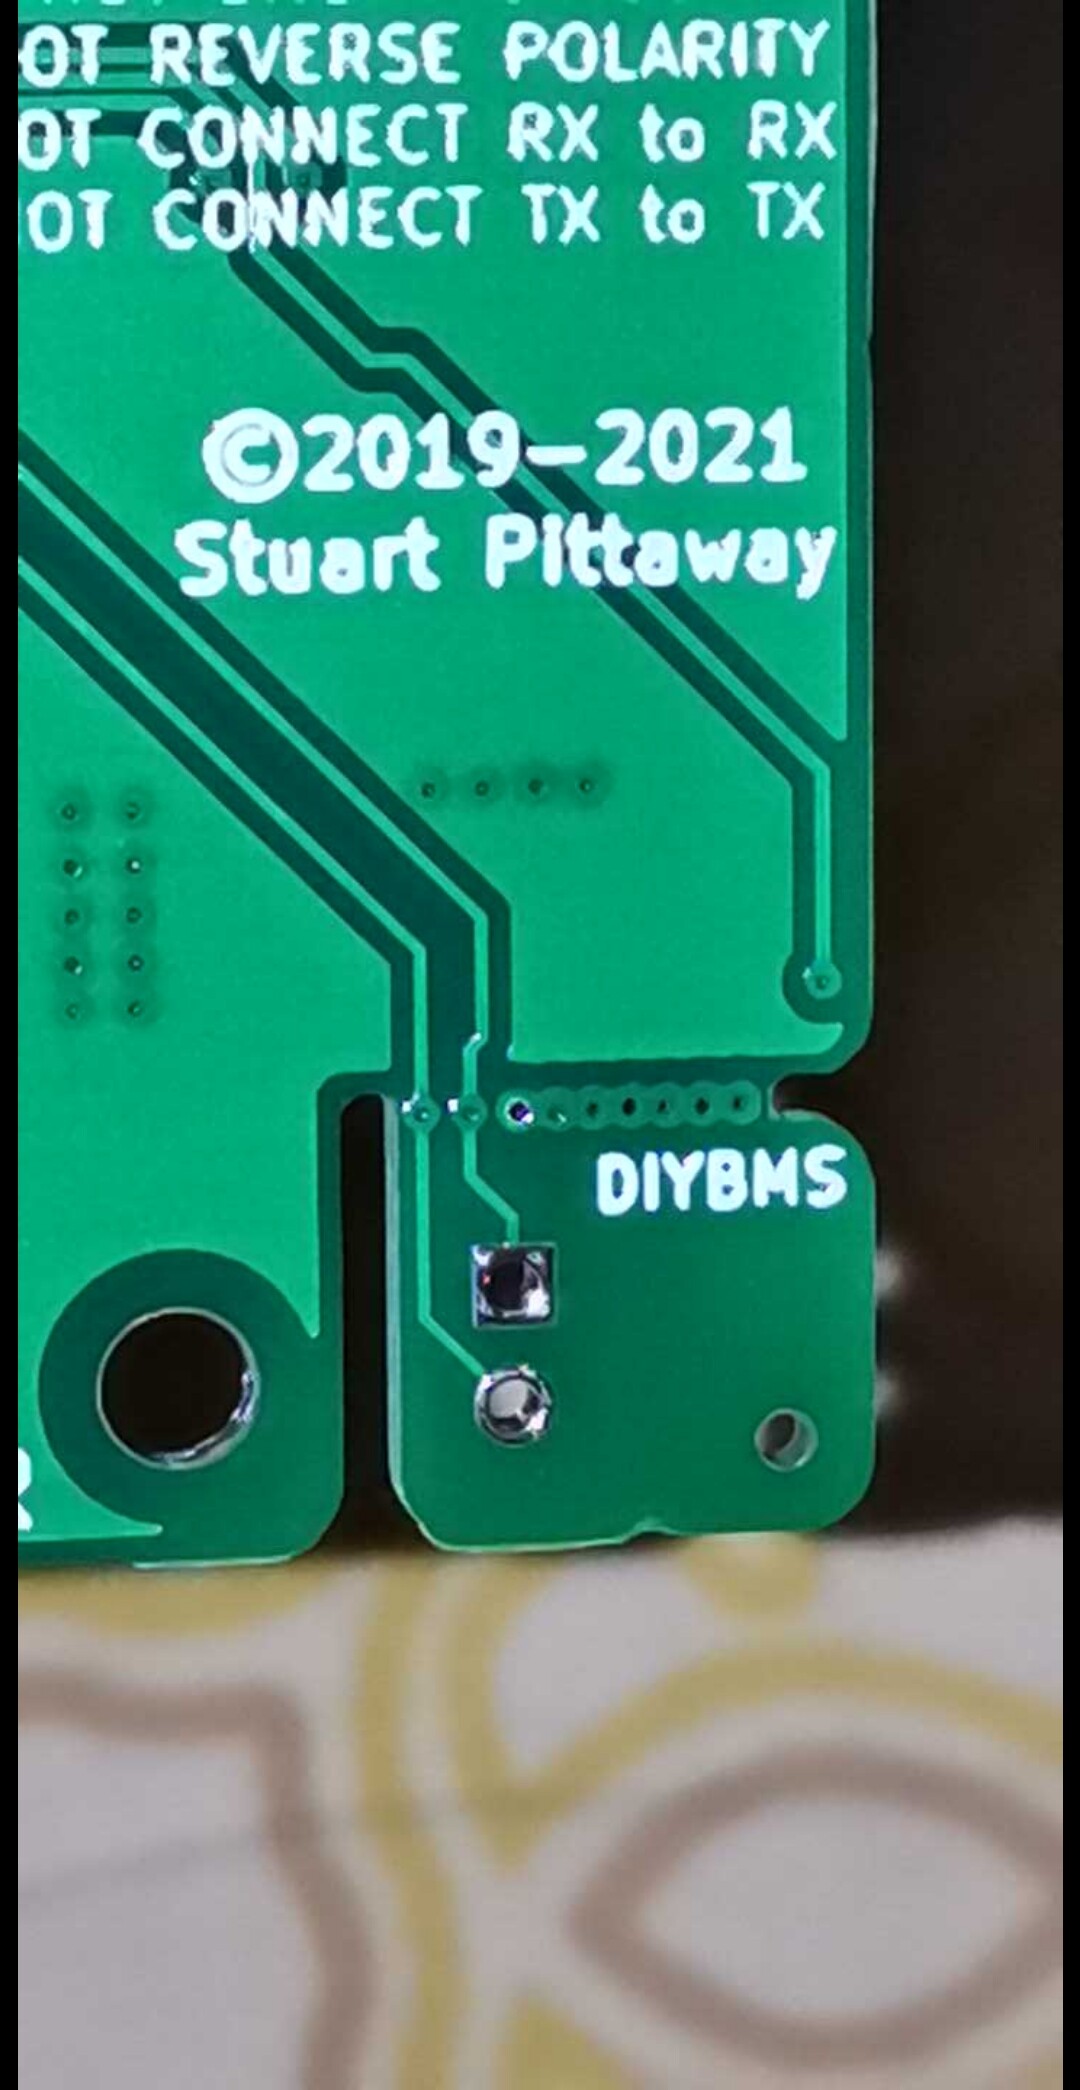
My PCB’S arrived today! Yeey!!

Partly populated as JLCPCB didn’t have all the parts needed.
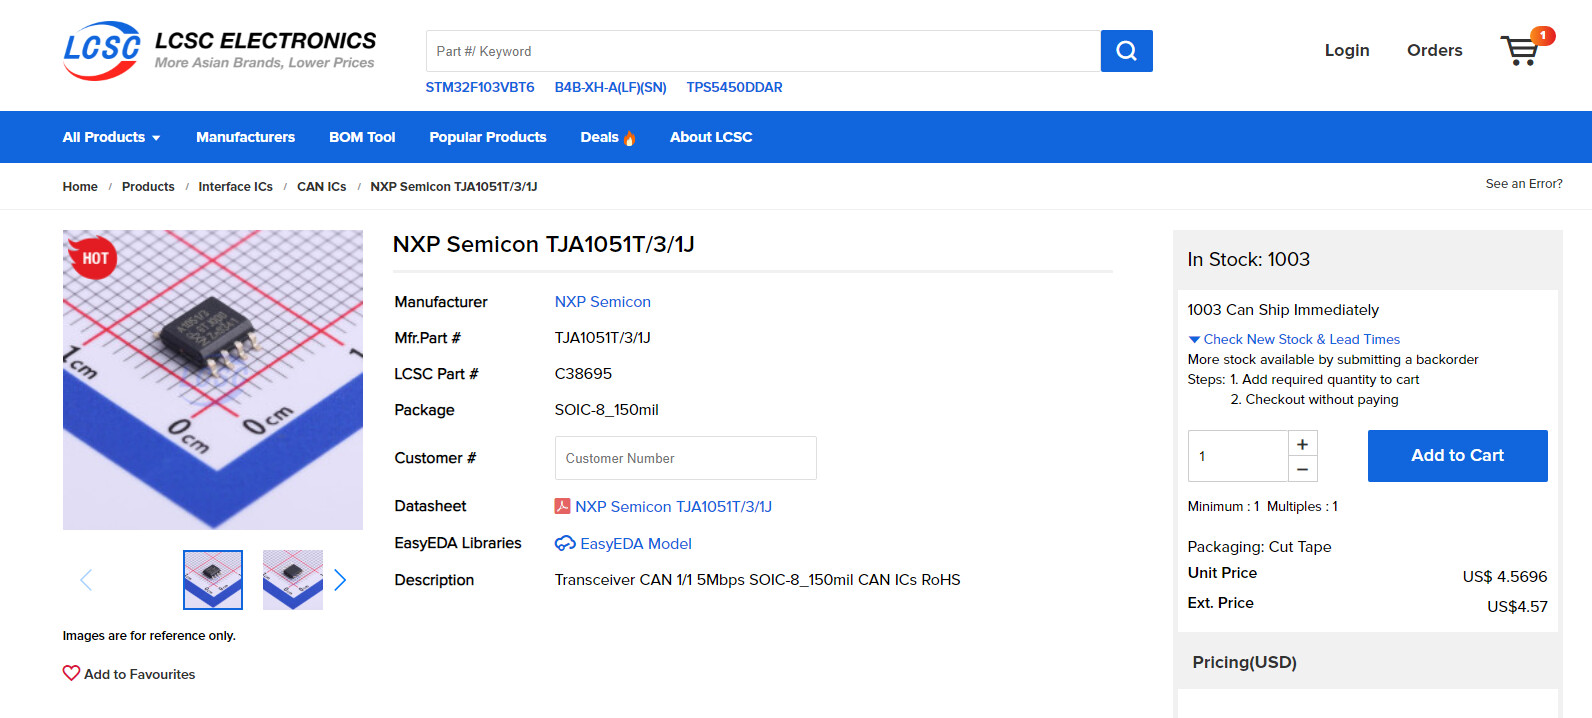
Their mama (sister?) Company LSCS did (almost)


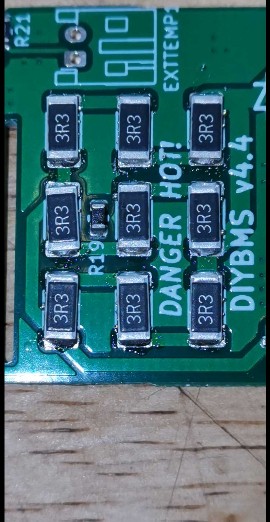
Attiny841 and dumpload resistors will be easy.
D1… A challenge.
I have 138c solder paste, and intended to bake at 150C.
If all is correct the other parts will have absolutely no problems from this 150C.
Later by hand the pin headers.

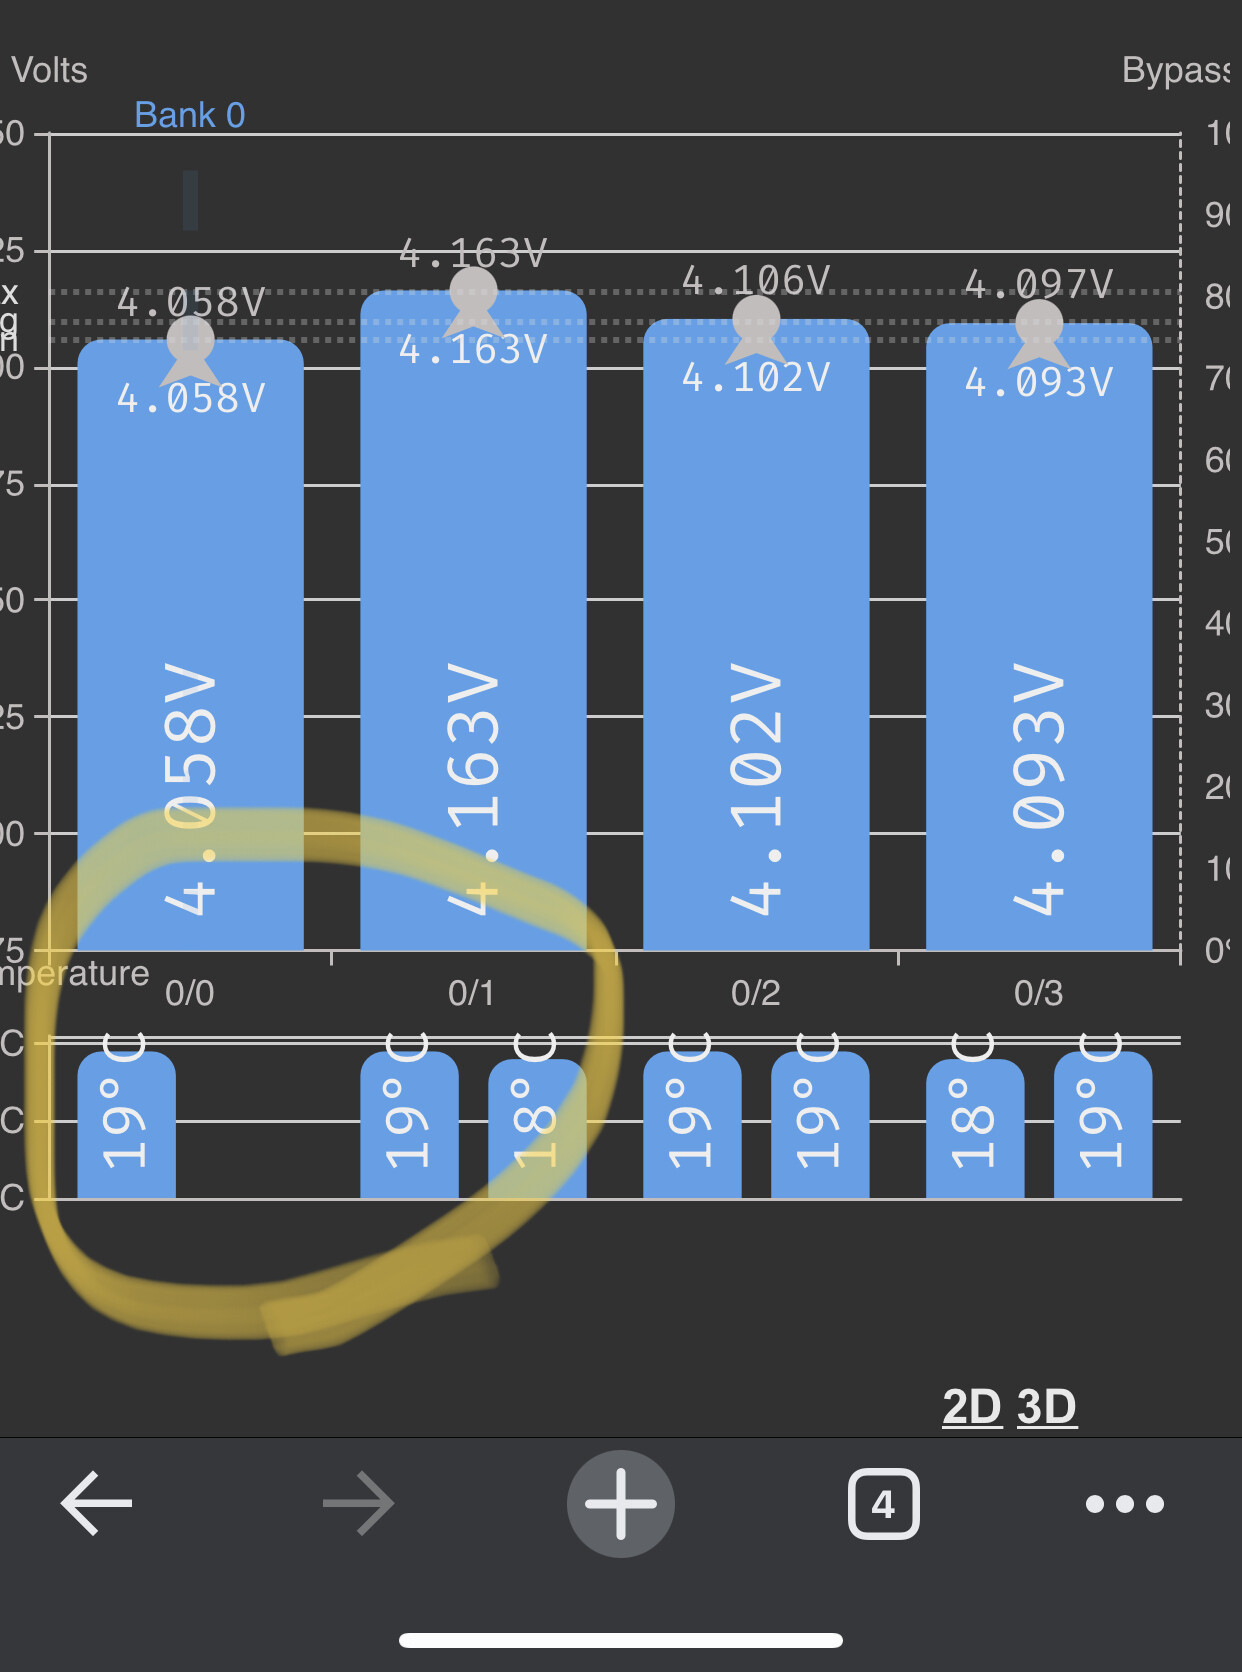
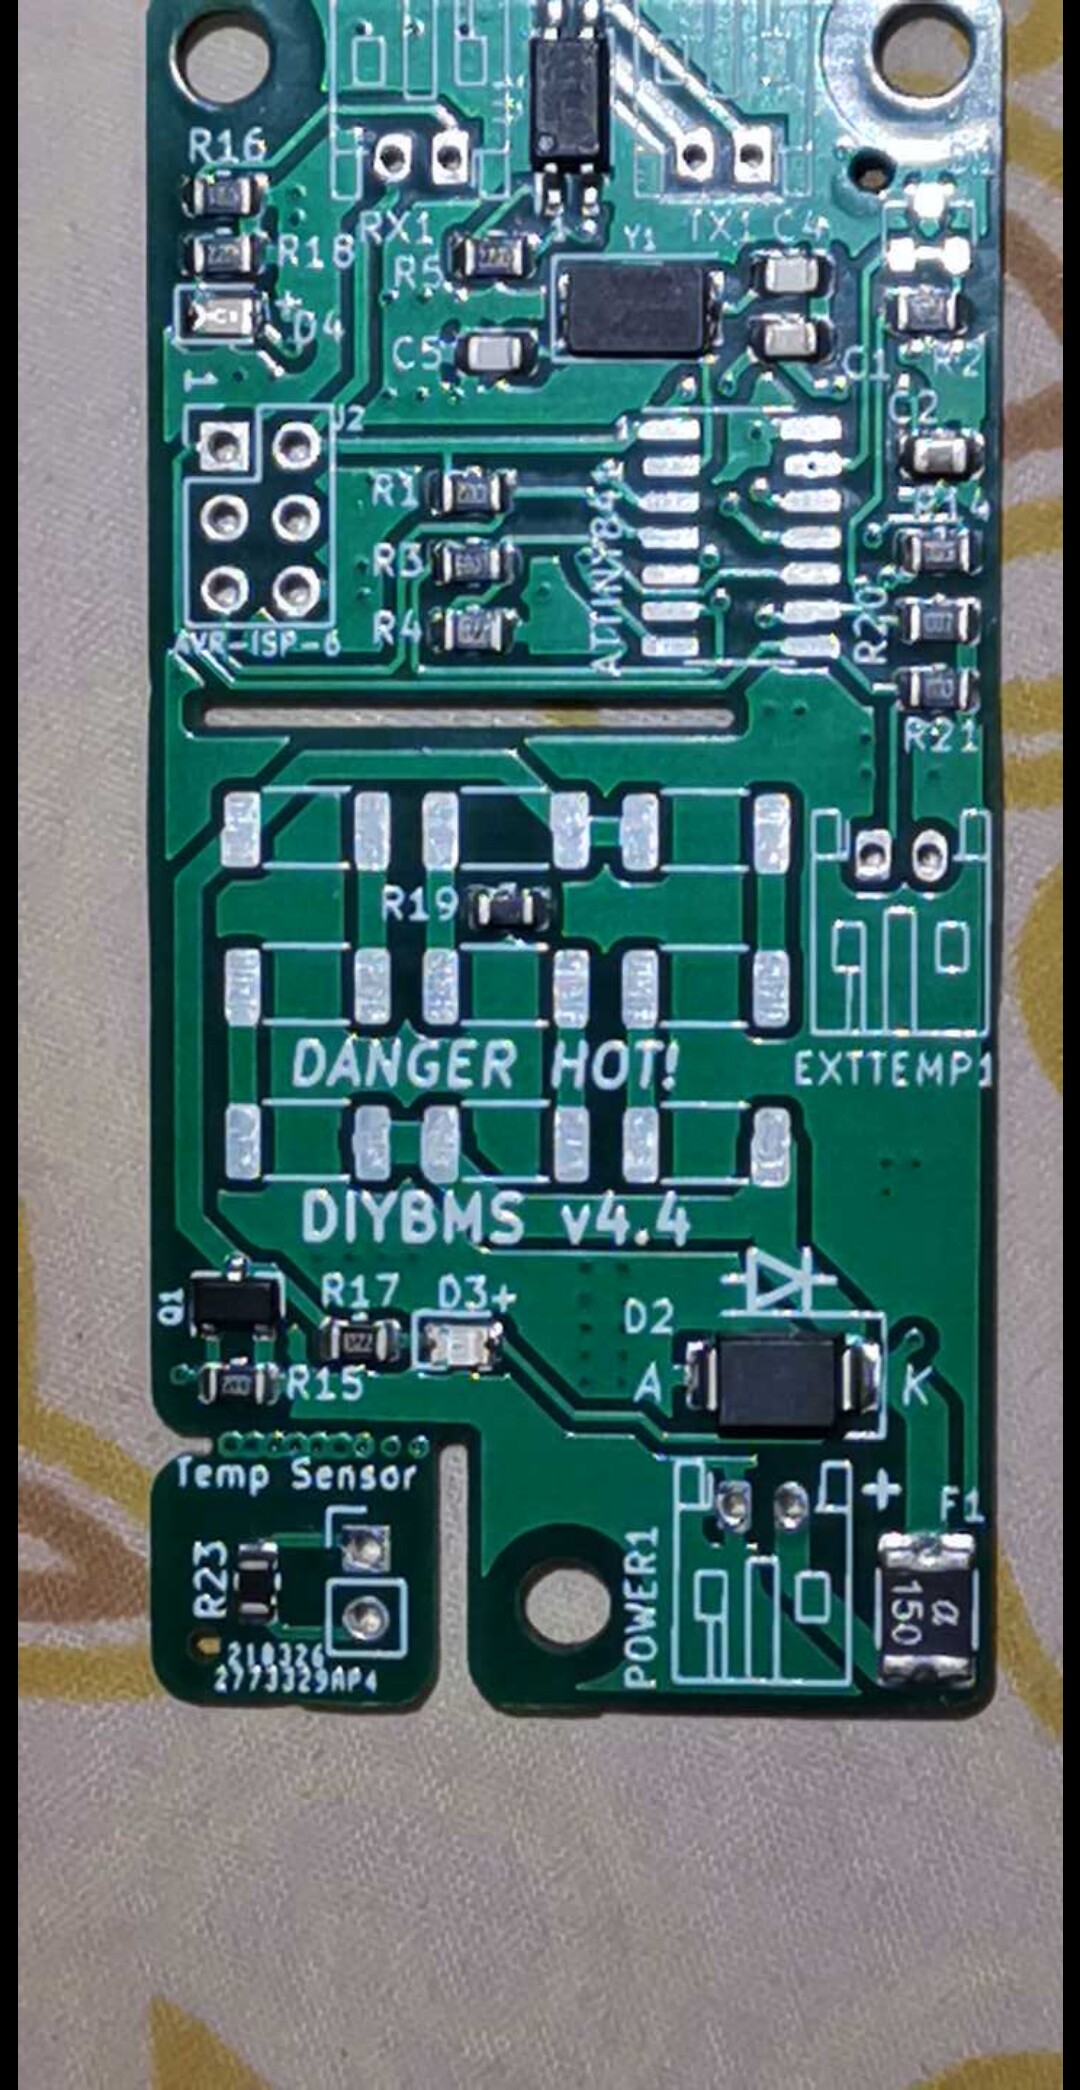
@stuart , I have a pile of “round head” thermistors with long thin legs that I intend to use for external temperature sensor.
Do I need to separate the PCB lines or will it just give the highest temperature if 2 sensors are connected?
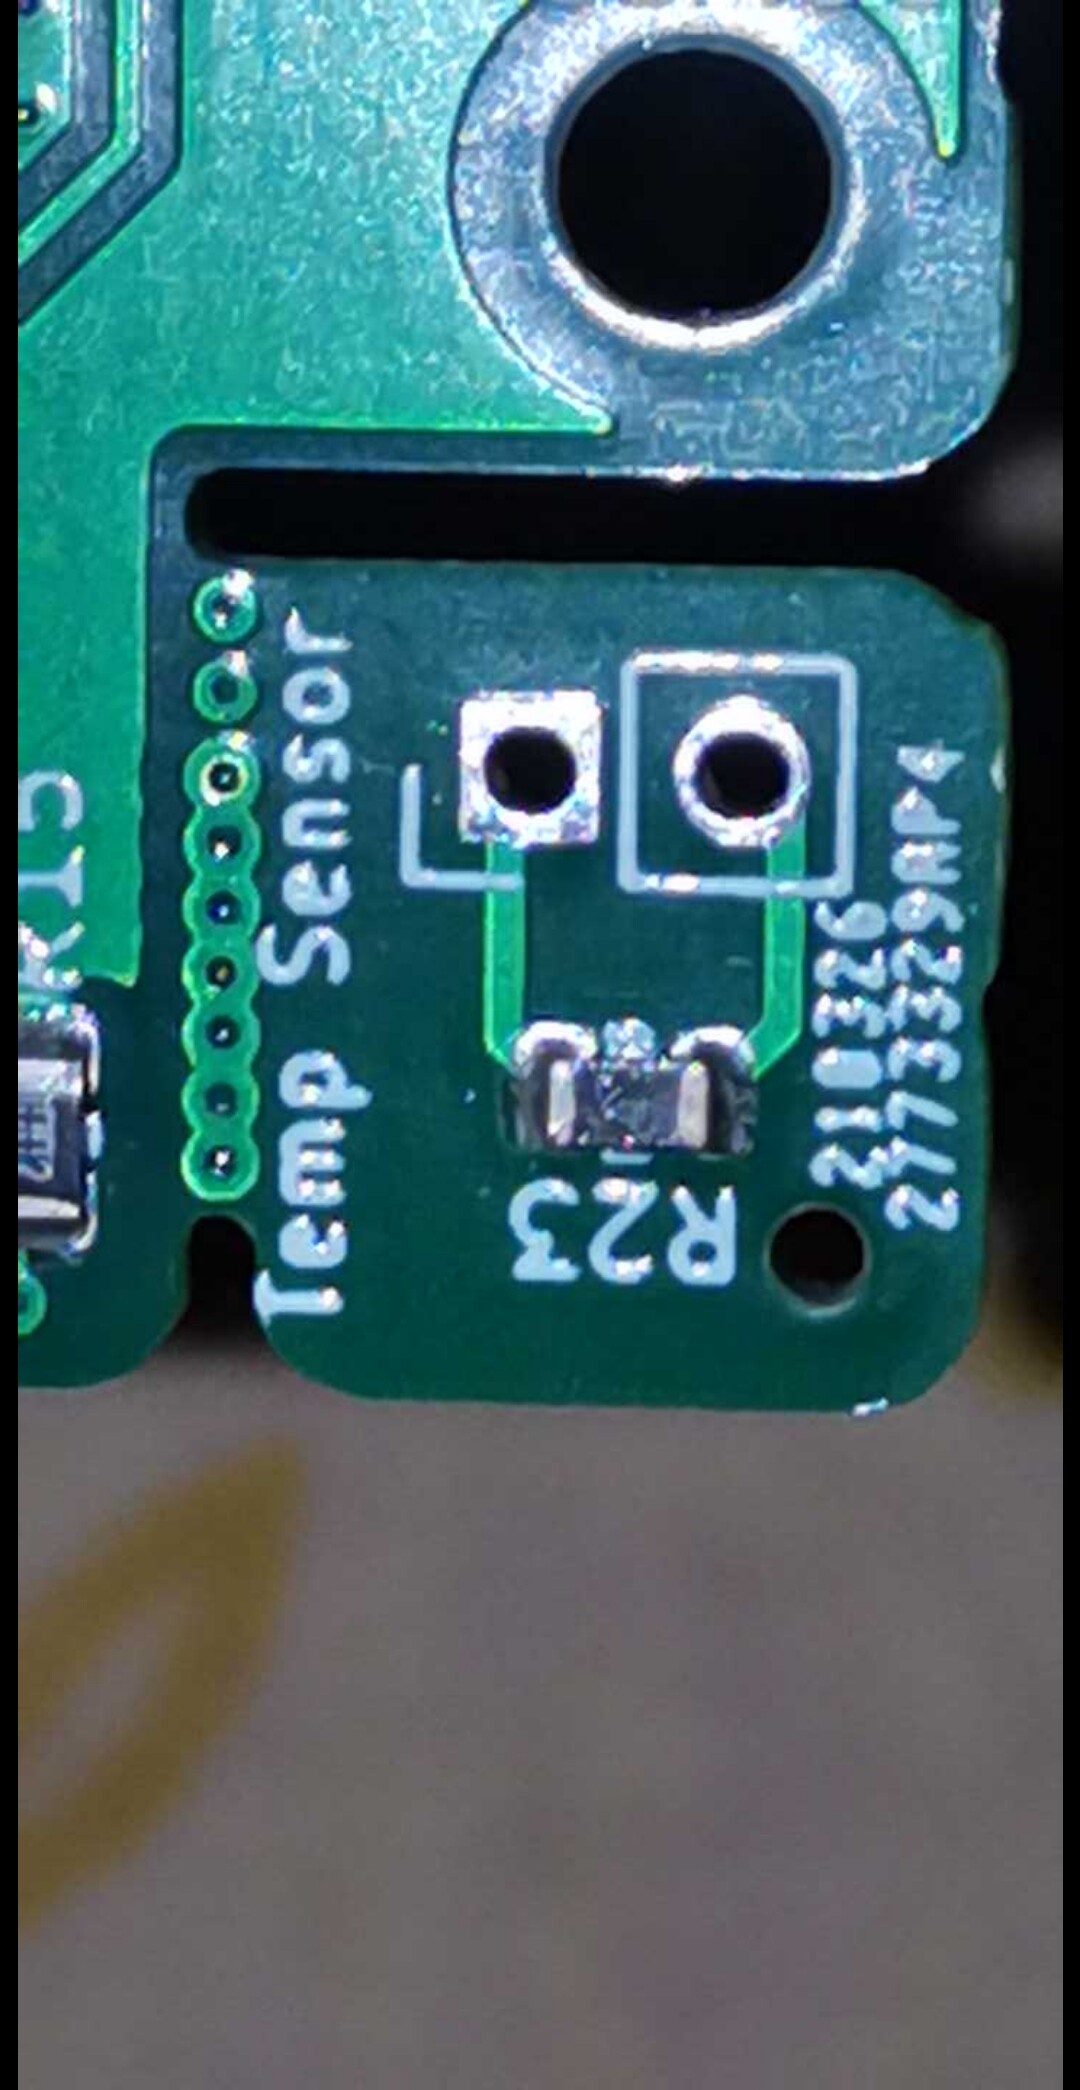
(The break-off tiny PCB seems to be fully connected to the external temperature sensor header, unless broken off)

To get all 5 controllers populated (with the available parts) was just $8 extra.


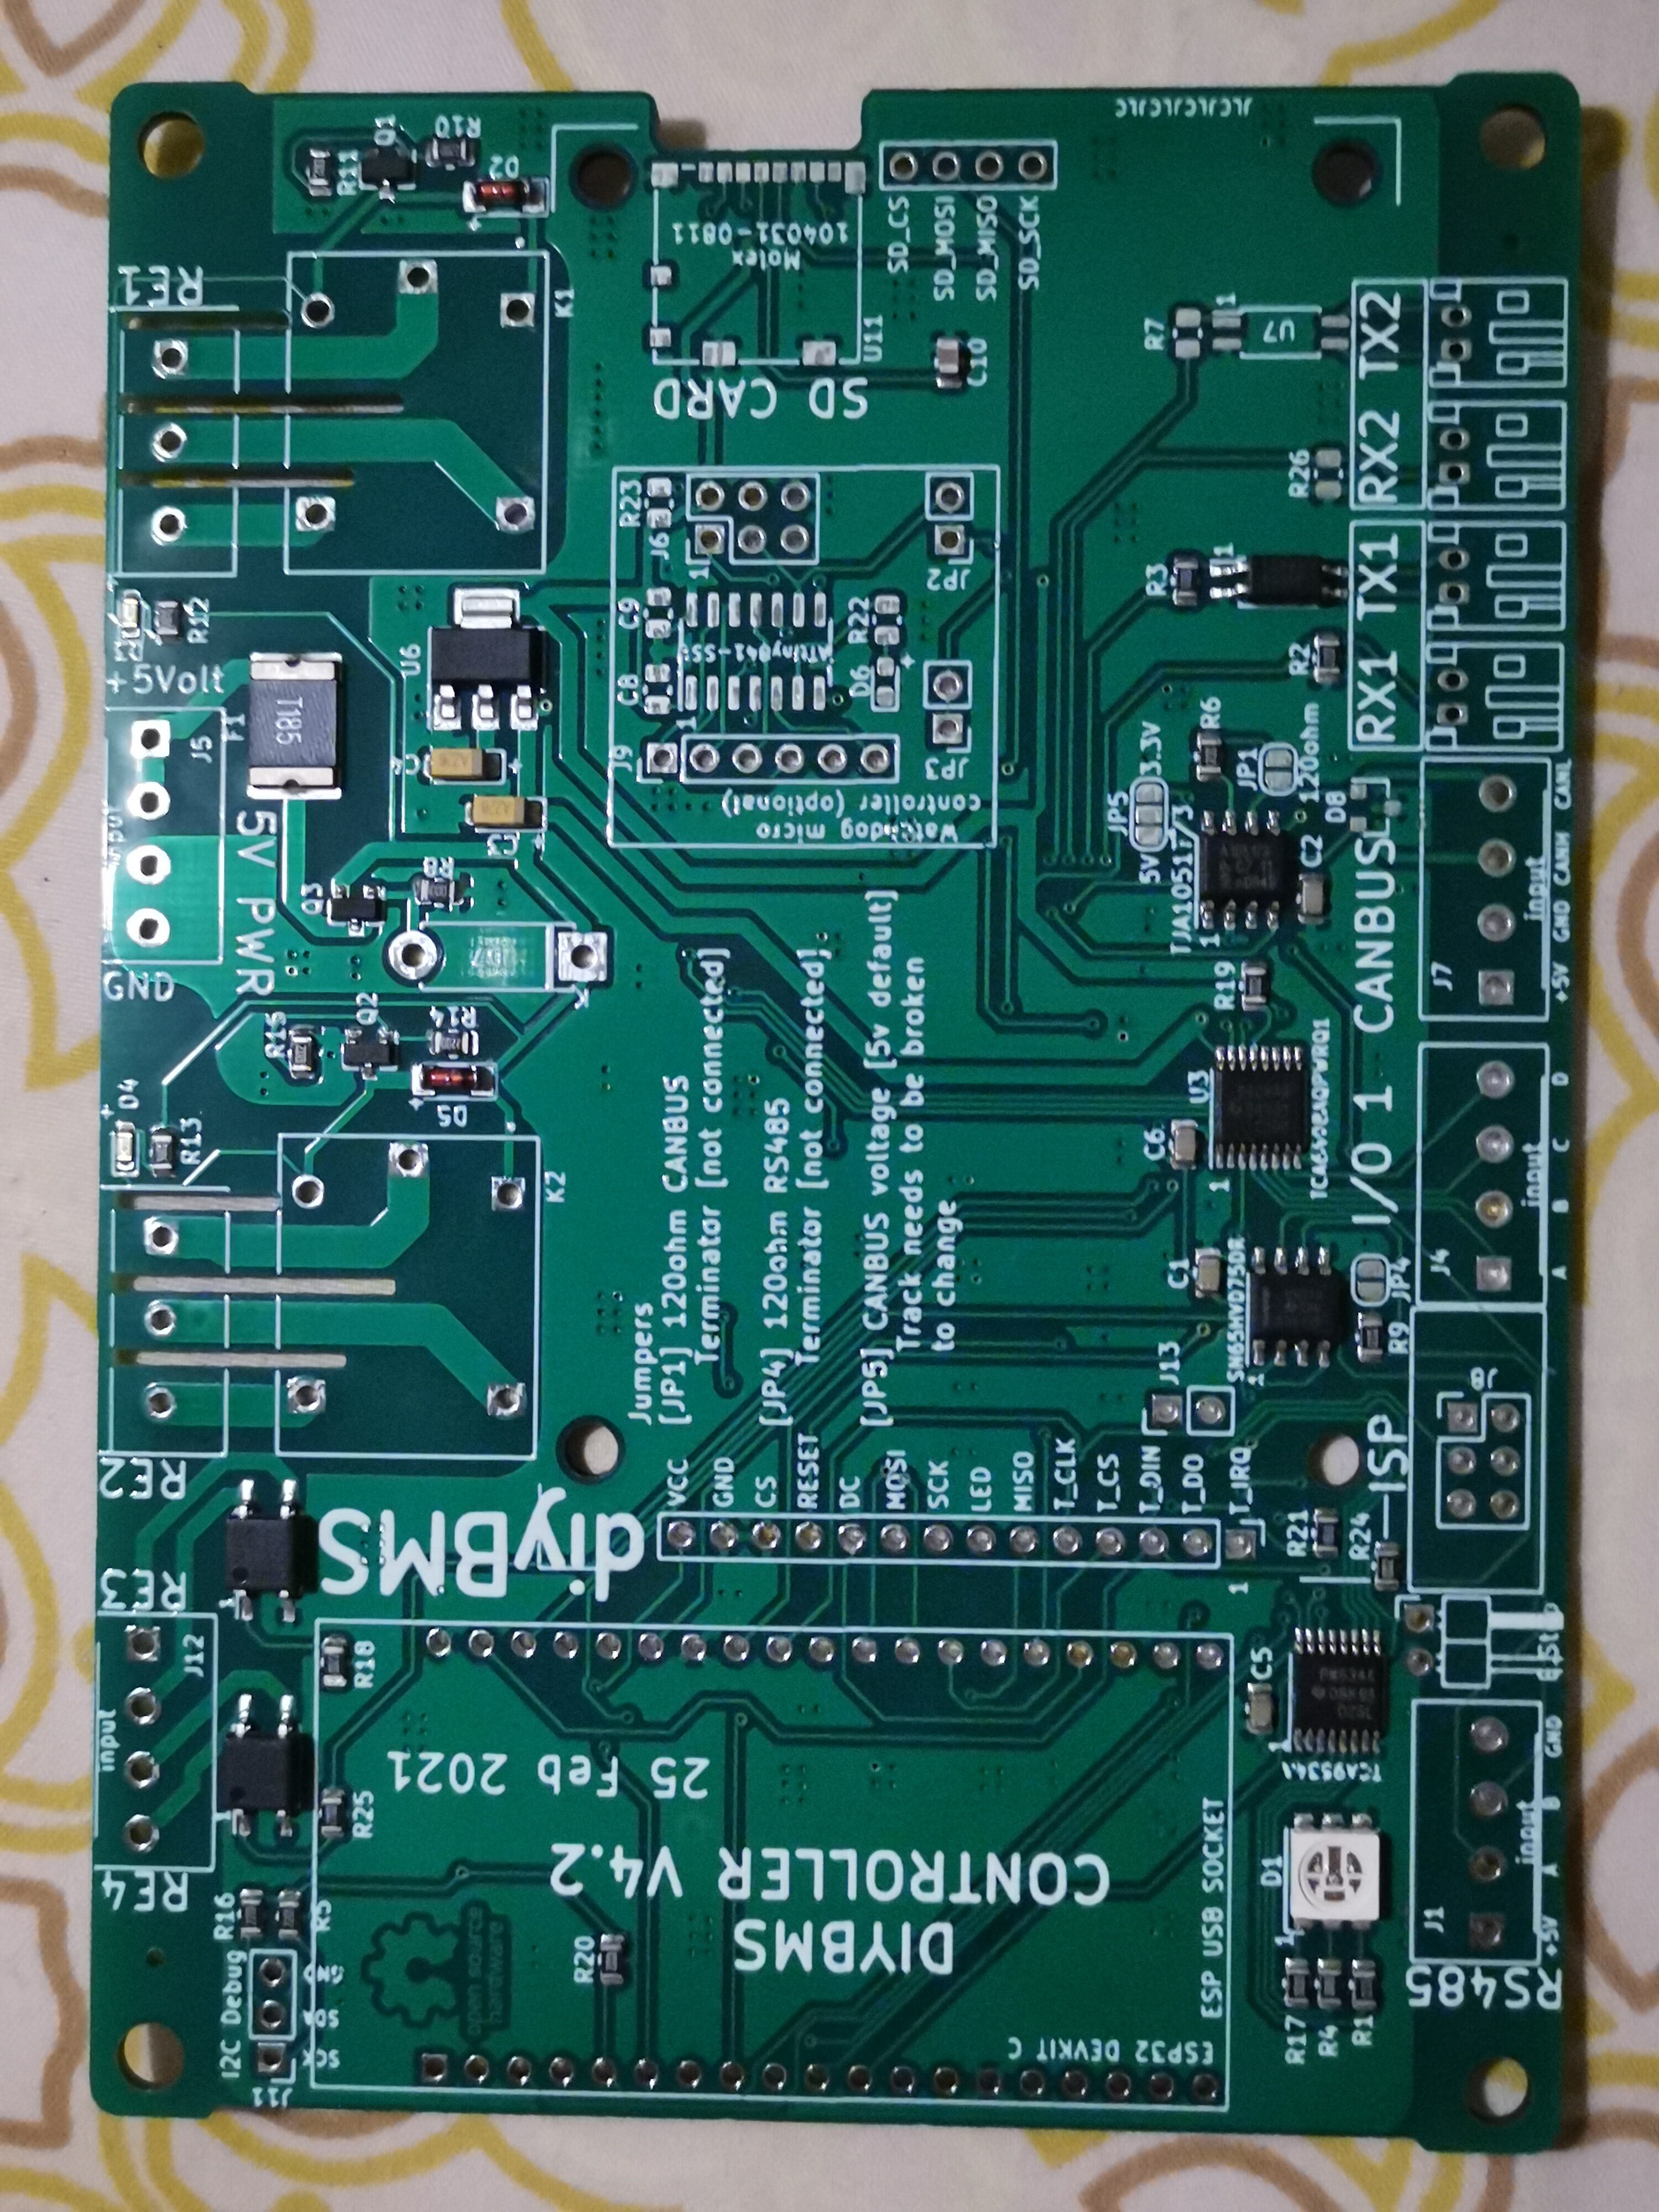
The SD card slot was a challenge, LSCS didn’t have stock, JLCPCB didn’t have.
Eventually I found the right ones at RS-Components.

Not sure if they are mostly Asia based.
A lot cheaper then Digikey or Mouser, with similar quality products.
Attiny841 loads available, @$1.06
(33.262 THB)

Let the fun begin!!
(And I hope less defective units then last time.
Soldering attiny by hand isn’t one of the things you should let me do.
I kill about 10% :slight_smile:

Solder paste might make all the difference!

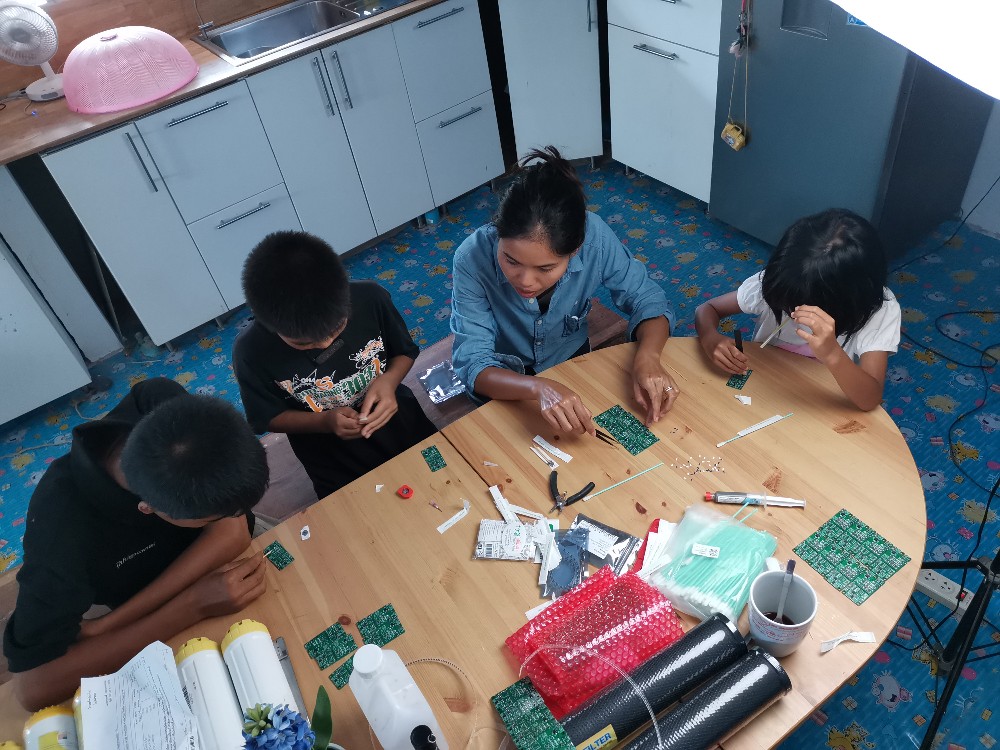
Suggestions for applying the paste?
I thought a toothpick would be easy.

The stuff is quite thick, with a needle I am not able to leave a small dab.

Hi guys,
I just received my esp32 boards but don’t have the controller pcb yet.
I flashed the esp32 with the firmware and that works.
But i keep getting an error when i go to putty “esp error check without abort failed”.

My question is : is it possible to configure the esp32 and wifi settings without the controller or is the controller needed for it to boot ?
I also have the lcd screen for it.

Thank you

I wish you lots of strength and luck, if the attiny is difficult for you the smaller parts are definitely. A tip from my side do not bake your boards. Use small dots of solderpaste put a component in place hold it with one hand and just briefly touch 1 pin with your smallest soldering iron.

2 Likes

The controller code first does a self check to find the other parts of the system, as it can’t find them it stops and reports an error.

Not much you can do until the PCB arrives

1 Like

Hey guys, putting together my modules as I wait for my batteries to arrive and the one I put together today isn’t displaying cell temp. How can I troubleshoot this? Thanks!

Thank you for the reply, i will have to order the pcb this week.

It seems like one cell module have lost its contact with the external temperature sensor.

If you use the 4.4 module, it is intended to be broken off placed at the battery and use a wire to measure.

If still in the board, the pathways might have gotten damaged.

Not a biggy.
The small breakout board have place for pin header, Just like “external temperature”.

You can solder the headers and place a wire, even if you don’t break out.

Thanks for the tip.
I still will try first the baking method.

Attiny isn’t difficult, I just have failures.

I’ve done on 30 X 4.21 boards the R19, (thermistor 0402 size)
That was difficult.

Biggest work is to make the solder paste dabs.
Then place the components.

Dumpload resistors, 9 of them.
The attiny and challenging, D1.

Not as small as the R19, but still.

Attiny is easy to keep in place, and after the fist leg, a little bit moving hand, isn’t a real problem.

The resistors probably will go easy also, D1… Not.

If I can manage without touching after placing the parts, especially D1, that’s a huge plus.

Soldering the R19 was hard.
When you think it sticks to the board, it sticks to the soldering iron (pointy tip)
Or to the tweezers…
Later I used needle, awg30, that went little better.
Still, often got stuck to that one…

If you have soldered on the external temperature JST plug, you may have shorted the two pins, this would give a zero reading as well.

1 Like

Can you use 2 thermistors on the same contact?

Will it give errors (wrong values) or show the highest value?

I like to use external temperature sensor, and keep the break-off board in place.

Will this be a problem?

Yes it will be a problem, only two thermistors are supported.

1 Like

Want to give the DIYBMS a go, but seems like jlpcb is out of C270971. Any suggestions for replacements?

C147106 should work?

Tank you.
I will separate the pathways to use my external sensor.

Hello Helge,

For me several parts where unavailable from JLCPCB as well.
I made separate order with their mother company (??) LCSC

https://lcsc.com/product-detail/Chip-Resistor-Surface-Mount_UNI-ROYAL-Uniroyal-Elec-201007F330KT4E_C270971.html

I was trying to order some control boards for the tutorial in Spanish for the new version, but I find that the U1 appears as part not selected. is correct, should this component no longer be put in? there may be some error in the bom or in the cpl file

The strange thing is that if it is detailed now that I look at it both in the bom and in the clp and also if I look for the C38695 component in LCSC although expensive, if it appears, what may be happening

Yes, I concidered getting the part somewhere else but I think C147106 should work as a direct replacement. Its just an 3.3Ohm resistor rated 0,75W in a 2010 packaging. Also missing a few other parts but I think i found replacements for them as well.

Yes, you are correct.
I could not find stock 2010 3.3Ω ±1% 0.75W on JLCPCB, it should work fine.
I wish I could have found it on JLCPCB… Now I need to solder 450 by hand (9 per PCB, 50 )
Probably am going to bake, or use my hot air station

The D1, C84139 aka AZ432ANTR-E1
Can’t be replaced by similar unit.
Atleast @stuart warned me that it should stay this diode.

When I ordered JLCPCB didn’t have stock, but LCSC did.
Now they also seem to be out.

One of the things I couldn’t find on the standard Chinese cheap sites was the C265016
JST PH Header Male Pin 0.079"(2.00mm) 2 Through Hole,P=2mm Wire To Board. They are relatively cheap so I bought enough.

Just as the C65114,
Pin Header 6 2 Straight, 180 degrees 2.54mm. single row, more than enough. Double… Not so easy to find.
And as I was shopping there, why not take advantage of it.
Shipping wouldn’t get higher from 100x 6 pin headers :slight_smile:

I decided against ordering for now until the shunt unit is ready so I can order all at once.

But I read on this forum that the D1 can be replaced with a 1.24V equivalent? Voltages will be off, but it can be calibrated in software.

Note that this is just relaying unconfirmed third party information, so no guarantees, but I would probably try to order with C189220 instead. If it does not work - no big deal to replace it later

First batch went OK.

The whole family helped this time by applying solder paste and place the resistors.

D1 and attiny I did.
Baked at 150C 138c solder paste.

4 Likes