Modifying/uploading code to emonTX

Greetings,

Total newb to programming, just a couple questions.

Took me most of the day to figure out how to open the code in platformIO, but was finally able to see where I’m supposed to change things in order to use the 200A SCT-019 current sensors (in the src file). I changed power1 and power2 to 3 as directed and also modified VRMS from .01 to .011, since emoncms was reporting low values.

I hit compile and it ran correctly, spitting out a fresh firmware.hex file which I moved to a new folder so I know where it’s at. Is that the only file I need to burn to the emonTX via the USB>UART dongle, or am I beyond my depth here lol?

This is what is looks like now, I’ll have a pair of SCT-019’s on CT1 and CT2 and I changed VRMS to correct for a low reading in emoncms.

Welcome to the forum, Nickolas.

I don’t use Platformio. I know it’s recommended here, but as far as I’m concerned, it’s malware because it totally screwed up my system. And almost worse, every single sketch seems to have to be called src.ino, so when you have four or five totally different sketches open in your editor, it’s extremely hard to know which is which. If you’d like to use the tried and tested Arduino IDE, then once you’ve installed the libraries, I find it very quick and easy.
FULL instructions are in the ‘Learn’ section, Learn→Electricity Monitoring→Using the Arduino IDE

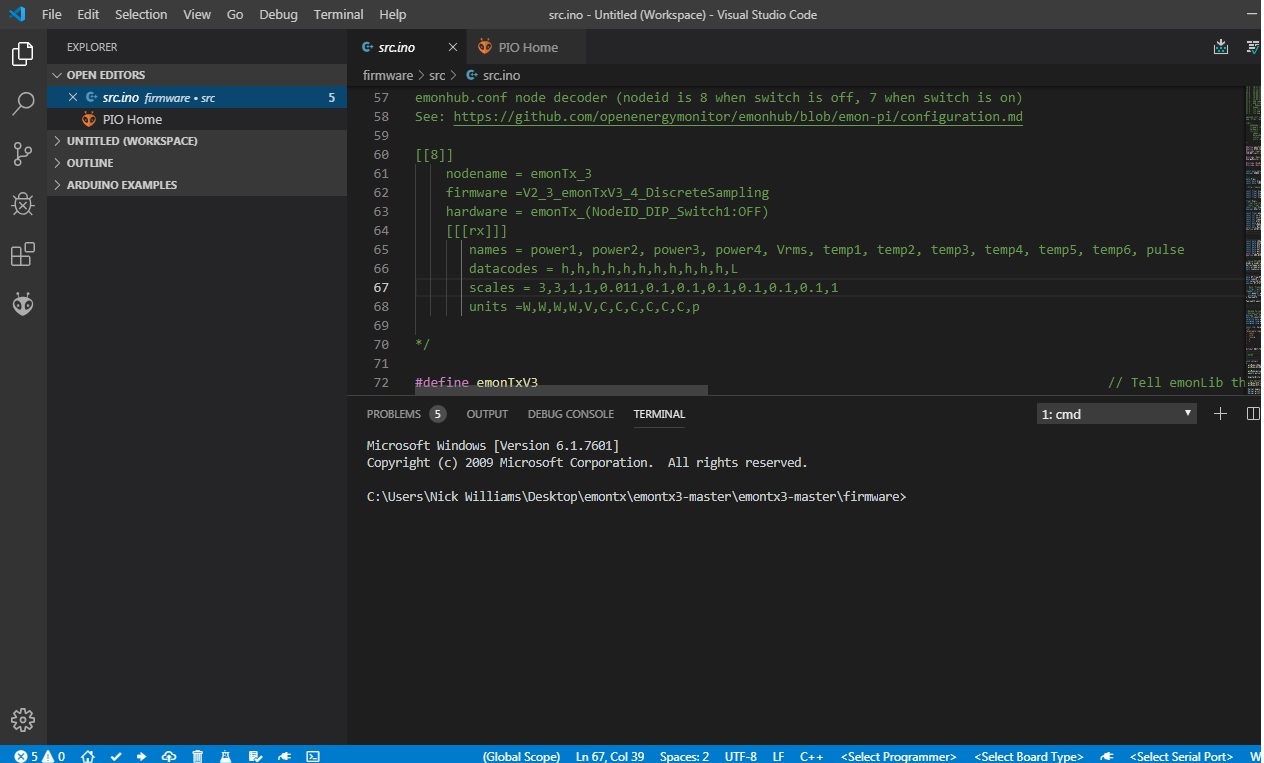
There’s a problem with what you’ve done there: You’ve changed the example of what the configuration inside emonHub (in your emonPi - if you have one) should look like. You haven’t actually changed the source code itself. Everything between /* and */ is a comment - and not part of the code itself. Equally, everything on the same line after // is also a comment.

In the source file (“src.ino”), you should change the current and voltage calibration constants. The current calibration constant is the mains current that would give you 1 V across the burden resistor, so the 90.9 needs to change to 181.82 (Calculated as 181.82 A through a 200 A : 50 mA c.t. = 45.455 mA, flowing in a 22 Ω resistor = 1.00 V.)
The same rule applies to the voltage calibration: it is the mains voltage that would give you 1 V after the 13:1 voltage divider inside the emonTx, so the “130” needs to change to something like 143 (assuming your correction is accurate).

The lines you actually need to change are line 94 onwards:

const float Ical1=                90.9;                                 // (2000 turns / 22 Ohm burden) = 90.9
const float Ical2=                90.9;                                 // (2000 turns / 22 Ohm burden) = 90.9
const float Ical3=                90.9;                                 // (2000 turns / 22 Ohm burden) = 90.9
const float Ical4=                16.67;                               // (2000 turns / 120 Ohm burden) = 16.67

float Vcal=                       268.97;                             // (230V x 13) / (9V x 1.2) = 276.9 Calibration for UK AC-AC adapter 77DB-06-09
//float Vcal=276.9;
//const float Vcal=               260;                             //  Calibration for EU AC-AC adapter 77DE-06-09
const float Vcal_USA=             130.0;                             //Calibration for US AC-AC adapter 77DA-10-09

If you do swap to using the Arduino IDE, compile and upload is just one click on the “Upload” button (right-arrow), or ctrl-u, or Sketch→Upload.

As I said, I can’t use platformio, but I suspect the .hex file it produced is the one to upload, and should be all you need.

I think that is a little OTT Robert :grin:. It might not do what you’d like it to do, but as a multi-language editor & IDE, it is extremely powerful. To describe it as ‘malware’ is not helpful I’d suggest (it isn’t a virus, worm, Trojan horse, or spyware). YMMV of course…

Without asking or even telling me, it moved directories around so that my script to download and update from Git suddenly didn’t work, because the targets weren’t where they used to be. In my book, that’s the action of malware.

I’d downloaded it and set it up with a completely open mind, because reports indicated that it should have been good. It turned out to be a compete disaster and it took several hours of time to rectify the damage.

How long ago? It is a very fast moving product - you may have just been unlucky. Hell of a learning curve but then all powerful environments are. My point is that it should not be described as malware to folk who might not understand your definition of that.

And my point was, it screwed up my system, so I can neither recommend it nor - because I can’t use it - support it. I’m confident that the Arduino IDE doesn’t do that.

Shortly after it was proclaimed here as the best thing since sliced bread.

And I’m not saying otherwise but I do not think describing it as malware is helpful.

Thank you both,

I tried the Arduino IDE first actually, but couldn’t figure out why it wouldn’t load the code. User error, I hadn’t downloaded the library only the hex file lol. I went back and read the guides again, found the download button to get everything, then tried it in platformIO and it worked so I stayed where I was at. Speaking of where I’m at, I forgot to mention I’m in the US.

I had a feeling I wasn’t modifying the right lines, I was confused because when you buy these sensors it tells you right there in the description to simply change the 1 to a 3 and it’ll work just like that. Personally I’d rather alter what the device actually sees and reports to emoncms, just seems better that way.

I altered the lines as suggested then compiled and uploaded, now it seems to work as advertised. VRMS is like .4v high, but I’ll take it.

Last question is, how come the VRMS values in emoncms are 5 digits long? Can’t I just get a normal 3-digit value with 2 decimal places, or is that something I need to tweak in the dashboard? If so, I’ll read the guides for it or make a new post.

Thanks again!

I’m with you there. But until very recently, it was impractical to do the same thing with the emonPi, because the sketch that you’d carefully calibrated and uploaded would be automatically overwritten if you updated emonCMS. And in any case, if someone doesn’t have a programmer and the inclination to jump through the hoops with the Arduino IDE or platformio, changing numbers in the browser window is a lot easier (but for many reasons less satisfactory).

You can tweak the voltage calibration again if you wish…

I think you can set the number of decimal places in both versions, but I’m not an expert and I haven’t got an emonCMS running at present to try it out for you. The best way is to have a look and experiment.

Bear in mind there are two emonCMS’s, and they are subtly different. The “local” one, that you can have on your private server or a Raspberry Pi (and the one that you can download, buy on an SD card and comes with the emonPi) is generally more flexible and a more advanced version. The one on emoncms.org is constrained by being multi-user. So ideally, we need to know which one you’re using.

I’m not using a local server, I’m posting to emoncms.org which likely means I can’t change it. Ah well, pretty happy with it so far. Now time to let the data points accumulate and focus on building the solar end of things!

I looked on emoncms.org and it worked for me. It’s the box with the mouse cursor pointing a finger at it. (The default is Automatic.)

N.B. Some things don’t work until you have a day’s worth of data. :slightly_smiling_face: